There are days when the idea of preheating the oven and dusting flour all over the counter just isn’t happening. Maybe it’s the middle of July and your kitchen is already hot, or maybe you just want a healthy reward for your pup that takes less than five minutes of actual effort.
This is why I got no-bake pumpkin applesauce and peanut butter dog treats for you!
This recipe is the holy grail for busy dog parents. It requires zero baking, zero fancy equipment, and uses only three ingredients that you likely have in your pantry right now.
But beyond convenience, these treats are a nutritional powerhouse. If your dog ever struggles with “tummy troubles” (irregularity or loose stool), this combination is gentle, soothing, and packed with fiber. It’s a treat that doubles as a health supplement—and your dog won’t even know it because all they will taste is the peanut butter!
Why This Recipe Works
- The “Tummy Tamer” Effect: Pumpkin is famous among vets for regulating digestion. Whether your dog is backed up or having the opposite problem, pumpkin helps get things back on track.
- Hydration Hero: Unlike dry biscuits, these frozen treats have high water content, helping keep your dog hydrated on warm days or after a long play session.
- Low Calorie: By using applesauce for sweetness instead of flour or fats, these are significantly lower in calories than traditional cookies, making them great for dogs watching their waistlines.
3-Ingredient Pumpkin Applesauce and Peanut Butter Dog Treats Recipe
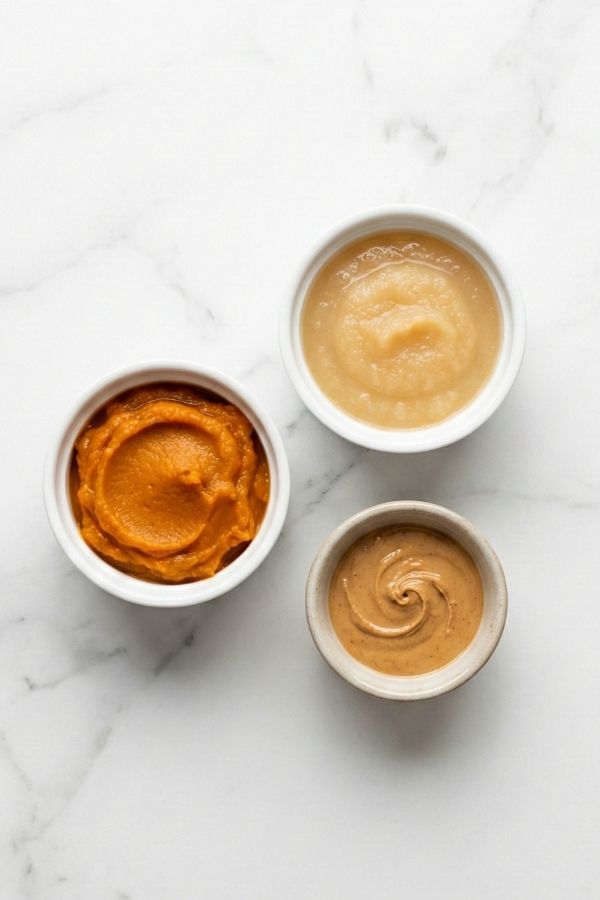
Ingredients
| Ingredient | Amount |
| Pure Pumpkin Puree | ½ cup |
| Unsweetened Applesauce | ½ cup |
| Natural Peanut Butter | ¼ cup |
Step-by-Step Instructions


Step 1: The Mix
Grab a medium-sized mixing bowl. Dump in the pumpkin puree, the applesauce, and the peanut butter. Use a whisk to blend them together vigorously.
Texture Tip: You want the peanut butter to be completely incorporated so you have a smooth, uniform orange batter. If your peanut butter is stiff, you might need to mash it against the side of the bowl with a fork.
Step 2: The Pour
You will need a mold for freezing. Silicone molds (in cute paw print or bone shapes) are the easiest to work with because the frozen treats pop right out. If you don’t have those, a standard ice cube tray works perfectly fine!
Pour the mixture into the molds.
Pro Tip: After filling, lift the tray a few inches off the counter and drop it gently. This “tap” helps settle the batter into the corners and releases any trapped air bubbles.
Step 3: The Freeze
Clear a flat spot in your freezer. Carefully transfer the tray inside. Freeze for at least 3 hours.
You want them to be rock solid. If you try to remove them too early, they will be slushy and messy.
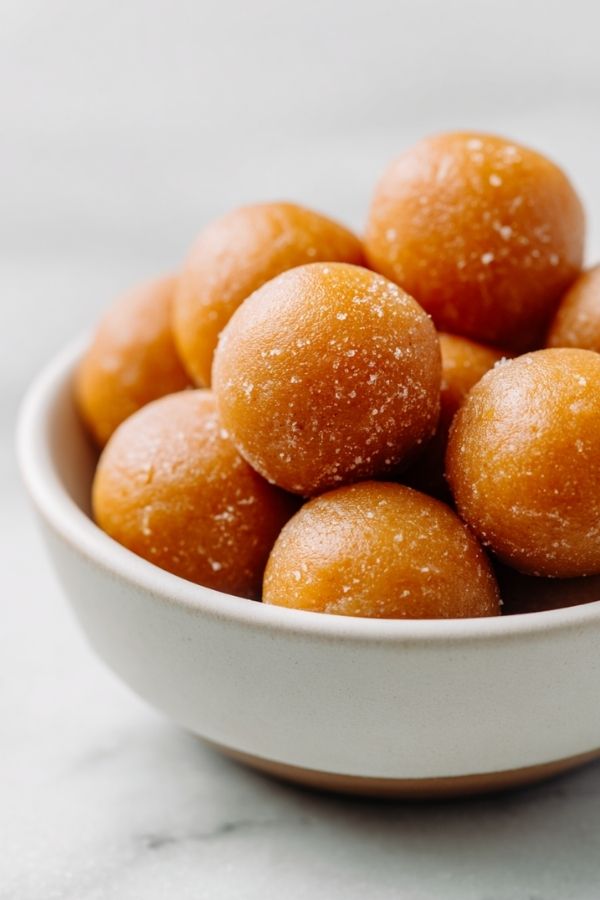
Step 4: The Serve
Once frozen solid, pop a treat out of the mold and hand it over! Watch your dog’s face as they figure out the cold texture—most dogs love the “crunch” of the ice.
Customizing Your “Pupsicles”
While the base recipe is perfect as is, you can easily spice things up (literally):
- The “Golden” Boost: Add a pinch of Turmeric to the mixture before freezing for anti-inflammatory benefits.
- The Creamy Twist: Swap half of the applesauce for Plain Greek Yogurt if you want a creamier, calcium-rich treat.
- The Crunch Factor: Drop a single blueberry or a piece of kibble into the center of each mold before freezing for a hidden surprise.
Storage Instructions
Since these are frozen (and pumpkin turns to mush when thawed), these must live in your freezer.
- The Method: Once the treats are fully frozen in the tray, I recommend popping them all out and transferring them into a Ziploc freezer bag or an airtight tub. This frees up your ice cube tray for the next batch!
- Shelf Life: These will stay fresh in the freezer for up to 3 months.
Feeding Guidelines: Chill & Enjoy Responsibly
Most dogs will crunch these up immediately, but some gulpers might swallow them whole.
- Action: If you have a “gulper,” hold the treat in your hand while they lick it, or use a large mold so the treat is too big to swallow in one bite.
Portion Control (The 10% Rule)
Even healthy treats have calories. Treats should never exceed 10% of your dog’s daily calorie intake.
- Small Dogs: 1 cube per day.
- Medium/Large Dogs: 2-3 cubes per day.
Frequently Asked Questions
Can I use homemade applesauce?
Absolutely. In fact, that’s even better! Just boil some peeled apples in water until soft and mash them up. Just make sure you don’t add any sugar or spices to your homemade batch.
Is this safe for puppies?
Yes! These are fantastic for teething puppies. The cold temperature helps numb their sore gums. Just be sure to supervise them so they don’t choke on the ice.
3. How do I know if my peanut butter is safe?
Read the ingredients label on the back of the jar. If you see Xylitol, Birch Sugar, or Sugar Alcohol, do not buy it. It is toxic to dogs.
A Little Disclaimer
I am a passionate dog lover and a kitchen enthusiast, but I am not a certified veterinarian or animal nutritionist.
While these recipes are made with ingredients generally considered safe for dogs, every animal is different. Some dogs have specific allergies or health conditions that require strict diets.
Always consult with your veterinarian before introducing new foods to your dog’s diet, especially if they have a sensitive stomach or existing health issues.
Enjoy the chill!