Snickers was sitting on my foot. Not next to me. On my foot. Full weight, ears forward, doing that slow blink that basically translates to “I know there’s food happening up there.”
I’d just gotten home from work, hadn’t even changed yet, and the treat jar on the counter was empty. Again. I’d been meaning to pick up a bag at the store, but the last one I bought was $13 for maybe 25 tiny biscuits. I flipped the bag over once and counted nine ingredients I couldn’t pronounce. That was the one that got me.
I stared at the microwave. Then at the jar of peanut butter in the pantry. Then at Snickers, who was now doing the head tilt. Ten minutes later he was chomping on a warm peanut butter pupcake I’d made in a coffee mug. The whole thing took maybe three minutes of actual work. No oven preheating, no baking sheet, no waiting 25 minutes for treats to cool down from 350 degrees.
I genuinely felt dumb for not trying it sooner. These two recipes have been in my weekly rotation ever since. One’s soft and cake-like, the other’s more of a chewy bite you can grab and go. Both use stuff you probably already have, and both make Snickers act like I just offered him a steak.
Quick Glance: Which Recipe to Start With
| Peanut Butter Banana Pupcakes | Pumpkin Oat Bites | |
|---|---|---|
| Prep time | 2 minutes | 3 minutes |
| Microwave time | 90 seconds | 2.5 minutes |
| Ingredients | 5 | 4 |
| Texture | Soft, cake-like | Chewy, firm |
| Best for | Quick single-serve treat | Batch of 8-10 small bites |
| Fridge life | 5 days | 7 days |
Start with the Pupcakes if you’ve never made microwave treats before. One mug, 90 seconds, done.
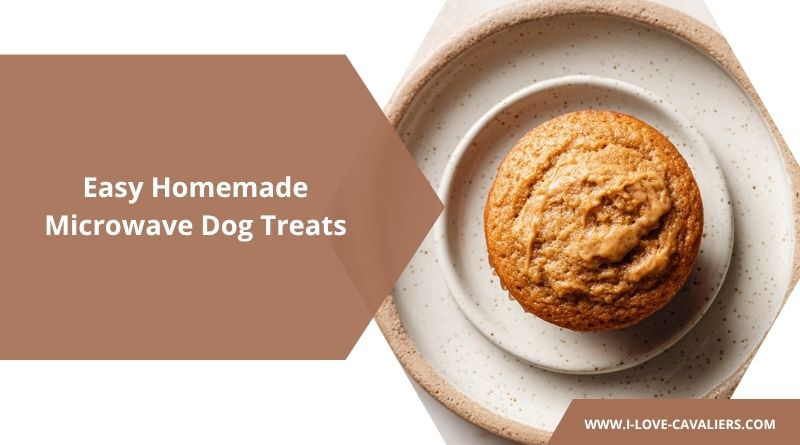
Recipe 1: Peanut Butter Banana Pupcakes
This is the one I make when I’m too tired to think. Five ingredients, one mug, 90 seconds in the microwave. Snickers sits about two feet from the microwave and watches the plate spin the entire time.
Ingredients
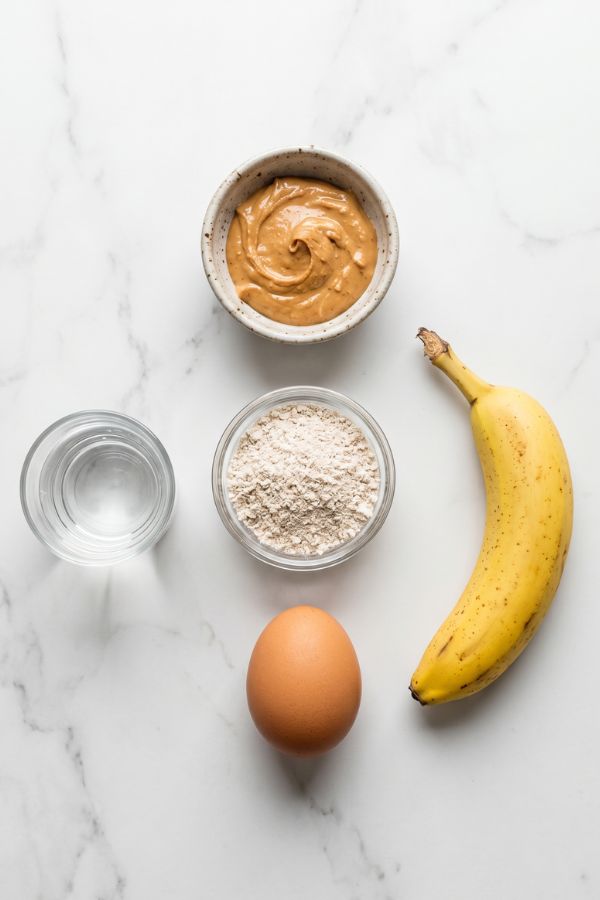
| Ingredient | Amount |
|---|---|
| Peanut butter | 2 tablespoons |
| Ripe banana | 1/4 banana |
| Oat flour | 3 tablespoons |
| Egg | 1 small |
| Water | 2 tablespoons |
Steps
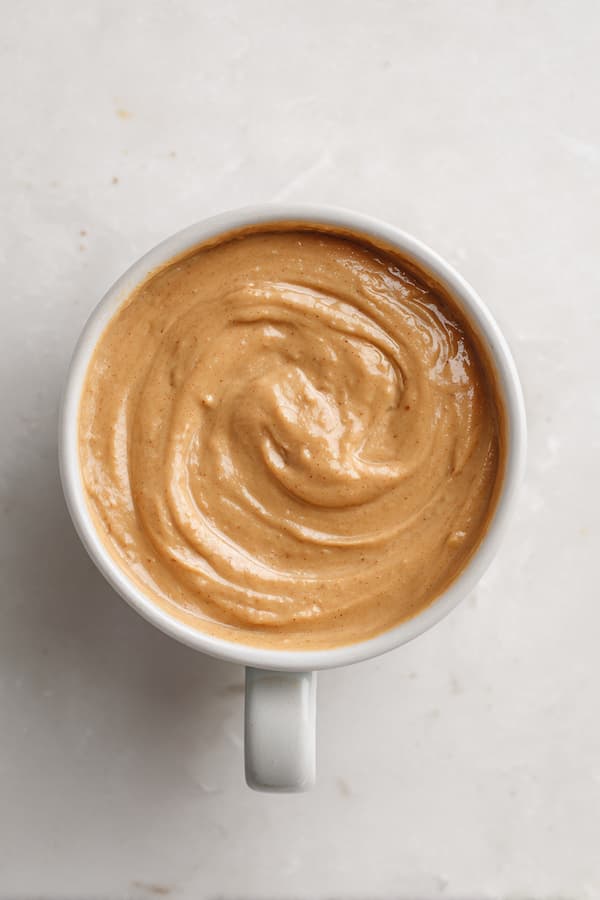
- Mash the banana in a microwave-safe mug with a fork. Get it smooth. Lumps are fine, your dog won’t care.
- Add the peanut butter and stir it into the banana. If it’s stubborn and won’t mix, microwave the mug for 15 seconds to soften it up.
- Add the oat flour, egg, and water. Stir until everything comes together into a thick batter. It’ll look rough. That’s normal.
- Microwave on high for 90 seconds. The cake will puff up and then settle back down slightly. That’s what you want.
- Let it cool for at least 5 minutes. This part matters. Microwaves create hot spots, and your dog will inhale this without checking the temperature. Test it on your wrist before serving. If it’s warm to you, it’s too hot for your dog.

Break the pupcake into pieces based on your dog’s size. A small dog gets maybe a quarter. A bigger dog can handle the whole thing.
I’ve made this at least 30 times by now and the only batch Snickers turned down was one where I used way too much water. Keep the batter thick.
Swaps That Work
- No banana? Use 2 tablespoons of plain pumpkin puree instead.
- No oat flour? Whole wheat flour works. Same amount.
- Want it softer? Add an extra tablespoon of water. Want it firmer? Drop the water and cook 15 seconds longer.
Those were the easy ones. This next recipe makes a full batch you can store for the week.
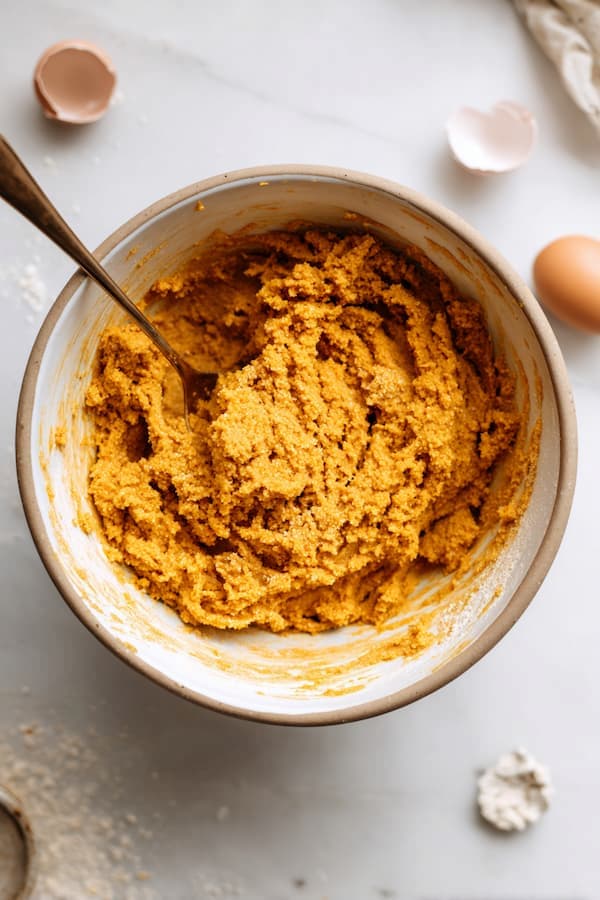
Recipe 2: Pumpkin Oat Bites
This one makes 8 to 10 small bites, so you’ve got treats ready for the next few days. The texture is chewy and firm enough to break apart cleanly, which makes them great for training or on-the-go treats where you need something you can pull from your pocket without it crumbling everywhere.
Ingredients
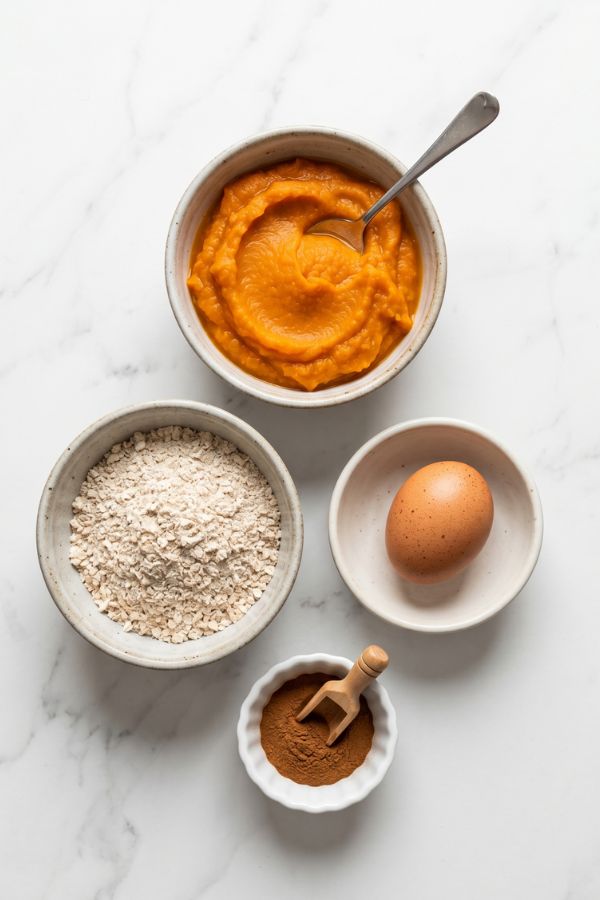
| Ingredient | Amount |
|---|---|
| Pumpkin puree | 1/3 cup |
| Oat flour | 1/2 cup |
| Egg | 1 |
| Cinnamon | 1/4 teaspoon |
Warning: Make sure the can says 100% pumpkin. Pumpkin pie filling contains nutmeg and cloves, both toxic to dogs. Two completely different products with nearly identical cans (and yes, I’ve almost grabbed the wrong one).
Steps
- Mix the pumpkin, egg, and cinnamon in a bowl. Stir until smooth.
- Add the oat flour a little at a time. The dough should be thick enough to scoop but not crumbly. If it’s too dry, add a splash of water. Too sticky? Another tablespoon of flour.
- Scoop small rounds onto a microwave-safe plate. About a tablespoon each. Flatten them slightly with the back of a spoon. Leave space between them.
- Microwave on high for 2.5 minutes. Check at the 2-minute mark. They should be firm to the touch but not hard.
- Let them cool completely on the plate. They’ll keep firming up as they cool. Don’t judge the texture straight out of the microwave.
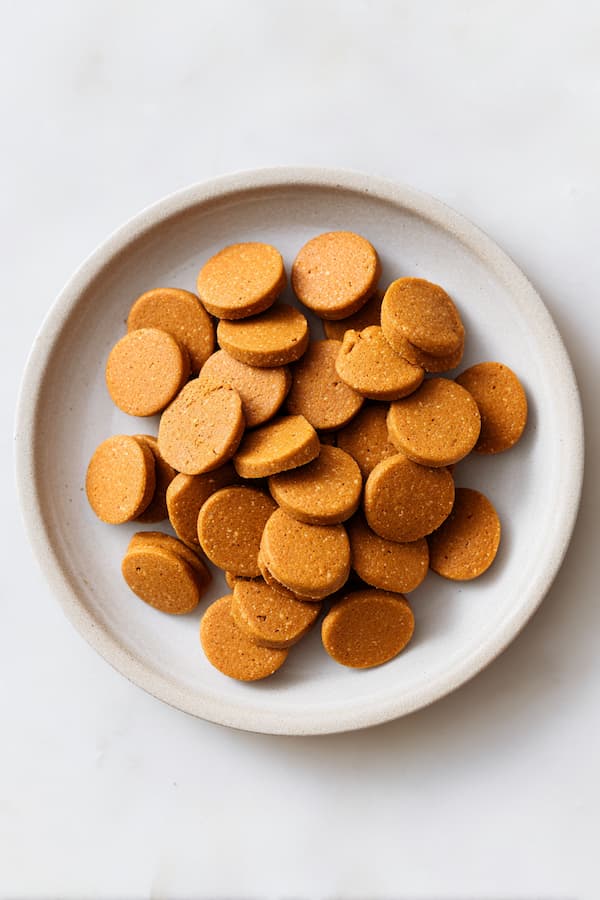
These come out chewy, not crunchy. If your dog prefers crunchier treats, microwave for another 30 seconds. But keep an eye on them. The gap between “chewy” and “burnt” is about 15 seconds in a microwave (don’t skip this part).
Pro tip: Pumpkin is interesting stuff. It works as a digestive regulator in both directions. Loose stool? The soluble fiber absorbs excess water. Constipated? The insoluble fiber adds bulk. No other common treat ingredient does both at the same time.
How Many Treats Can Your Dog Have?
Treats should stay at 10% or less of your dog’s daily calories. That’s the number vets agree on across the board, from the AKC to UC Davis to the World Small Animal Veterinary Association.
Here’s what that looks like in practice:
| Dog Weight | Daily Calories (Approx.) | Max Treat Calories | Pupcake Portion | Pumpkin Bites |
|---|---|---|---|---|
| Under 10 lbs | 200-275 | 20-28 cal | 1/4 pupcake | 1 bite |
| 10-25 lbs | 275-500 | 28-50 cal | 1/3 pupcake | 1-2 bites |
| 25-50 lbs | 500-750 | 50-75 cal | 1/2 pupcake | 2-3 bites |
| 50-75 lbs | 750-1,000 | 75-100 cal | 3/4 pupcake | 3-4 bites |
| 75+ lbs | 1,000+ | 100+ cal | Whole pupcake | 4-5 bites |
These are rough guidelines. Every dog is different depending on age, activity level, and metabolism. If you’re not sure where your dog falls, this guide walks you through how to check.
Storing Your Microwave Treats
Microwave treats don’t have preservatives, so they won’t last as long as store-bought ones. That’s actually a good thing. It means there’s nothing weird in them.
| Method | Pupcakes | Pumpkin Bites |
|---|---|---|
| Counter (airtight container) | Not recommended | 1 day max |
| Fridge (airtight container) | Up to 5 days | Up to 7 days |
| Freezer (parchment-lined, sealed bag) | Up to 3 months | Up to 3 months |
Cool treats completely before sealing them in anything. If you put warm treats in a container, condensation builds up inside, and that moisture is what grows mold. Give them at least 30 minutes.
For freezer storage, lay the treats on parchment paper so they don’t stick together. Freeze for an hour, then transfer to a sealed bag. Thaw in the fridge overnight or pop one in the microwave for 10 seconds when you need it.
A Note on Microwave Wattage
The cooking times in both recipes are based on a 1,000-watt microwave. Not all microwaves are created equal.
- 700-800 watts: Add 20 to 30 seconds to the listed time.
- 1,200+ watts: Reduce by 15 to 20 seconds.
Start with less time and check. You can always add 15 seconds. You can’t un-burn a treat.
Ninety Seconds and a Tail Wag
It’s been about six months since that first mug pupcake experiment. I’ve stopped buying store-bought treats almost entirely. The math just doesn’t work once you realize a week’s worth of treats costs you half a banana and two tablespoons of peanut butter.
But the best part isn’t the money or the convenience. It’s watching Snickers park himself in front of the microwave the second he hears the door open. Ears up, tail going, that little body wiggle he does when he knows something good is coming. Ninety seconds of spinning. Then he gets his treat, carries it to his bed like it’s the most valuable thing in the house, and goes completely silent for about thirty seconds.
That’s the review. No notes.
I’m a passionate dog lover and kitchen enthusiast, but I’m not a certified veterinarian or animal nutritionist. Long-term homemade diets should always be discussed with your vet to make sure your pup is getting everything they need.
Bon appétit to your furry friend!