
If you have ever tried to teach your dog a difficult command—like a solid “recall” at the dog park or a “leave it” when a squirrel dashes by—you know that dry kibble just doesn’t cut it. To compete with the exciting distractions of the world, you need a reward that stops them in their tracks. You need what trainers call a “high-value” treat.
Usually, that means buying expensive freeze-dried liver or stinky commercial jerky. But I have a secret weapon that costs about a dollar and is likely hiding in your pantry right now: Canned Tuna.
These “Tuna Fudge” treats (named for their dense, brownie-like texture) are absolute magic for capturing a dog’s focus. They are savory, soft enough to eat quickly during training sessions, and pungent enough to make your pup think they’ve hit the jackpot. While you can microwave them, baking them in the oven creates a better texture and ensures they cook evenly.
Why Make These Tuna Treats?
- Training Motivation (The “Stink” Factor)
Dogs experience the world through their noses. The strong aroma of tuna captures their attention instantly, making these the perfect currency for teaching new tricks or rewarding good behavior in distracting environments.
- Soft Texture
Unlike crunchy biscuits that take time to chew and leave crumbs everywhere, these treats have a soft, sponge-like consistency. Your dog can gulp one down in a second and get right back to training without breaking focus.
- Budget-Friendly Protein
High-quality commercial training treats can cost upwards of $15 a bag. This recipe uses a single can of tuna and some flour to make hundreds of little training bites for a fraction of the price.
Tuna Fudge Dog Treats Recipe

Ingredients
| Ingredient | Amount |
| Canned Tuna (in water) | 1 tin (approx. 5 oz) |
| Whole Wheat Flour | ¾ cup |
| Egg | 1 large |
| Water | ⅓ cup + 2 tbsp |
Note: Do not drain the tuna! You want all that tuna water included for flavor and moisture.
Step-by-Step Instructions
Step 1: Preheat and Prep
Preheat your oven to 350°F (175°C). Line a baking pan with parchment paper. This batter is sticky, so parchment paper is a lifesaver for cleanup. If you don’t have parchment, grease the pan lightly with a little olive oil.
Step 2: The Blend
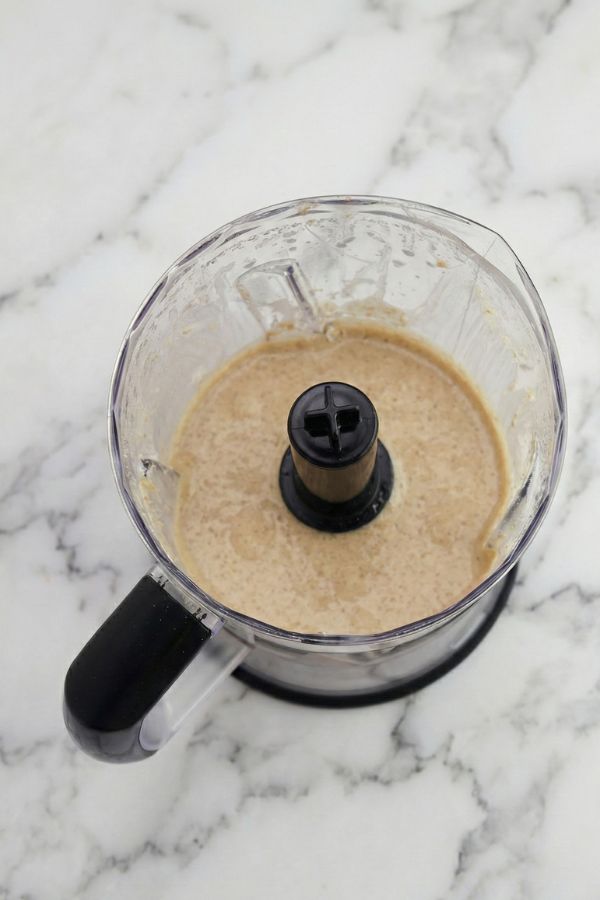
Open your tin of tuna and dump the entire contents—meat and water—into a blender or food processor. Crack in the egg, pour in the water, and add the flour.
Pulse the blender until the mixture turns into a thick, smooth, greyish batter. It should look a bit like cake batter (but please don’t lick the spoon!).
Tip: If you don’t have a blender, you can mash the tuna very thoroughly with a fork and whisk the ingredients together in a bowl, but the texture will be chunkier.
Step 3: Spread and Bake
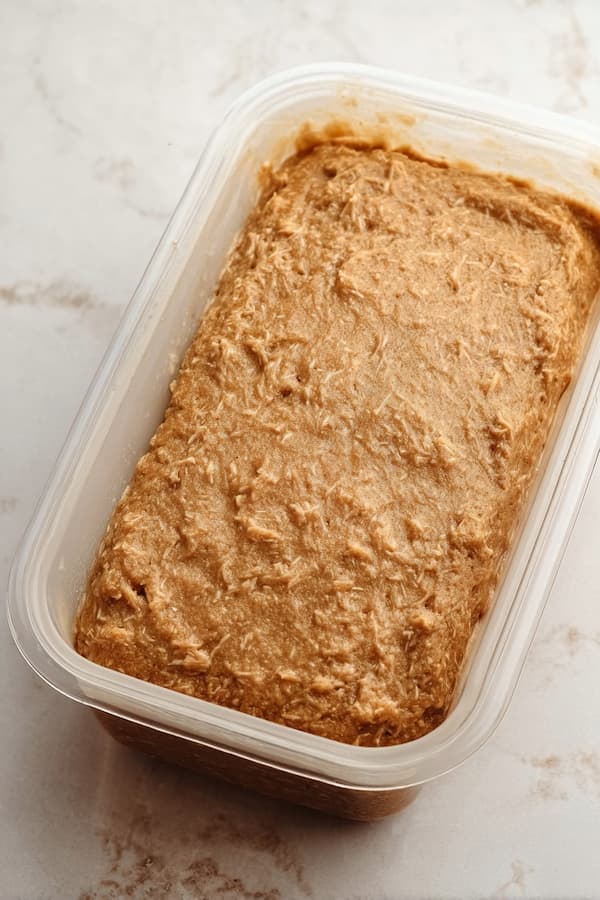
Pour the batter into your prepared baking pan. Use a spatula to spread it out evenly so it cooks uniformly. Pop it in the oven and bake for 15 to 20 minutes.
How to tell it’s done: The edges should pull away slightly from the pan, and the top should feel firm and rubbery to the touch (like a dense sponge cake).
Step 4: Cool and Cut
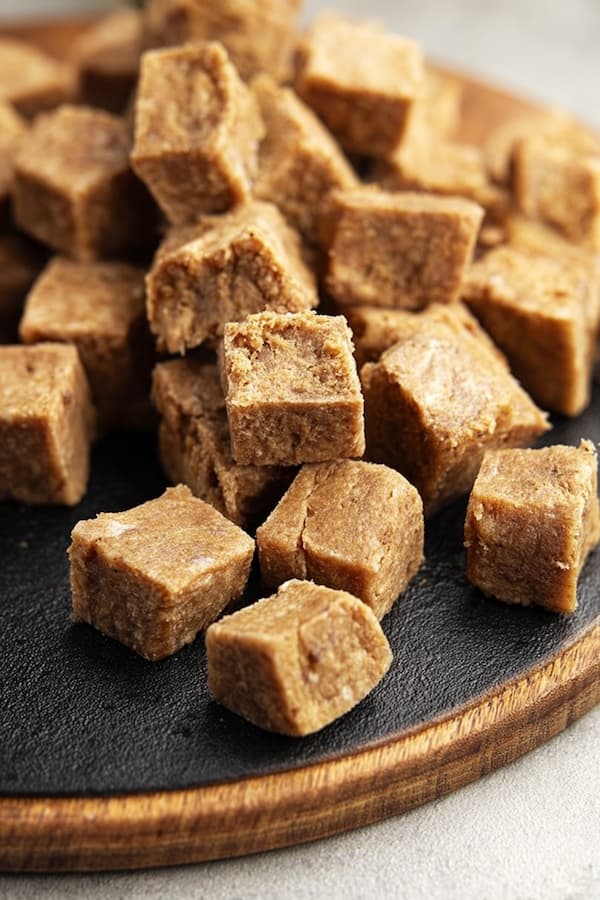
Remove the pan from the oven and let it cool completely. This is crucial—if you try to cut it while hot, it might crumble. Once cool, lift the “cake” out using the parchment paper. Place it on a cutting board and use a pizza cutter or sharp knife to slice it.
- For Training: Cut into tiny, pea-sized cubes.
- For Snacks: Cut into 1-inch squares.
Storage Tips
Because these treats contain fish and eggs without preservatives, they spoil faster than dry biscuits. Here is how to keep them fresh.
Refrigerator Storage (Short Term)
For the treats you plan to use this week, store them in an airtight container or Ziploc bag in the fridge. Because they are moist (like a brownie), they will mold if left on the counter.
- Shelf Life: 3 to 4 days.
Freezer Storage (Long Term)
This is actually the best way to handle Tuna Fudge. Slice the entire batch, separate them into small snack-sized bags, and toss them in the freezer. They freeze beautifully and don’t stick together too badly.
- Shelf Life: Up to 3 months.
- Tip: You don’t even need to thaw them! Most dogs love the chewy, cold texture of a frozen tuna treat, or they will thaw in your pocket within minutes on a walk.
Feeding Guidelines
The 10% Rule: These treats are nutrient-dense and rich in protein, but they are still treats. Veterinarians recommend that treats make up no more than 10% of your dog’s daily calorie intake.
- Small Dogs: 2-3 small cubes per training session.
- Medium/Large Dogs: A small handful spaced out over a session.
Strategic Use
Because these are so “high value,” don’t give them away for free! Save them for:
- Recall training (coming when called).
- Potty training.
- Distraction training (seeing another dog on a leash).
Frequently Asked Questions
Can I use oat flour instead of whole wheat?
Yes! If your dog is sensitive to gluten or wheat, oat flour is a fantastic substitute. You can make your own by grinding rolled oats in a blender until they become a fine powder. You may need to add a splash more water as oats absorb liquid quickly.
Can I use canned salmon or chicken?
Absolutely. Canned salmon (boneless/skinless) is a great alternative and is packed with Omega-3s. Canned chicken works too if your dog prefers poultry over fish. Just keep the ratios the same: 1 can of meat to the same amount of flour and egg.
Can cats eat these?
Yes! Since the ingredients are just tuna, egg, and flour, these are perfectly safe (and usually beloved) by cats. Just make sure you cut them into very tiny, cat-appropriate nibbles.
Final Thoughts
These tuna fudge treats might not be the prettiest snacks you’ll ever bake, and they certainly won’t win any awards for “Best Smelling Kitchen.” But when you see your dog’s eyes widen and their focus lock onto you the moment you open the jar, you’ll know it was worth it.
They are cheap, easy, and healthy—a trifecta that makes them a staple in my training pouch. Just maybe light a scented candle afterwards!