If you live in an area with harsh winters (hello, road salt and ice!) or scorching hot summers (hot pavement is no joke), you know exactly what it looks like when your dog’s paws take a beating. Their paw pads, usually tough and resilient, can become dry, cracked, and rough to the touch.
I noticed this with my own pup last winter. He started licking his paws constantly after walks, and when I looked closer, his pads felt like sandpaper. I looked into store-bought paw waxes, but the price tags were steep for tiny tins, and the ingredient lists were often miles long.
That’s when I started making my own “Paw Salve.”
This homemade balm acts like a barrier and a moisturizer all in one. It protects against the elements while soothing existing cracks. Think of it as high-end ChapStick, but for your dog’s feet. It uses simple, natural ingredients that are safe if (and when) your dog decides to lick a little bit off.
Why Make Your Own Paw Balm?
- Protection: It creates a wax shield against snow, ice, salt, and hot sand.
- Healing: Shea butter and Vitamin E are deeply moisturizing, helping to repair cracked skin.
- Safety: You control the ingredients. Since dogs groom themselves, you need to know that whatever you put on their feet is safe to ingest in small amounts.
The “Soothing Paws” Balm Recipe
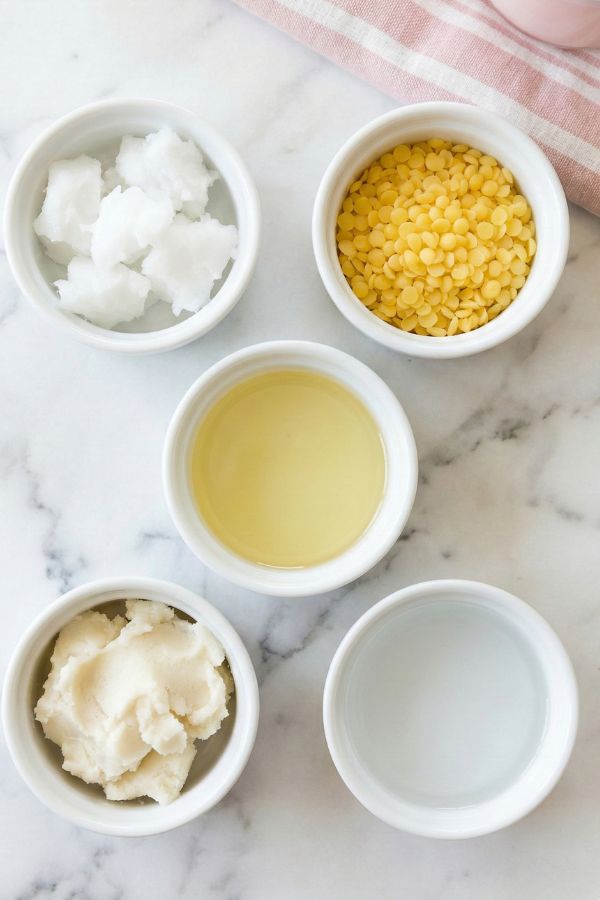
Ingredients
| Ingredient | Amount | Function |
| Beeswax | 1 ½ tbsp | The barrier. It hardens the balm and protects the skin. |
| Raw Shea Butter | 1 tbsp | The deep moisturizer. Softens rough pads. |
| Vitamin E Oil | 2 ⅓ tbsp | The healer. Promotes skin repair. |
| Coconut Oil | 2 ⅓ tbsp | Anti-bacterial and anti-fungal properties. |
| Water | 2 ½ cups | (For the double-boiler method, not the recipe itself!) |
Note: You can find beeswax pellets and raw shea butter at most health food stores or online.
Step-by-Step Instructions
Step 1: Prep Your “Pour Station”
Before you even turn on the stove, set up your final containers. Once the wax is melted, it is hot and you won’t want to be walking around the kitchen looking for a spot to put it.
Place your clean tins (small metal screw-top tins or small glass jars work best) on a flat surface where they won’t be disturbed for a few hours.
Step 2: Set Up the Double Boiler
We need to melt the ingredients gently so we don’t burn the oils. Pour the 2 ½ cups of water into a medium-sized saucepan (about 2 quarts).
Take a heat-proof glass measuring cup (like a Pyrex) and hook the handle over the edge of the pan. The bottom of the cup should be sitting in the water.
Step 3: Combine and Melt
Place your beeswax, shea butter, Vitamin E oil, and coconut oil directly into the glass measuring cup.Turn your stove burner to medium heat.
Important: Do not rush this with high heat! You want a gentle simmer in the water, not a rolling boil that splashes into your oil mixture.
Step 4: The Simmer
Let the water simmer around the cup. The ingredients will slowly start to liquefy. Use a wooden skewer or spoon to give it a random stir every now and then to help the heat distribute.
It usually takes about 10 minutes for everything to melt completely into a golden liquid.
Step 5: The Pour
Turn off the heat. Check the handle of your measuring cup—it should be cool enough to grab, but use an oven mitt just in case. Carefully pour the hot liquid into your prepared tins.
Tip: Only fill the tins about ¾ of the way full. This prevents spilling and makes it easier to get the lid on later without smudging the balm.
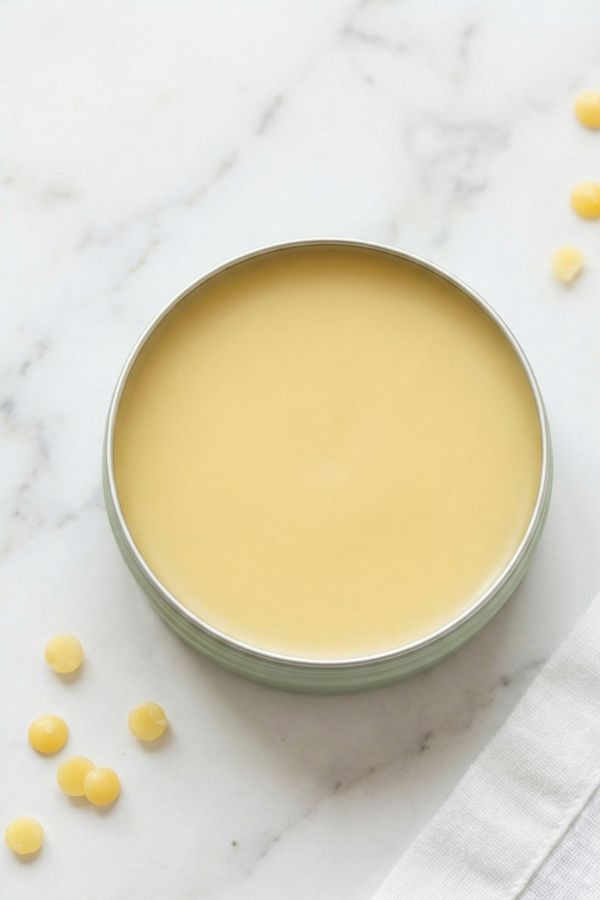
Step 6: The Patience Phase
Leave the tins alone! Let them sit on the counter undisturbed for at least 4 hours. As they cool, the liquid will turn opaque and harden into a firm salve.
How to Apply the Balm
Using the balm is simple, but there is a trick to getting the most out of it.
- Clean the Paws: Before applying, wipe your dog’s paws with a damp cloth to remove dirt or debris. You don’t want to seal grit inside the balm.
- Warm It Up: The balm will be firm in the tin. Rub your finger in a circular motion on the surface; your body heat will melt just enough to get a good amount on your fingertip.
- Massage: Rub the balm thoroughly into the paw pads (and even in between the toes if your dog has dry skin there).
- Distraction: Immediately after applying, give your dog a treat or a toy. This gives the balm a few minutes to absorb before they try to lick it off.
When to Use:
- Maintenance: Apply 1-2 times a week to keep pads soft.
- Winter Protection: Apply a thick layer right before a walk to protect against salt and ice.
- Repair: For cracked pads, apply daily (preferably at night when they are sleeping) until healed.
Storage and Shelf Life
Because this recipe contains no water (in the balm itself) and uses shelf-stable oils, it lasts quite a while.
- Location: Store in a cool, dry place away from direct sunlight. If it gets too hot (like in a car during summer), it will melt into liquid again.
- Shelf Life: Up to 2 months. If you notice any “off” smells like rancid crayons, it’s time to toss it and make a fresh batch.
- The Fridge: You can keep it in the fridge to extend the life, but it will be very hard to apply cold. Let it sit out for 20 minutes before using.
Frequently Asked Questions
My dog licked it off immediately. Is he going to be sick?
No. All the ingredients (coconut oil, shea butter, beeswax, Vitamin E) are non-toxic to dogs in small quantities. However, too much oil can cause loose stool, so try to distract them to let it absorb first.
Can I use olive oil instead of coconut oil?
Yes, you can. Olive oil is safe and moisturizing. However, coconut oil is generally preferred because it has natural anti-fungal properties that help with “yeasty” paws.
Can I add essential oils for scent?
I recommend against it. A dog’s sense of smell is thousands of times stronger than ours. What smells like a nice hint of lavender to you can be overpowering to them. Plus, many essential oils (like tea tree or peppermint) can be toxic to dogs. It is safer to keep it unscented.
Can I use this on my dog’s dry nose?
Absolutely! This balm is fantastic for “snout soothing” if your dog has a dry, crusty nose. Just dab a tiny bit on.
Final Thoughts
Making your own paw balm is one of those satisfying DIYs that makes you feel like a true “dog parent pro.” It takes less than 20 minutes of active work, but it provides months of protection for your furry friend.
Plus, the next time you hold your dog’s paw and it feels soft and smooth instead of scratchy, you’ll know exactly why. Here’s to happy, healthy feet on all your adventures!