I honestly don’t know who loves peanut butter more, my toddler, Lana, or Snickers. Last year, I caught the two of them hiding behind the kitchen door, sharing a spoonful straight from the jar, both with that same guilty grin.
It was one of those moments you can’t even be mad about, you just laugh, grab your phone, and take a picture.
Fast forward to today, peanut butter has become a full-blown staple in our house. It goes in smoothies, sandwiches, and—of course—cookies. Both kinds.
Lana gets chocolate chips. Snickers gets oats, broth, and love. These 4-ingredient peanut butter dog cookies have become one of his absolute favorites, simple, crunchy, and good enough that Lana keeps asking if she can have one too.
Why These 4-Ingredient Cookies Are a No-Brainer
Peanut Butter Perfection Let’s be honest—most dogs would do absolutely anything for peanut butter. These cookies deliver that rich, nutty flavor dogs crave in a crunchy, satisfying cookie form.
Moisture-Rich and Tender The combination of applesauce and chicken broth creates cookies that are crispy on the outside but have a slight tenderness inside. Not rock-hard jaw-breakers, but treats with actual texture your dog will enjoy.
Protein Boost from Broth Chicken broth adds savory depth and a hint of protein that makes these cookies smell amazing while baking. Your dog will come running from three rooms away when these hit the oven.
Whole Wheat Goodness Whole wheat flour provides fiber and nutrients while creating the perfect cookie structure. It’s heartier than white flour and gives these treats a satisfying, substantial bite.
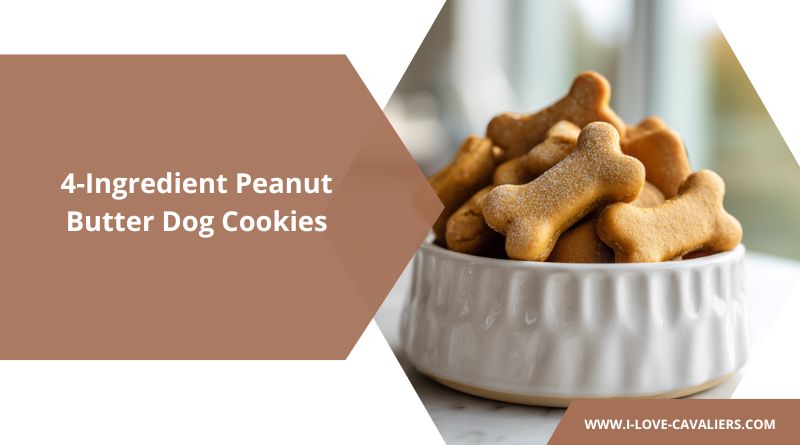
4-Ingredient Peanut Butter Dog Cookies Recipe
Makes approximately 30-40 cookies, depending on cutter size
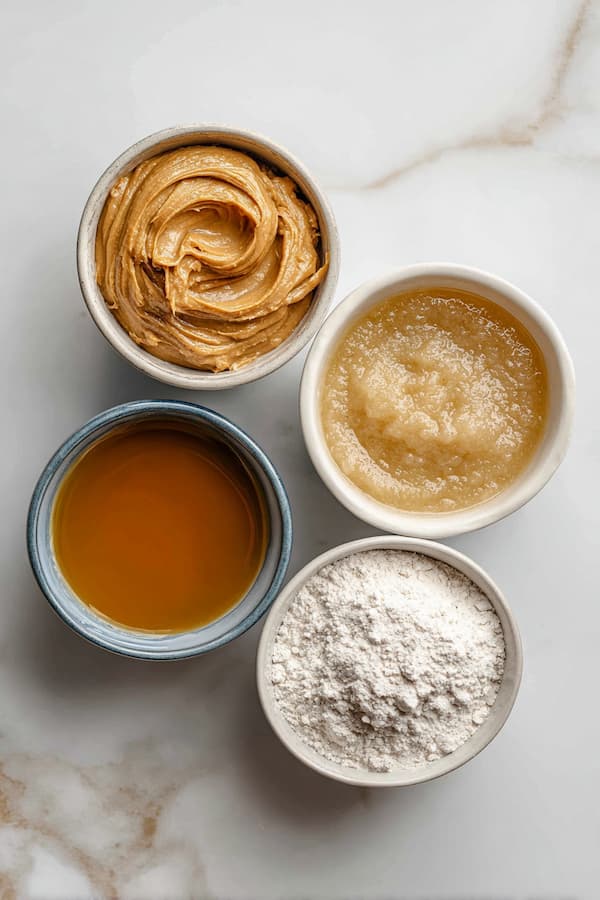
Ingredients
| Ingredient | Amount |
|---|---|
| Creamy peanut butter (xylitol-free) | ½ cup |
| Unsweetened applesauce | ¼ cup |
| Whole wheat flour | 1 cup |
| Low-sodium chicken broth | 4 tablespoons |
Ingredient Notes
- Peanut butter – Always, always check the ingredient label for xylitol, an artificial sweetener that’s deadly to dogs.
- Applesauce – Plain applesauce only—no added sugars, sweeteners, or spices.
- Chicken broth – Use low-sodium chicken broth to avoid excessive salt. Homemade bone broth works beautifully too. Make sure whatever broth you choose doesn’t contain onions or garlic, which are toxic to dogs.
Step-by-Step Instructions
Step 1: Combine Your Main Ingredients
Add the whole wheat flour to a large mixing bowl. Scoop in the peanut butter and applesauce directly on top. At this stage, everything will look separate and unconnected (that’s totally normal).
Step 2: Start Mixing
Using a wooden spoon or sturdy spatula, begin stirring the flour, peanut butter, and applesauce together. The peanut butter will be thick and stubborn at first. Keep working it, break up the peanut butter and fold it into the flour. After about a minute of mixing, things will start coming together into a shaggy, crumbly mixture.
Step 3: Add the Chicken Broth
Pour the 4 tablespoons of chicken broth over your flour mixture. Continue stirring with your spoon, working the broth into all the dry pockets. The dough will seem dry and crumbly initially, but the broth will gradually hydrate everything. Keep stirring for another minute or so until no dry flour remains visible.
Step 4: Bring It Together
The dough will be thick and somewhat stiff (that’s exactly what you want). Once you’ve stirred as much as you can with the spoon, abandon it and use your hands. Press and knead the dough directly in the bowl, squeezing and folding it over itself. Within 30-45 seconds of hand-kneading, it should come together into a cohesive ball.
Step 5: Check Dough Consistency
Your dough should be firm but pliable, similar to playdough. It shouldn’t be sticky or leave residue on your hands. If it feels too dry and crumbly, add chicken broth one teaspoon at a time and knead it in. If it’s too sticky, dust with whole wheat flour one tablespoon at a time until workable.
Step 6: Prepare Your Rolling Surface
Lightly sprinkle a clean countertop or large cutting board with whole wheat flour, just enough to prevent sticking, not so much that you’re incorporating extra flour into the dough. You can also roll between two sheets of parchment paper for zero-mess rolling.
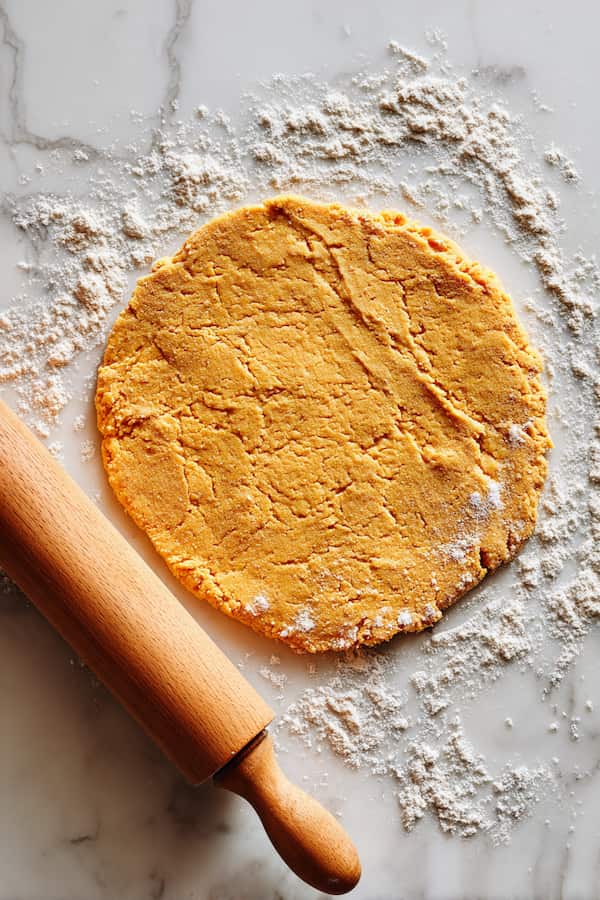
Step 7: Roll to Even Thickness
Place your dough ball on the floured surface. Using a rolling pin, roll it out evenly to approximately ¼-inch thickness. Try to maintain consistent thickness across the entire sheet of dough.
Step 8: Cut Your Cookie Shapes
Press cookie cutters straight down into the dough, then lift straight up. Avoid twisting as you cut. Classic bone shapes are always a hit, but hearts, circles, or seasonal shapes work great too.
Step 9: Transfer to Baking Sheet
Use a thin spatula to carefully lift each cut cookie and place it on your prepared baking sheet. Space them about ½ inch apart (they don’t spread during baking, but need a little room for air circulation). Gather your scraps, press them together, re-roll, and cut more cookies until you’ve used all the dough.
Step 10: Bake Until Golden
Slide your baking sheet into the preheated oven. Bake for 18 minutes at 350°F for standard-sized cookies (about 2 inches). Check at 18 minutes—cookies should be golden brown around the edges and feel firm when touched. Larger cookies may need 20-22 minutes; smaller ones might be done at 15 minutes. They should look dry rather than shiny.
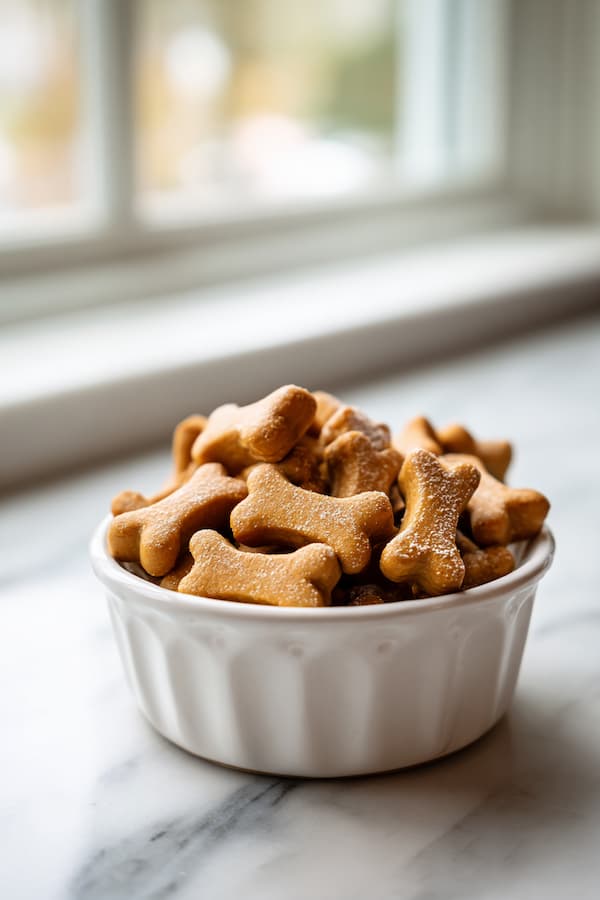
Step 11: Cool Completely
Remove from the oven and let the cookies cool on the baking sheet for 5 minutes, then transfer to a wire cooling rack. Let them cool completely (at least 20-30 minutes) before serving or storing. They’ll firm up significantly as they cool, developing that satisfying crunch.
Short and Long Term Storage
Short-Term Store completely cooled cookies in an airtight container at room temperature. Keep them in a cool, dry place away from humidity and direct sunlight. They’ll stay fresh and crunchy for about 2 weeks.
Long-Term (Up to 3 Months) Transfer cooled cookies to freezer-safe bags or containers, squeezing out excess air to prevent freezer burn. Layer parchment paper between cookies if stacking multiple layers.
Serving Guidelines
| Dog Weight | Treat Size | Daily Limit |
|---|---|---|
| 5-15 lbs | Small (1 inch) | 1-2 cookies |
| 16-30 lbs | Medium (1.5 inch) | 2-3 cookies |
| 31-50 lbs | Medium-Large (2 inch) | 3-4 cookies |
| 51-70 lbs | Large (2 inch) | 4-5 cookies |
| 71+ lbs | Large (2.5 inch) | 5-6 cookies |
While these cookies aren’t as peanut butter-heavy as some recipes, they still contain healthy fats and calories. Factor treats into your dog’s daily caloric intake and adjust meal portions accordingly on treat-heavy days.
As a general rule, treats should make up no more than 10% of your dog’s daily calories.
Final Words
So there you have it, 4 ingredients, and a recipe that’s become part of our family rhythm.
I hope your kitchen smells as good as mine does when these bake, and that your pup sits by the oven with that same hopeful look Snickers always has.
Make a batch, share the love, and maybe keep one cookie aside for the human who “accidentally” helped taste-test.
Because around here, peanut butter isn’t just an ingredient, it’s a love language.