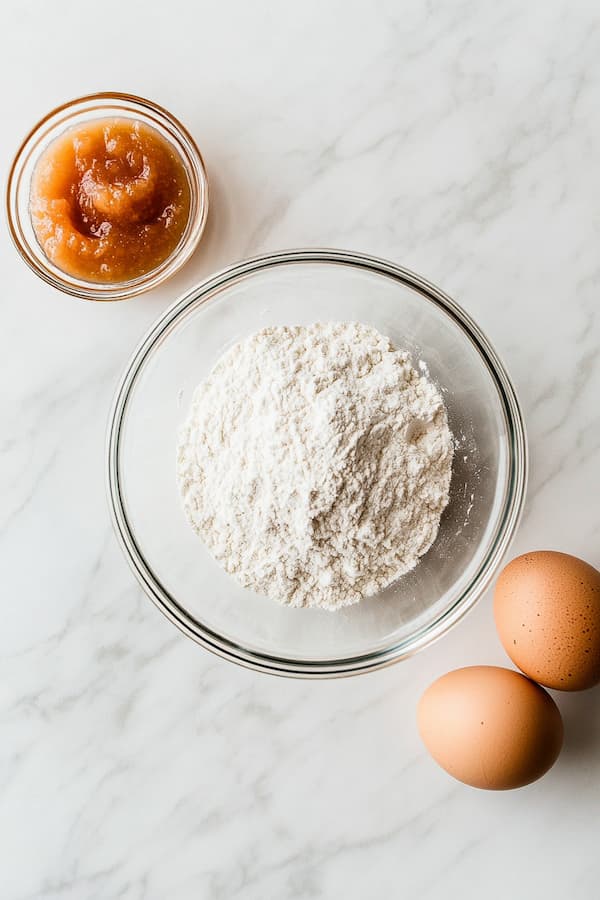
Pantry staples. That’s all you need for these treats. Oat flour, applesauce, and eggs. Things you probably already have sitting in your kitchen right now.
I made these on a rainy afternoon when I realized I was out of dog treats and didn’t feel like running to the store. Twenty minutes of hands-on work, and my dog had fresh-baked treats that lasted the entire week.
Nothing fancy, just simple baking that fills your kitchen with that cozy oat-and-apple smell. If you’ve never made homemade dog treats before, start here.
3-Ingredient Applesauce Dog Treats Recipe
Makes approximately 40-50 treats, depending on cutter size
Ingredients
| Ingredient | Amount |
|---|---|
| Oat flour | 4 cups |
| Unsweetened applesauce | 1¼ cups |
| Large eggs, room temperature | 2 |
| Honey (optional) | 1 teaspoon |
Ingredient Notes
Oat flour – You can buy pre-made oat flour or make your own by grinding old-fashioned oats in a food processor until fine and powdery. Homemade is cheaper and works just as well. Certified gluten-free oats work too if your dog has sensitivities.
Unsweetened applesauce – Check the label carefully. You want plain applesauce with no added sugars, sweeteners, or spices.
Step-by-Step Instructions
Step 1: Preheat Your Oven
Set your oven to 350°F and position a rack in the center. Line two large baking sheets with parchment paper or silicone baking mats.
Step 2: Make Your Oat Flour (If Needed)
If you’re starting with whole oats instead of pre-ground flour, add them to your food processor. Pulse for 30-45 seconds until they transform into a fine, powdery flour. You want a texture similar to all-purpose flour—no large oat flakes should remain. Measure out 4 cups after grinding.
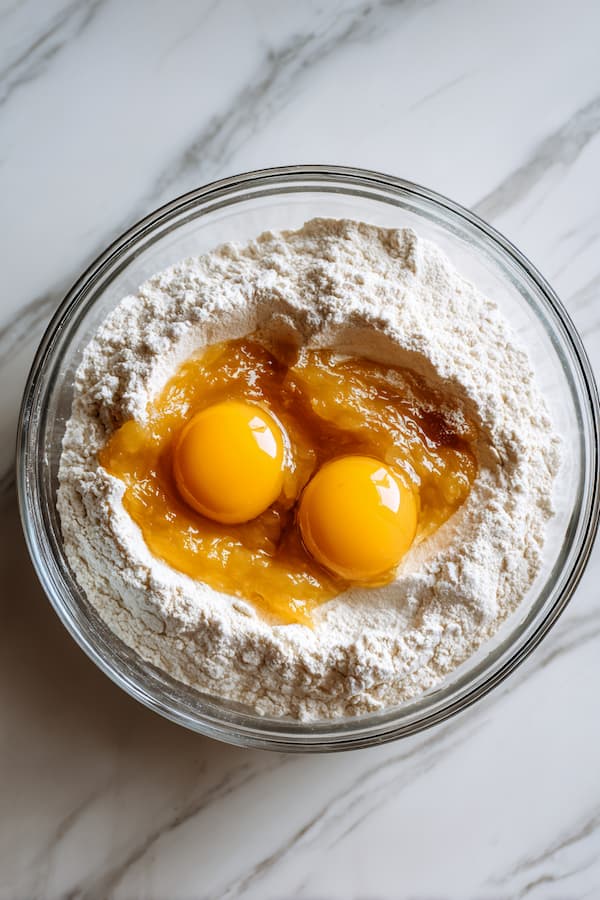
Step 3: Combine Ingredients
Pour the 4 cups of oat flour into a large mixing bowl, then crack both eggs into the bowl with the flour. Pour in the applesauce and honey (if using) right on top. At this point, everything will look like a mess—that’s completely normal.
Step 4: Mix Your Dough
Using a wooden spoon or sturdy spatula, stir everything together. It’ll seem dry and crumbly at first, but keep mixing. After about 1-2 minutes of stirring, the ingredients will start coming together. Once it begins forming clumps, ditch the spoon and use your hands to bring it into a cohesive ball. Knead it right in the bowl for 30-45 seconds.
Step 5: Chill the Dough (Optional But Recommended)
If your dough feels sticky, cover the bowl with plastic wrap or a clean kitchen towel and refrigerate for 20 minutes. This firms up the dough dramatically and makes rolling and cutting so much easier. Trust me, this step is worth the wait.
Step 6: Roll Out the Dough
Place your dough ball on the floured surface. Using a rolling pin, roll it out to approximately ¼-inch thickness. If the dough sticks to your rolling pin, dust it lightly with more oat flour.
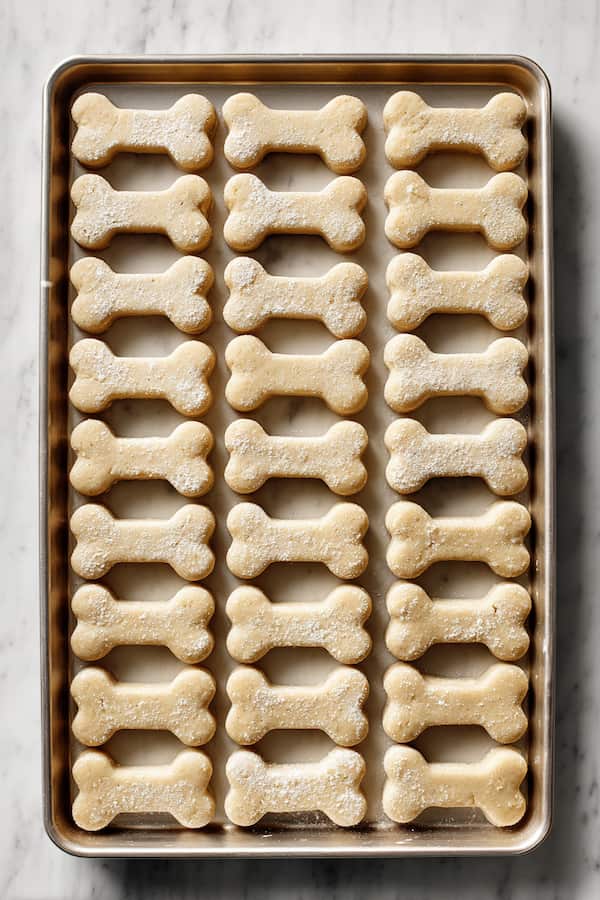
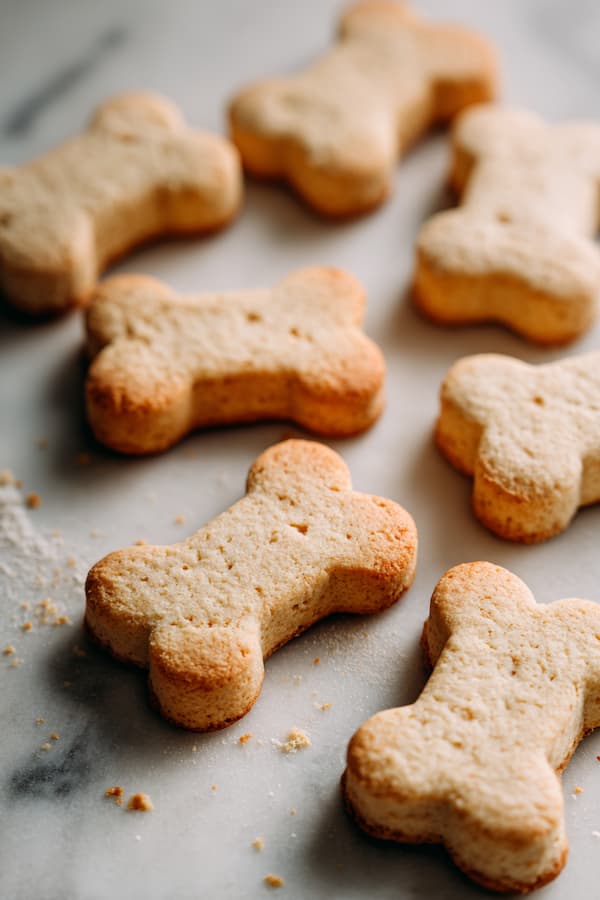
Step 7: Cut Your Shapes
Classic bones, hearts, circles, or fun seasonal shapes all work great. Your dog doesn’t care what shape they are, so pick whatever makes you happy!
Step 8: Transfer to Baking Sheets
Carefully lift each cut-out treat with a thin spatula and place it on your prepared baking sheet. Leave a bit space between treats—they don’t spread much but need a little breathing room. Gather your scraps, re-roll, and cut more treats until you’ve used all the dough.
Step 9: Bake
Slide your baking sheets into the preheated oven. Bake for 20-25 minutes, checking at the 20-minute mark. The treats should be golden beige/brown around the edges and firm to the touch. If they still look pale or feel soft, give them another 3-5 minutes.
Step 10: Cool Completely
Let the treats cool completely on the baking sheets or transfer to a wire cooling rack. They’ll continue to firm up as they cool and won’t reach their final texture until room temperature.
Storing Treats
Short-Term (Up to 2 Weeks)
Store completely cooled treats in an airtight container at room temperature. Keep them in a cool, dry spot away from direct sunlight. They’ll maintain their texture and freshness for about 2 weeks.
Refrigerator Storage (Up to 3 Weeks)
For slightly longer storage, refrigerate in a sealed container. The applesauce content means these have a bit more moisture than some treats, so refrigeration can extend their life if you’re in a humid climate.
Long-Term (Up to 4 Months)
- Freezer Method: Place cooled treats in freezer-safe bags or containers, removing as much air as possible. Layer parchment paper between treats if stacking to prevent them from freezing together.
- Portion Control: Divide into weekly portions so you’re only thawing what you need.
- Serving: Thaw in the refrigerator overnight or at room temperature for 15-20 minutes. They can also be served frozen for a longer-lasting chew.
Serving Guidelines and Considerations
| Dog Weight | Treat Size | Daily Limit |
|---|---|---|
| 5-15 lbs | Small (1 inch) | 2-3 treats |
| 16-30 lbs | Medium (1.5 inch) | 3-4 treats |
| 31-50 lbs | Medium (1.5 inch) | 4-5 treats |
| 51-70 lbs | Large (2 inch) | 5-6 treats |
| 71+ lbs | Large (2 inch) | 6-8 treats |
Calorie Considerations: While these treats are wholesome, they still add to your dog’s daily calorie intake. On days when you offer several treats, slightly reduce meal portions to help maintain a healthy weight.
I’m not a canine nutritionist, and every dog is different. Each requires a unique amount of daily calories depending on size, age, and activity level.
But a good rule of thumb is to keep treats to no more than 10% of your dog’s total daily calorie intake.
Frequently Asked Questions
My dough is too crumbly and won’t come together. Help!
Add applesauce one tablespoon at a time, mixing after each addition, until the dough binds. Overmeasuring flour is the usual culprit; spoon flour into measuring cups rather than scooping directly.
Can I add cinnamon or other spices?
A small amount of cinnamon (¼ teaspoon) is safe and adds nice flavor. Avoid nutmeg, which can be toxic to dogs.
These treats are too hard for my senior dog. Can I make them softer?
Yes! Reduce baking time to 15-18 minutes for a softer, chewier texture. Roll the dough slightly thicker (closer to ½ inch) for even softer treats. Store in the refrigerator to maintain softness.
Final Thoughts
Easy. That’s the theme here. Easy ingredients, easy process, easy cleanup. Sometimes the best recipes are the ones that don’t try to be complicated.
Your dog gets homemade treats made with real food, you get the satisfaction of knowing exactly what’s in their snacks, and your kitchen smells amazing for hours afterward. It’s a win all around.
Make a batch this weekend, store them properly, and enjoy having healthy treats on hand whenever training, cuddle time, or a simple “you’re the best dog ever” moment calls for a reward. Your pup will definitely approve.