I’ve always been a practical person. If there’s a way to get five things done with half the effort, I’ll take that route every time. Work smarter, not harder. You might agree or you might shake your head, but that’s just me.
Yet, more often than not, the simplest solutions turn out to be the best ones.
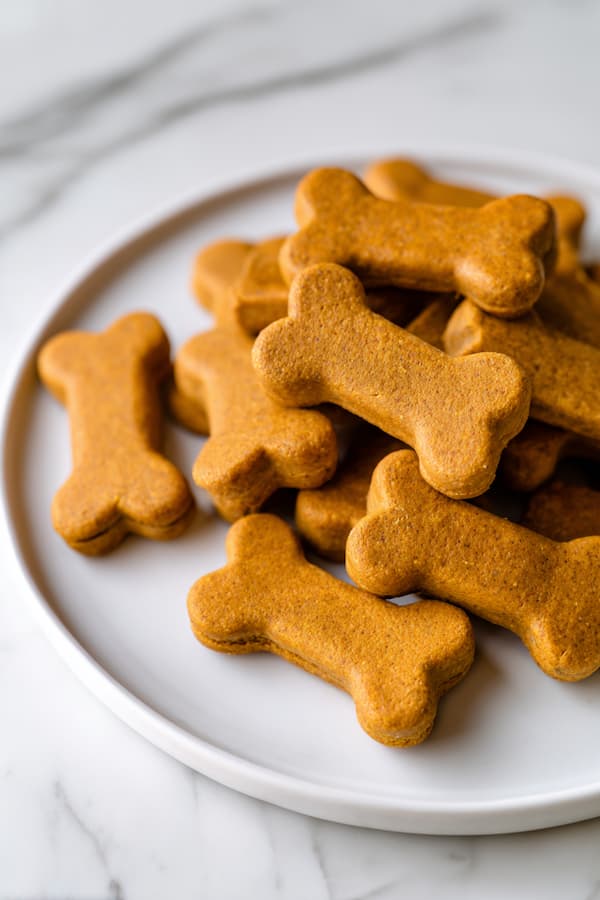
That’s exactly why I love these 2-ingredient pumpkin dog treats. They’re quick, easy, and made with ingredients you probably already have at home. No long shopping lists, no complicated steps.
Why These 2-Ingredient Homemade Dog Treats Are Worth Making?
#1 Pure, Simple Ingredients
With just two wholesome ingredients, these treats eliminate artificial preservatives, colors, and mystery additives found in commercial dog treats. You know exactly what your dog is eating, nothing more, nothing less.
#2 Digestive Health Benefits
Pumpkin is a nutritional powerhouse for dogs, providing soluble fiber that aids digestion and can help with both diarrhea and constipation. The beta-carotene in pumpkin also supports eye health and immune function.
#3 Budget-Friendly and Practical
A single batch costs under $3 and yields 20-30 treats, compared to $8-12 for similar premium store-bought options. Plus, you likely have these ingredients in your pantry already, making this recipe perfect for last-minute treat preparation.
2-Ingredient Pumpkin Dog Treats Recipe
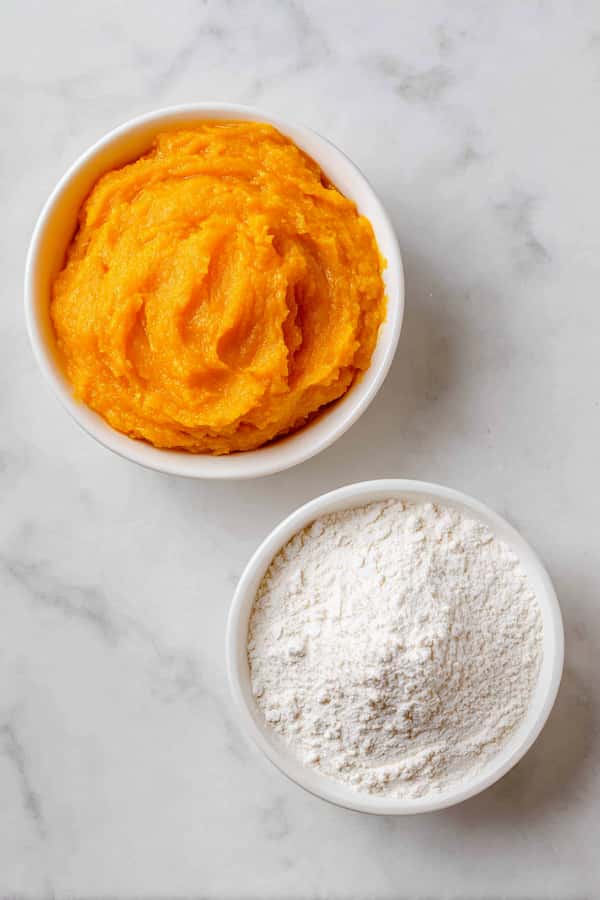
| Ingredient | Amount |
|---|---|
| Whole wheat flour | 1¼ cups |
| Pure pumpkin puree (not pie filling) | 1 cup |
Essential Ingredient Information
Pumpkin Puree Selection: Always use plain pumpkin puree, never pumpkin pie filling. Pie filling contains spices like nutmeg and cinnamon that can be harmful to dogs in large quantities, plus added sugars that aren’t necessary for canine health. Look for 100% pure pumpkin with no additives on the ingredient list.
Flour Considerations: Whole wheat flour provides fiber and nutrients, but you can substitute with:
- Oat flour – For gluten-sensitive dogs
- Rice flour – For dogs with wheat allergies
- Coconut flour – Use ¾ cup instead of 1¼ cups, as it’s more absorbent
Equipment Needed
- Large mixing bowl
- Measuring cups
- Rolling pin
- Dog bone cookie cutters (or any fun shapes)
- Baking sheet
- Parchment paper
Detailed Instructions
Prepare Your Baking Environment
Preheat your oven to 350°F (175°C). This moderate temperature ensures the treats bake evenly without burning the outside while leaving the inside undercooked. Line a large baking sheet with parchment paper to prevent sticking.
Create Your Work Station
Lay a second sheet of parchment paper on a clean, flat work surface. This becomes your rolling station and prevents the dough from sticking to your counter. Keep extra flour nearby for dusting. Pumpkin dough can be slightly sticky to work with.
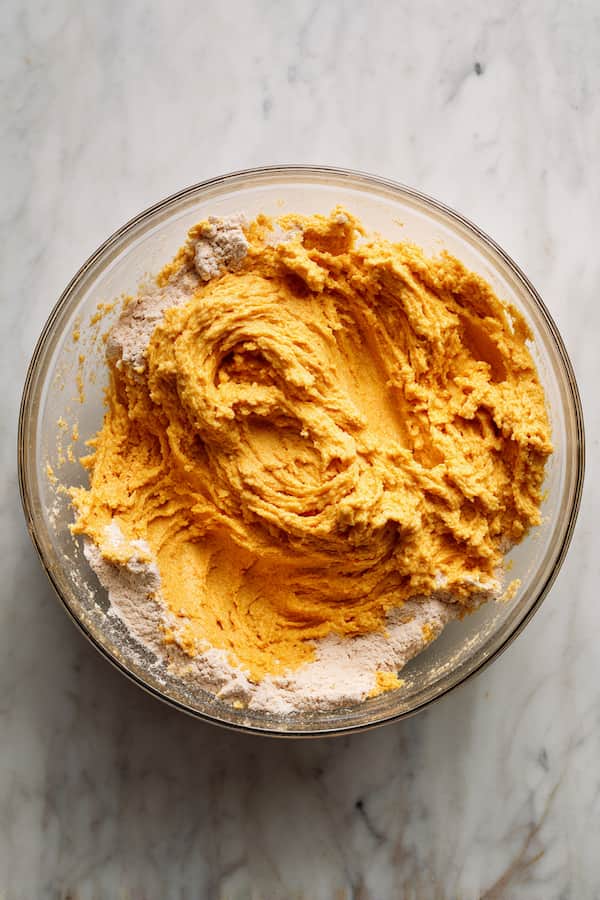
Mix the Simple Dough
In a large mixing bowl, combine 1¼ cups whole wheat flour and 1 cup pumpkin puree. Start by stirring with a wooden spoon until the mixture begins to come together. As it thickens, switch to mixing with clean hands, kneading gently until you achieve a smooth, cohesive dough. The dough should feel slightly tacky but not sticky enough to cling to your hands. If too wet, add flour 1 tablespoon at a time; if too dry, add pumpkin 1 teaspoon at a time.
Roll to Perfect Thickness
Lightly dust your parchment work surface with flour. Place the dough ball in the center and begin rolling from the middle outward, turning the dough 90 degrees periodically for even thickness. Roll to approximately ¼ to ½ inch thick. Thinner treats will be crispier, while thicker ones will have a softer, chewier texture. Aim for consistency across the entire sheet for even baking.
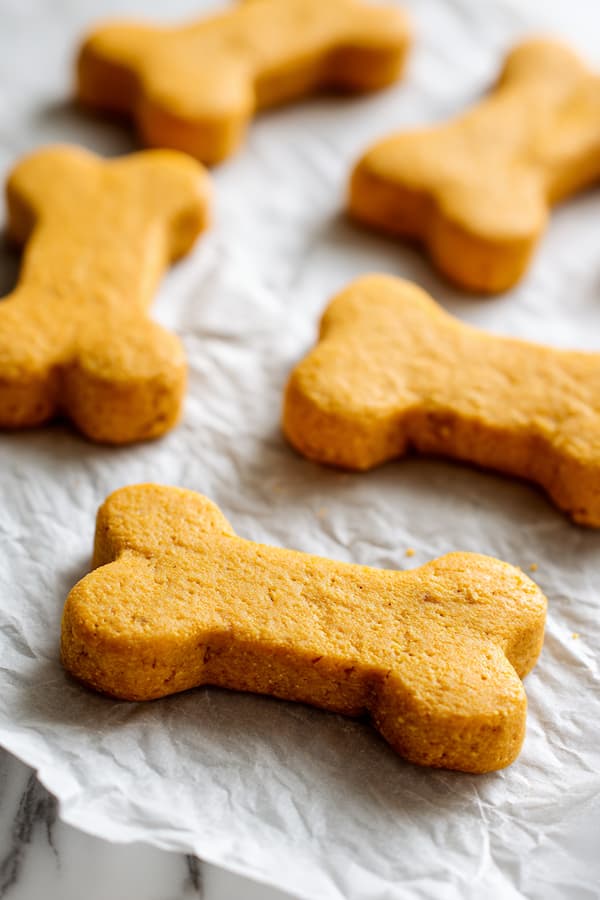
Cut Your Shapes
Using dog bone cookie cutters or any pet-safe shapes, press straight down through the dough without twisting, which can seal the edges and prevent proper rising. Cut shapes as close together as possible to minimize waste. Carefully transfer each cut treat to your parchment-lined baking sheet, leaving about ½ inch between each treat for air circulation.
Maximize Your Dough
Gather the leftover dough scraps, gently press them together (don’t overwork), and roll out again. Repeat the cutting process until all dough is used. This typically yields 20-30 treats depending on your cutter size.
Bake with the Cool-Down Method
Place the baking sheet in the preheated oven and bake for exactly 25 minutes. After 25 minutes, turn off the oven but leave the treats inside with the door closed. This gradual cooling method continues the baking process gently, creating treats that are crispy outside and perfectly cooked inside without becoming rock-hard.
Final Cooling and Testing
Remove treats from the oven once it’s completely cool. They should feel firm and dry to the touch, with a slightly golden color around the edges. Let them cool on the baking sheet for an additional 10 minutes before handling to ensure they maintain their shape.
Storage and Serving Guidelines
Proper Storage Methods:
- Refrigerator: Store in an airtight container for up to 2 weeks
- Freezer: Freeze in freezer bags for up to 3 months
- Room temperature: Only for 2-3 days in dry climates; moisture from pumpkin can cause spoilage
Serving Recommendations:
- Small dogs (under 25 lbs): ½ to 1 treat per day
- Medium dogs (25-60 lbs): 1-2 treats per day
- Large dogs (over 60 lbs): 2-3 treats per day
Always count treats as part of your dog’s daily caloric intake. And as a general rule of thumb, dog treats should be no more than 10% of your dog’s total calorie intake.
Recipe Variations
For Grain-Free Dogs: Substitute with almond flour or coconut flour
Extra Fiber Boost: Add 1 tablespoon ground flaxseed to the flour mixture
Protein Enhancement: Mix in 1 tablespoon peanut butter (xylitol-free only)