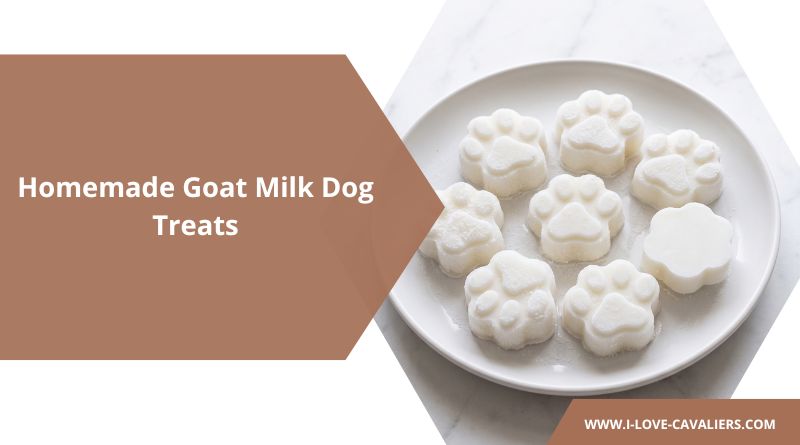
The bottle of goat milk had been sitting in my fridge for four days. I bought it on impulse after my vet mentioned it during a routine visit, said something about it being gentler on dog stomachs than regular milk. Then I got home, put it in the fridge, and completely forgot about it.
Snickers reminded me. He was standing in front of the fridge doing that thing where he stares at the door like he can open it with his eyes. It was hot. My Cavalier had been dragging himself around the apartment all morning, and I wanted to give him something that would actually cool him down.
I grabbed the goat milk and a container of plain Greek yogurt from the shelf. Dumped both into the blender. Poured the mixture into a silicone paw-print mold I’d bought for another recipe. Three hours later I handed him one, and he inhaled it in about twenty seconds. Then he stood by the freezer waiting for a second.
That was the moment I realized I’d stumbled onto something that was going to become a summer staple. Two ingredients. Five minutes of hands-on work. And a dog that acts like you’re handing him a filet mignon.
Why Goat Milk Actually Works for Dogs
I’ll be the first to admit I was skeptical. Milk and dogs never seemed like a great combination in my head. Turns out goat milk is a different story than the cow milk we usually think of.
- Lower lactose content. Goat milk sits at around 4.2% lactose vs about 4.8% in cow milk. Not lactose-free, but noticeably easier for most dogs to handle.
- Smaller fat molecules. They break down faster in a dog’s stomach, which means less bloating and less “why is my dog gassy on the couch” energy.
- A2 casein protein. This is the same protein type found in human breast milk. Cow milk contains A1 casein, which is linked to more digestive irritation in dogs.
- Natural probiotics. Even pasteurized goat milk carries some beneficial bacteria. Add plain Greek yogurt on top and you get a serious gut-friendly combo.
That last point is why I pair it with Greek yogurt in this recipe. The yogurt brings live cultures, the goat milk brings the digestion-friendly base, and together they hit harder than either would alone.
What You’ll Need
Just two ingredients. That’s it.
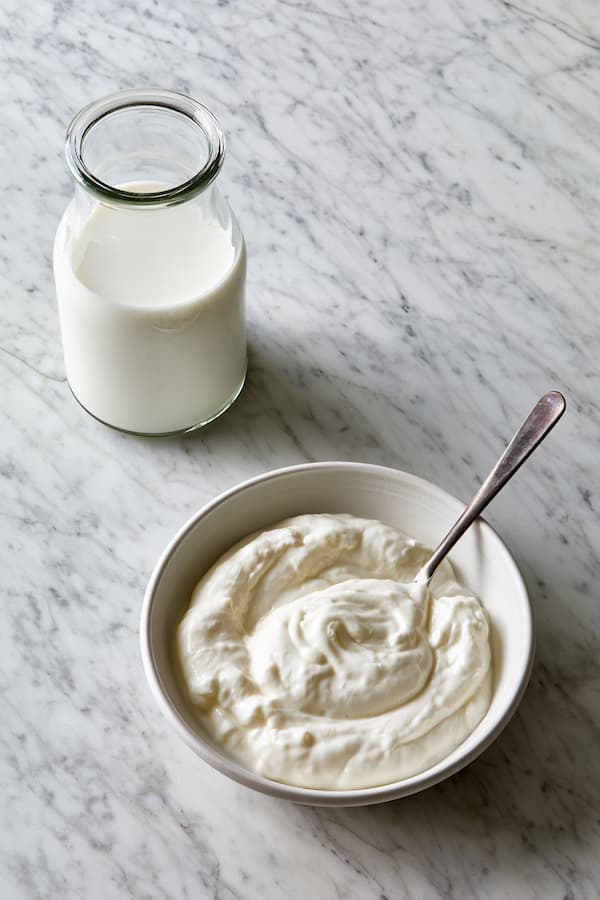
| Ingredient | Amount | Notes |
|---|---|---|
| Plain goat milk | 1 cup | Unsweetened, unflavored. Pasteurized is fine for most dogs; raw is stronger nutritionally but riskier |
| Plain Greek yogurt | ½ cup | Full-fat, unsweetened, no xylitol, no fruit added |
On the goat milk
You’ve got three real options at the store. Fresh pasteurized goat milk from the dairy section is the easiest starting point. Raw goat milk carries more live enzymes and probiotics but comes with a bacterial risk that some vets flag. Powdered goat milk (usually sold as a dog supplement) mixes with water and is the cheapest per serving.
I use pasteurized fresh for this recipe because it blends smooth and I don’t have to plan ahead. If you’re going the powdered route, mix it to package instructions and use the resulting liquid the same way.
On the Greek yogurt
Read the label. I’m serious about this. “Plain” on the front of the container does not always mean plain inside. Some brands sneak in vanilla, sweeteners, or thickeners that dogs don’t need. What you want is a two-ingredient label: milk and live cultures. Nothing else.
Never use yogurt that lists xylitol or “sugar alcohol” anywhere on the label. Xylitol is toxic to dogs even in tiny amounts, and some flavored yogurts contain it as a sweetener.
Equipment
- A blender or food processor (a whisk works if you’re patient)
- A silicone mold (paw prints, bones, or a plain ice cube tray)
- A baking sheet or flat tray to hold the mold steady in the freezer
The mold matters more than people think. Silicone releases the frozen treats cleanly. Hard plastic ice trays work but you’ll need to run warm water on the bottom to pop them out.
How to Make Goat Milk Dog Treats
Now that you have your ingredients ready, here’s the actual process from start to freezer.
Step 1: Blend the Base
Pour the goat milk and Greek yogurt into your blender. Blend on medium for about 20 seconds, or until the mixture is completely smooth with no yogurt clumps floating in it. If you’re using a whisk, you’ll need to work at it for a full minute to get the yogurt fully incorporated.
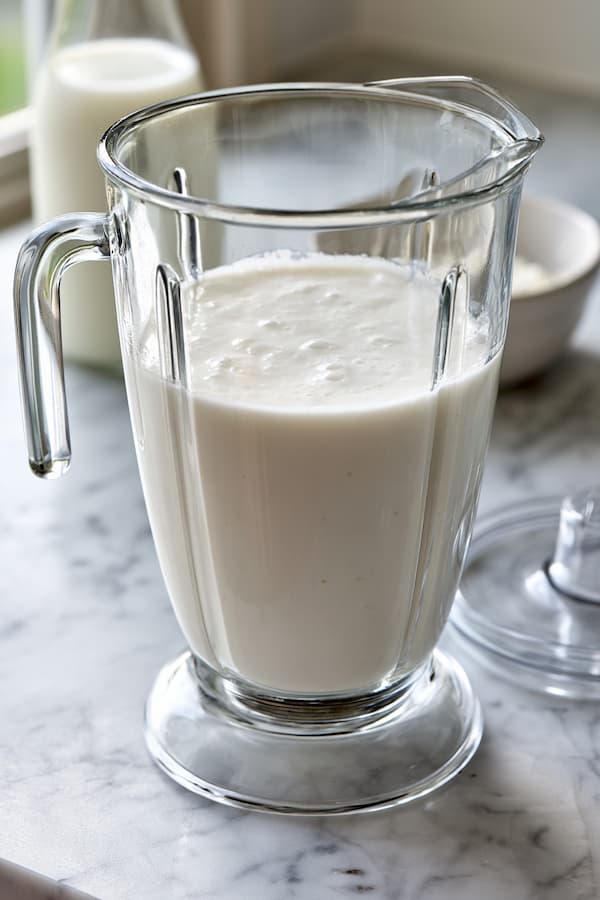
The mixture should look like thin cream, pourable but with some body. If it’s watery, you probably need more yogurt. If it’s too thick to pour, add a splash more goat milk and pulse it again.
Step 2: Set Up Your Molds
Place your silicone mold on a baking sheet or flat tray. This is the step nobody tells you about, and it’s the reason my first batch ended up as a puddle on the bottom of my freezer.
Silicone molds are floppy. Once they’re full of liquid, they will bend and spill unless something rigid is holding them flat. A baking sheet solves this in about two seconds.
Step 3: Fill Each Mold
Pour or spoon the mixture into each cavity of the mold. Fill each one about 90% full, not all the way to the top. Frozen liquid expands, and overfilled molds create weird domed treats that don’t stack well for storage.
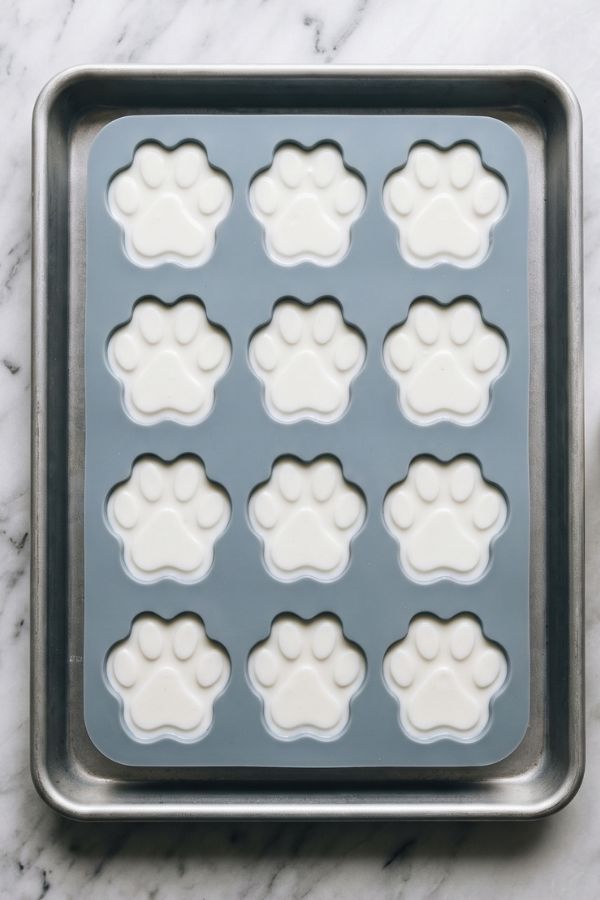
If your mold has small cavities, a small spouted measuring cup makes this way easier than pouring straight from the blender pitcher. I use a 1-cup Pyrex with a lip and it saves me a mess every time.
Step 4: Freeze Solid
Slide the whole tray (mold plus baking sheet) into the freezer. Set a timer for 3 hours. The treats need to be solid all the way through before you try to pop them out.
Do not shortcut this. I’ve tried the “just 90 minutes should be fine” experiment and ended up with a mold full of half-frozen goop when I tried to unmold them. Three hours is the sweet spot for a standard paw-print mold. Larger molds may need 4-5 hours to freeze all the way through.
Step 5: Pop and Serve
Once the treats are solid, twist the silicone gently to release each one. They should pop out cleanly. If any are stubborn, run warm water on the underside of the mold for a few seconds and try again.
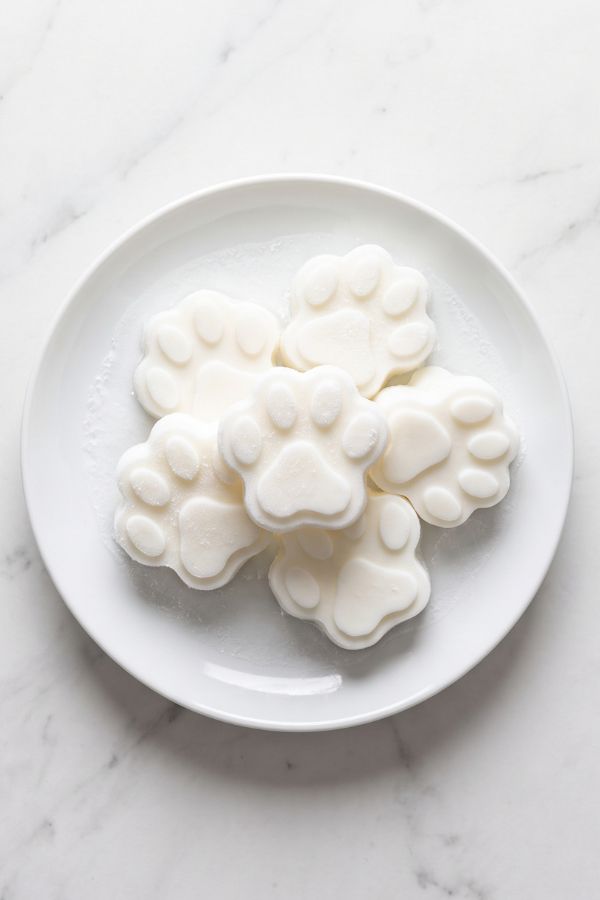
Serve one treat to your dog on a hard floor (kitchen tile, bathroom, anywhere you don’t mind a little drip). Watch them enjoy it. Then move any leftover treats to a freezer-safe container for storage.
How to Store Them
Frozen goat milk treats keep well as long as you seal them properly. Air is the enemy here, and freezer burn will ruin the texture within a few weeks.
- Best method: transfer the popped-out treats to a zip-top freezer bag, squeeze out the air, and label with the date.
- Second best: an airtight glass or plastic container with a tight lid.
- Worst: leaving them uncovered on a plate in the freezer. That’s how you get freezer-burnt hockey pucks in about a week.
Stored properly, they’ll stay fresh in the freezer for up to 2 months. After that the texture starts to degrade even if they’re still safe to eat.
Serving Size by Dog Weight
Treats should stay under 10% of your dog’s daily calories. Goat milk and Greek yogurt are both nutrient-dense, so the servings look small on paper. Trust the numbers.
| Dog Weight | Max Per Day | What That Looks Like |
|---|---|---|
| Under 15 lbs (small breeds) | 1 small treat | One paw print from a mini mold |
| 15-30 lbs | 1-2 treats | Small paw print or one full-size cube |
| 30-60 lbs | 2-3 treats | Two to three full-size paw prints |
| 60+ lbs | 3-4 treats | Three to four full-size paw prints |
If you’re introducing goat milk for the first time, start with half of the recommended amount and watch for loose stool or gas over the next 24 hours. Some dogs handle dairy beautifully. Some don’t. You’ll know within a day.
Simple Add-Ins If You Want to Get Fancier
The base recipe is intentionally minimal. But once you know the basic formula works for your dog, you can layer in extras without changing the fundamentals.
- Blueberries — 1/4 cup, blended into the mixture. Adds antioxidants and a pale purple color that makes the treats prettier.
- Pumpkin puree — 2 tablespoons of plain canned pumpkin (not pie filling). Boosts fiber and helps firm up loose stools.
- Ripe banana — half a banana, blended in. Adds sweetness and creaminess. Best for dogs that need weight, not for dogs on a diet.
- Honey — half a teaspoon. Only if your dog is over one year old. Small amount, big flavor punch.
- Peanut butter — 1 tablespoon, xylitol-free. Adds protein and makes the treats disappear faster than any other add-in in my testing.
Pick one or two, not all of them. The recipe is supposed to be simple and low-calorie. If you want a heavier treat with more mix-ins, my DIY dog treats for dogs with allergies post covers that territory better.
Back to the Freezer We Go
I keep a stack of these in the freezer now, in a labeled zip bag pushed to the back where I can find them fast. On the hot days, Snickers has figured out the routine. He walks over to the freezer, sits down, and waits.
I always give in. Something about watching a small spaniel work his way through a frozen paw print, tail thumping the floor, makes the five minutes of prep worth it every time.
If you make a batch this week, you’ll probably find yourself doing the same. Two ingredients, one blender, and a dog that thinks you’re a genius.
I’m a passionate dog lover and kitchen enthusiast, but I’m not a certified veterinarian or animal nutritionist. Long-term homemade diets should always be discussed with your vet to make sure your pup is getting everything they need.
Bon appétit to your furry friend!