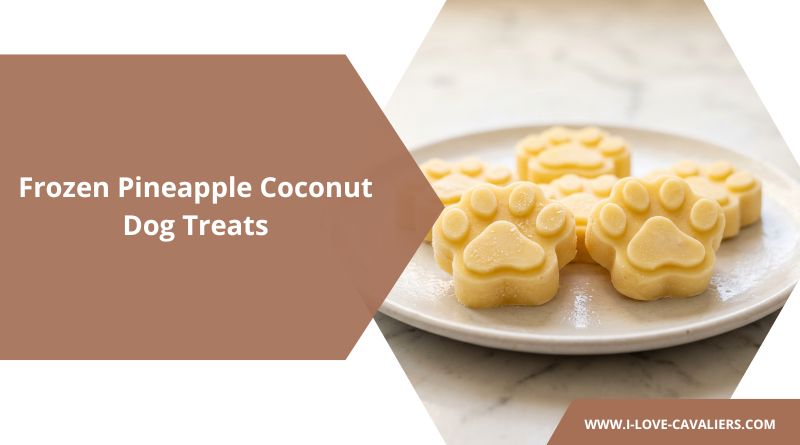
Last July, the air on our porch felt like it was moving through soup. I had the fan going. Snickers, my Cavalier, was flat on the tile in the kitchen with her belly pressed against the coolest spot she could find, looking at me with that quiet accusation dogs give you when they think you’re personally in charge of the weather.
I opened the freezer to grab an ice cube for my own water. She heard it. Made it to the kitchen doorway before the door swung shut.
That’s how these treats happened. I had a pineapple on the counter, a can of coconut milk in the pantry, and about ten minutes of patience. What came out of the silicone mold that night is now Snickers’ summer standby.
Every hot afternoon, she parks herself next to the freezer around four. She’s not subtle about it.
If your dog is doing the same “I am dying, please help” flop routine on the floor right now, these are worth twenty minutes of your afternoon.
Quick Snapshot Before You Blend
| Detail | What to Know |
|---|---|
| Time | 5 min prep, 4 hours freeze |
| Yield | 12-14 small paw-shaped treats |
| Base | Fresh pineapple + coconut milk + Greek yogurt + ripe banana |
| Best for | Hot days, hydration, boredom-busting, small to large dogs |
| Serving size | 1 treat per 10 lb of dog, max once a day |
If you only remember one thing: use full-fat coconut milk, not coconut cream, and never canned pineapple packed in syrup. The rest is forgiving.
Why These Beat the Store-Bought Version
- You control every ingredient. No mystery preservatives, no hidden xylitol, no gums.
- They actually hydrate. Coconut milk and pineapple both bring water and electrolytes.
- Cheap per treat. One batch works out to a few cents each once the pantry is stocked.
- Freezer keeps for months. Make one batch, feed for weeks.
Not a bad tradeoff for something that takes less time than making coffee.
Ingredients
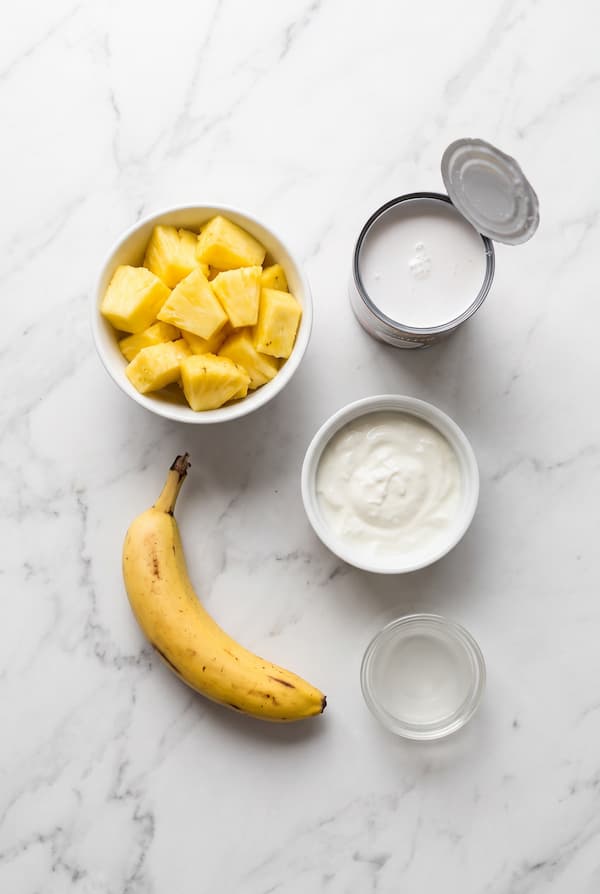
| Ingredient | Amount | Notes |
|---|---|---|
| Fresh pineapple, cored and chunked | 1 cup | Skip canned. Frozen chunks work too. |
| Full-fat coconut milk (unsweetened) | 1 cup | Check the label for gums and sweeteners. |
| Plain unsweetened Greek yogurt | ½ cup | Lactose-free if your dog is sensitive. |
| Ripe banana | 1 small | The riper the better. Speckled skins are gold. |
| Coconut water (optional) | 2 tbsp | Loosens the mix if it’s too thick to pour. |
The fat is doing real work here. Watery fruit alone freezes into an ice cube.
Full-fat coconut milk plus the yogurt plus that ripe banana keep the texture creamy instead of chippable. Skip the fat and you’ll end up with rock candy.
Frozen Pineapple Coconut Dog Treats Recipe
Step 1: Prep the Pineapple
Cut the top and bottom off the pineapple. Stand it up and slice down the sides to remove the skin. Cut the fruit into quarters lengthwise, then slice out the tough central core from each wedge.
Chop what’s left into rough chunks. You want one cup for this batch.
Save the extra pineapple for yourself. That’s the tax.
Step 2: Blend Everything
Add the pineapple, coconut milk, yogurt, and banana to a blender or food processor. Blend on high for about 30 seconds, until the mix looks smooth and pale yellow. If it’s too thick to pour easily, add the two tablespoons of coconut water and pulse again.
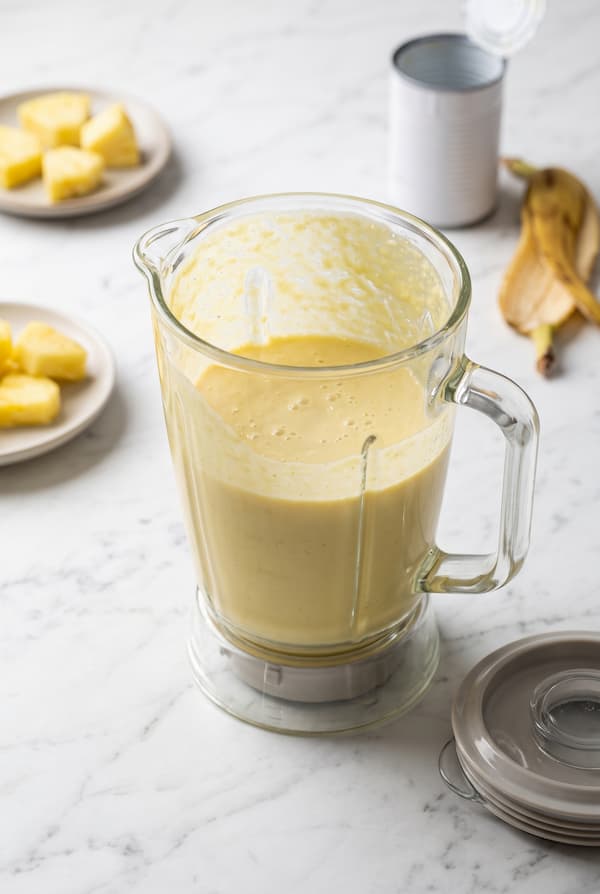
Taste it. Yes, you. It should be mildly sweet, not sugary.
If yours tastes like dessert, your coconut milk probably had added sugar. Check the label and swap it next time.
Step 3: Fill the Molds
Pour the mix into silicone molds, ice cube trays, or a shallow baking dish. I like small paw-shaped silicone molds because they pop out clean and portion themselves.
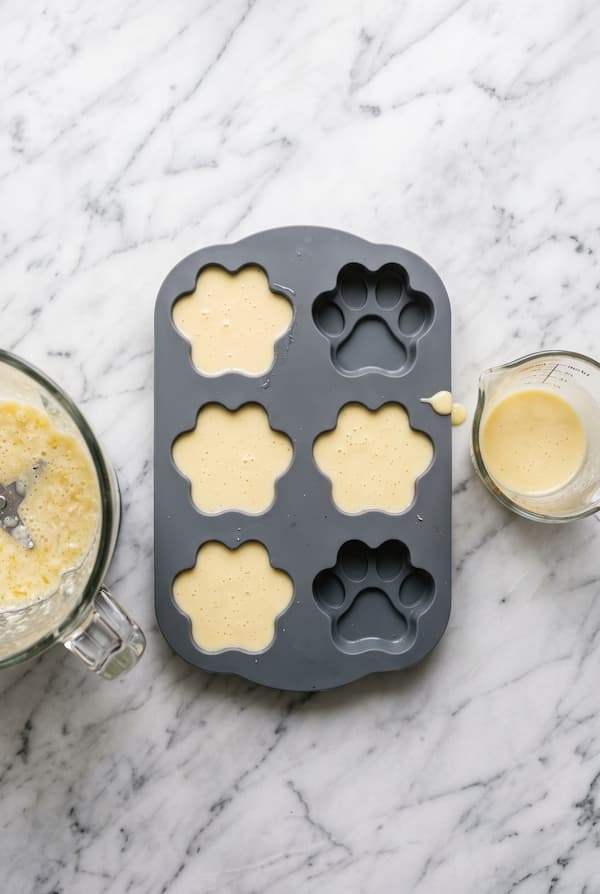
Tap the mold on the counter a few times to knock out air bubbles. This one small step makes a real difference in how they look coming out.
Step 4: Freeze
Slide the mold onto a flat freezer shelf. Freeze for at least 4 hours, ideally overnight.
Shallow molds set faster than deep ones. If you use a KONG or a taller mold, expect closer to 6 hours before the middle is solid.
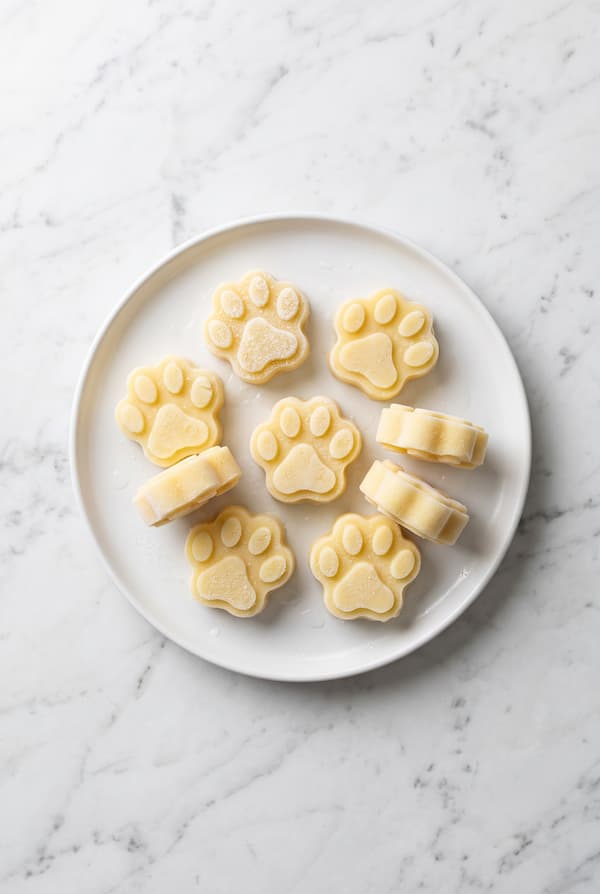
That’s the whole recipe.
Layered Piña Colada Variant (Worth the Extra 20 Minutes)
If you want the pretty version with three stripes, this is the one. Same ingredients, split into three bowls.
- Bowl 1: coconut milk + a spoon of yogurt, blended smooth.
- Bowl 2: banana + yogurt, blended smooth (this is the middle stripe).
- Bowl 3: pineapple, briefly pulsed so it stays chunky and bright yellow.
Pour the coconut layer first, freeze 40 minutes until firm to the touch. Add the banana layer, freeze another 40 minutes. Finish with the pineapple layer and freeze the full mold at least 3 more hours.
The trick is patience between layers. Rush it and the layers bleed into each other. Wait until each layer is firm before adding the next one.
Not fully frozen. Just firm enough that a light touch doesn’t dent it.
This is the method I’d go with if you’re photographing the treats for anything. Otherwise the blended version wins on speed.
How Much Can Your Dog Actually Have?
Treats should stay under 10% of your dog’s daily calories, and these count. Here’s a rough serving guide based on standard pineapple portion advice from PetMD, translated to treat size.
| Dog Weight | Treat Size | Max Per Day |
|---|---|---|
| Under 10 lb | 1 small paw (about a tablespoon) | 1 |
| 10-25 lb | 1-2 small paws | 2 |
| 25-50 lb | 2-3 small paws | 3 |
| 50-90 lb | 3-4 small paws or 1 large mold | 4 |
| 90 lb + | 1 large mold | 1-2 |
Start with less than you think. Even a treat this clean can loosen a sensitive stomach the first time. If your dog has never had coconut or pineapple, give a quarter treat first and watch for 24 hours.
Storage and Serving
Once fully frozen, pop the treats out of the mold and drop them into a freezer bag or airtight container. Squeeze out as much air as you can before sealing.
- Freezer life: up to 3 months in a properly sealed bag. Longer than that and the texture starts to go grainy.
- Serving: hand straight from the freezer, or set on tile for messy dogs.
- Outside on a hot day: let it soften for about 60 seconds before offering. Straight-from-the-freezer cold on a hot mouth can make some dogs pull back or hiccup.
- No sharing between dogs from the same treat: give each dog their own.
I’ve been running the same batch of these in a labeled freezer bag since early June. Two months in, still holding shape and flavor.
Best Molds and Tools for the Job
You don’t need special gear. A cheap silicone ice cube tray from the grocery store does the job. That said, a few things make life easier.
- Silicone paw print or bone molds. They unmold cleanly and photograph well if you post your dog eating them.
- Mini muffin tin lined with silicone cups. Great for medium and large dogs.
- KONG Classic. Fill the wide end with the blended mix, freeze upright, hand it over. Doubles as a boredom buster on rainy indoor days.
- LickiMat. Spread a thin layer, freeze flat, let your dog lick it clean.
Honestly, if I had to pick one, it would be a silicone paw mold with 12 cavities. Fast to fill, fast to freeze, easy to portion.
Back to the Porch Fan
I made a fresh batch last weekend. Snickers watched the whole assembly from the kitchen doorway like a shift supervisor. When the mold went into the freezer, she checked it twice in the first hour, then sighed and went to sulk on the couch until the timer went off.
Now, on the hot afternoons, she gets one treat around four, eats it in about ninety seconds, and then falls asleep on the cool tile with her mouth still slightly sticky. That’s about as good as summer gets around here.
If you make a batch, let it be the excuse to sit on your porch for twenty minutes and watch your dog be happy about something small. That’s really the whole point of any of this.
I’m a passionate dog lover and kitchen enthusiast, but I’m not a certified veterinarian or animal nutritionist. Long-term homemade diets and treats should always be discussed with your vet, especially if your dog has a history of pancreatitis, kidney concerns, or a sensitive stomach.
Bon appétit to your furry friend!