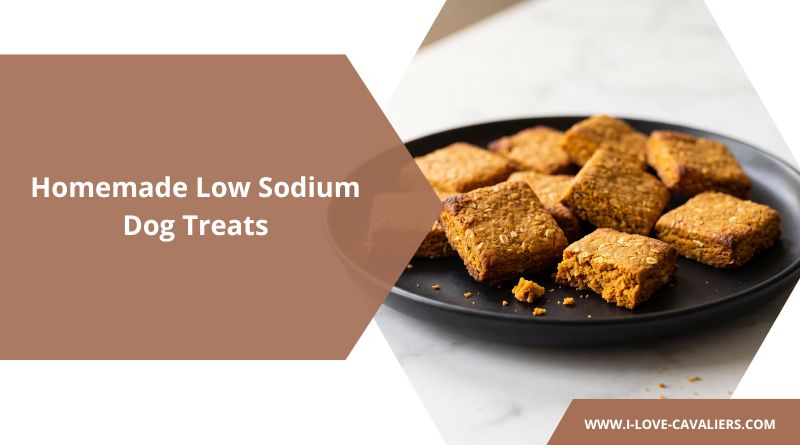
It was a rainy Sunday afternoon and I was digging through the pantry, hunting for the bag of training treats I’d been handing Snickers all week. Found it wedged behind a can of tomatoes. On a whim, I flipped it over to actually read the label.
The sodium number made me put the bag down and take a small step back. I’d been giving my Cavalier three or four of those a day during our leash training weeks. Multiply that out and I owed the dog an apology.
That afternoon turned into a small research project. I read about how much sodium a dog actually needs, what “low sodium” means on a treat label (spoiler: legally, almost nothing), and why a single dental chew can hold more salt than a slice of pizza. By dinner I had flour on my forearms and a tray of pumpkin peanut butter biscuits cooling on the counter. Snickers sat next to my chair with his tail thumping like a metronome.
This is the recipe I’ve been baking every two weeks ever since. It works out to about 2 mg of sodium per biscuit. A single Milk-Bone has around 60. Do the math and you’ll see why I never went back.
Why “Low Sodium” on a Treat Label Means Almost Nothing
Here’s what surprised me most from my little research binge. Unlike human food, there’s no legal definition of “low sodium” for pet treats. A bag can print those words at any sodium level and no regulator will stop them.
The number that actually matters comes from Tufts veterinary cardiology: less than 100 mg of sodium per 100 calories is the working threshold for a healthy dog treat. Below 80 mg per 100 kcal is where you want to be if your dog has any heart concerns.
Now compare that to what most owners hand out without thinking.
- Milk-Bone medium biscuit: 55 to 65 mg of sodium each. Most owners assume “dog biscuit” means neutral. It doesn’t.
- Greenies Original dental chew: 120 to 180 mg per chew. A single chew can blow a small dog’s entire sodium budget for the day.
- Standard commercial jerky treat: 150 to 300 mg per piece, because drying concentrates the salt.
- Deli meat used to hide a pill: anywhere from 200 to 500 mg for a slice, and most vets consider it off limits for cardiac and kidney dogs.
The first two ingredients in this recipe (pumpkin and unsalted peanut butter) barely register on that scale. That’s the whole trick.
Who Actually Needs Low Sodium Treats
Not every dog is on a sodium-restricted plan. But a lot more dogs benefit than owners realize.
- Senior dogs. Age quietly changes how kidneys handle salt. Lower the load before it becomes a problem.
- Dogs with heart murmurs or heart disease. Ask your vet where your dog sits on the spectrum, since strict restriction isn’t right for every stage, but lower-sodium treats never hurt.
- Dogs on kidney watch. Sodium and phosphorus both matter here. This recipe is low on both.
- Training-heavy dogs. If you’re teaching new behaviors, you might hand out 30 treats in a single session. Multiply a salty treat by 30 and you see the problem.
- Any dog eating a prescription diet. Weeks of careful food choices get undone by a handful of regular biscuits after dinner.
Honestly, most dogs don’t need a medical excuse. Lower is just better.
Low Sodium Dog Treat Recipe
Now that you know the numbers, here’s what to actually put in the bowl.
Ingredients
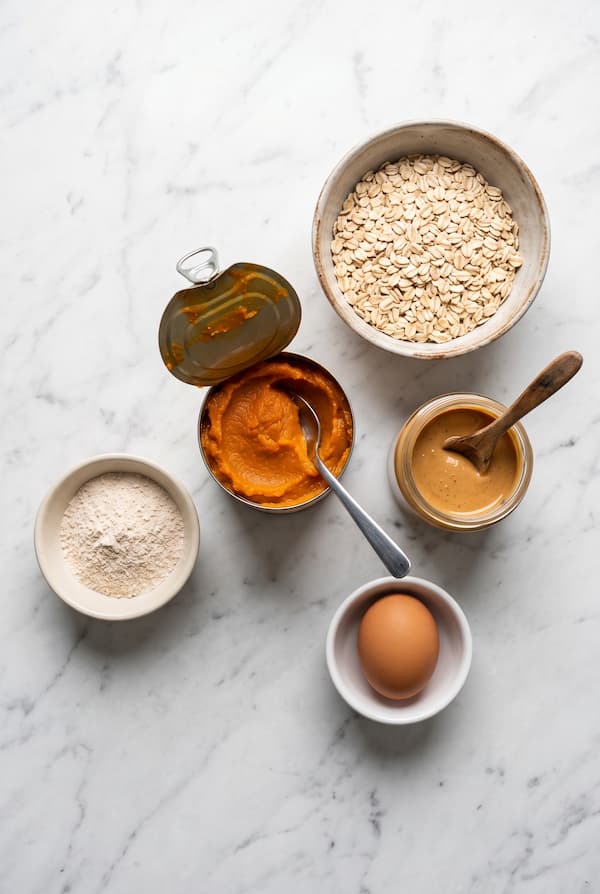
| Ingredient | Amount | Sodium (batch) |
|---|---|---|
| Canned pumpkin puree, 100% pumpkin, no spices | 1 cup | ~12 mg |
| Natural peanut butter, unsalted, xylitol-free | 1/2 cup | ~5 mg |
| Large egg | 1 | 62 mg |
| Rolled oats | 2 cups | ~10 mg |
| Whole wheat flour | 1/2 cup | ~2 mg |
| Total sodium (whole batch) | ~91 mg |
Divide 91 mg across 40 small biscuits and you’re at just over 2 mg per treat. That’s it. That’s the math nobody else shows you.
A note on the peanut butter. Never use peanut butter with xylitol in it, and always check the label even for brands you trust. Many “natural” jars still contain added salt, so grab one labeled unsalted or no salt added. This is the version I’d go with. If your brand only lists “salt” without a mg number, swap it. Not worth the guesswork.
Pro tip: If you can’t find canned pumpkin puree, roast a small sugar pumpkin and mash it. Just don’t grab pumpkin pie filling by mistake. That one has sugar, spices, and enough sodium to defeat the whole point of this recipe.
Step 1: Preheat and Prep
Set the oven to 350°F (175°C) and line a baking sheet with parchment paper. Don’t skip the parchment. These biscuits stick to bare metal in a way you’ll regret.
If you don’t have oat flour, blitz your rolled oats in a food processor for 30 seconds. You’ll get a coarse flour that works exactly the same. Skip the fancy kit.
Step 2: Mix the Wet Ingredients
In a large bowl, whisk the egg. Add the pumpkin puree and peanut butter. Stir until you get a smooth, thick, slightly weird orange paste.
Snickers usually shows up at exactly this point, drawn by the peanut butter smell (trust me, the smell alone will bring them running).
Step 3: Add the Dry Ingredients
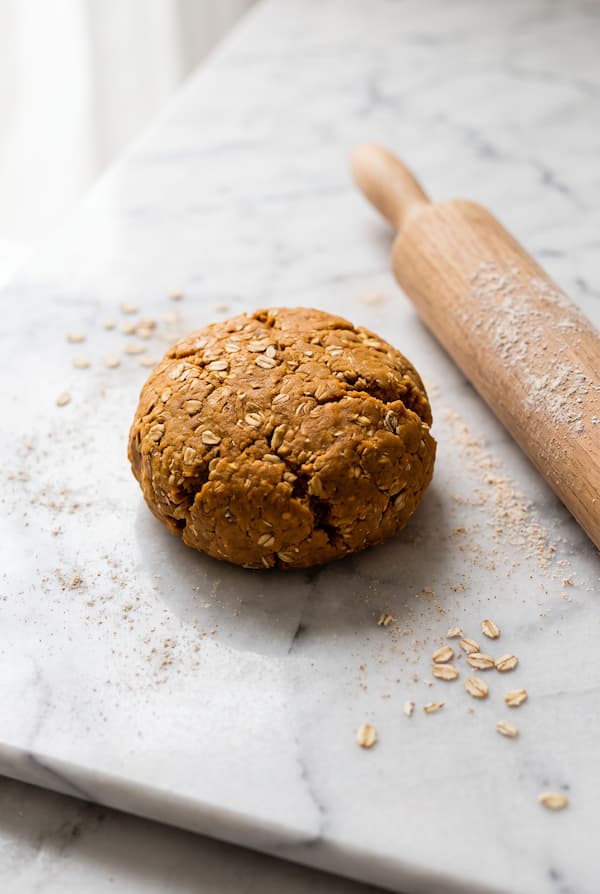
Pour in the oats (or oat flour) and whole wheat flour half a cup at a time, stirring between additions. You want a dough that holds together but doesn’t stick to your hands. If it’s too wet, add a tablespoon more flour. Too dry, splash in a teaspoon of water.
The dough should feel like a stiff cookie dough. Not sticky, not crumbly.
Step 4: Roll and Cut
Turn the dough onto a lightly floured surface. Roll it to about 1/4 inch thick, then cut with a small cookie cutter or a knife.
Bone shapes if you’re feeling cute. Squares if you’re feeling efficient. This is the method I’d go with: cut small squares. Faster, fewer scraps, and your dog doesn’t care about the shape.
Step 5: Bake
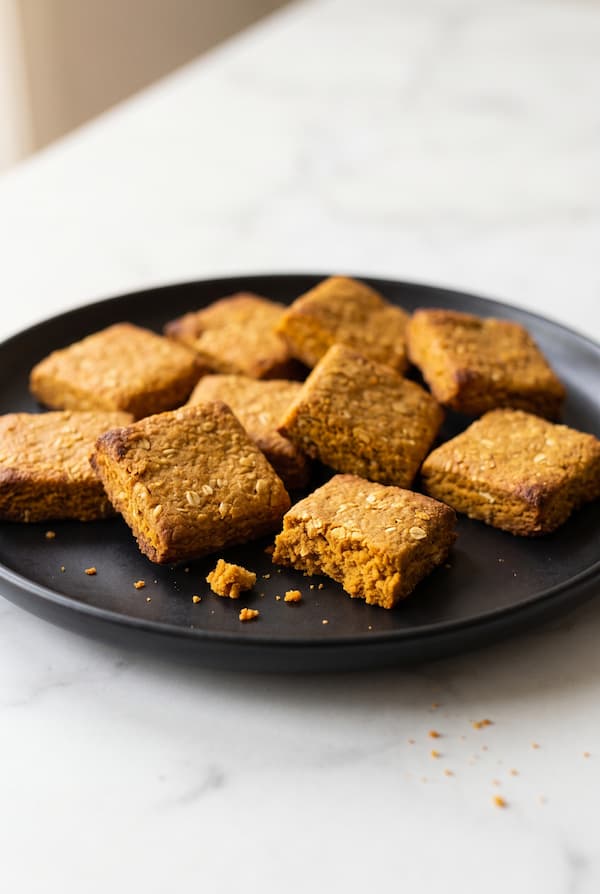
Arrange the biscuits on the parchment-lined tray. Bake at 350°F for 25 minutes, or until the tops feel firm and the edges are lightly golden.
For crunchier training biscuits (my preference for pocket use), turn the oven down to 275°F after the initial bake and leave them another 10 to 15 minutes. This dries them out without burning them.
Step 6: Cool Completely
Pull the tray, and here’s the part most recipes gloss over. Cool the biscuits completely before storing, at least 30 minutes on the tray. If you bag them warm, you trap moisture and they’ll go soft overnight.
I usually leave the tray on the stovetop while I clean up. By the time the kitchen looks like a kitchen again, they’re ready.
Storage
Airtight container in the fridge for up to one week. For anything longer, freeze half the batch in a single layer on a plate first, then transfer to a freezer bag. They keep about 3 months frozen with no change in texture.
I bake a full batch every other Sunday and freeze half. Future me appreciates it every time.
How Many Treats Per Day?
Treats should stay under 10% of your dog’s daily calories. Here’s a rough guide for biscuits this size.
| Dog weight | Daily biscuits |
|---|---|
| Under 10 lbs | 2-3 |
| 10-25 lbs | 4-6 |
| 25-50 lbs | 6-8 |
| 50+ lbs | 8-12 |
For training sessions, snap each biscuit into halves or thirds. Your dog cares about frequency, not size. One treat should count, even if it’s a crumb.
FAQ
How low is “low sodium” for a dog treat? Anything under 30 mg of sodium per treat qualifies. Under 15 mg is excellent. This recipe lands at roughly 2 mg per biscuit, so it clears the bar with room to spare. For more on safe ingredients to work into treats, see our guide on foods dogs can eat.
Can I make these gluten-free? Yes. Swap the whole wheat flour for almond flour or a gluten-free oat flour. The texture is a touch denser but the sodium math doesn’t change.
Can puppies eat these? Small pieces, yes, from about 12 weeks on. Puppies actually need slightly more sodium than adults per pound, so this recipe fits comfortably. Skip only if your vet said otherwise.
Back to the Pantry, Without the Guilt
That original bag of salty training treats? Went in the trash the same afternoon.
The batch I baked instead has been my rotating standard for months. Every couple of Sundays, the kitchen smells like pumpkin and peanut butter, Snickers parks himself under my elbow, and I portion the biscuits into two containers before the tray even cools. One for the fridge, one for the freezer.
The best moment is still the one right after they come out of the oven. He’ll sit, patiently, waiting for the “OK” without me asking. And the second I nod, he takes it gently and trots off with his tail carrying the whole thing like a trophy.
That’s worth 25 minutes of baking.
I’m a passionate dog lover and kitchen enthusiast, but I’m not a certified veterinarian or animal nutritionist. If your dog is on a therapeutic diet for heart, kidney, or any other condition, talk to your vet before adding a new treat to the routine, even a homemade one.
Happy baking to you, and happy tail-thumping to your dog!