If there is one flavor that defines the dog world, it’s pumpkin. It’s not just because we humans are obsessed with our Pumpkin Spice Lattes every autumn; it’s because pumpkin is a legitimate superfood for our canine companions.
It’s gentle on the stomach, packed with fiber, and dogs absolutely go crazy for the taste.
These 4-ingredient pumpkin dog biscuits are the perfect entry-level recipe for anyone nervous about baking for their pet. You cannot mess these up. They are sturdy, wholesome, and incredibly forgiving.
Plus, the combination of pumpkin and peanut butter creates an aroma that will have your dog sitting by the oven door waiting for the timer to ding.
Why You’ll Love These Biscuits?
- Digestive Aid: Pumpkin is famous for regulating a dog’s digestive system. Whether they are having “tummy troubles” or just need a fiber boost, these treats are gentle and soothing.
- Pantry Staples: You don’t need to go to a specialty pet store. You can grab everything you need during your regular grocery run.
- Customizable Crunch: By adjusting the baking time, you can make these soft and chewy (great for seniors) or rock-hard and crunchy (great for cleaning teeth).
4-Ingredient Pumpkin Dog Biscuits Recipe
Ingredients
| Ingredient | Amount |
| Pumpkin Puree | 1 cup |
| Peanut Butter | ¼ cup |
| Eggs | 2 large |
| Whole Wheat Flour | 2 ½ cups |
Ingredient Notes: Peanut butter must be xylitol-free. For pumpkin, use 100% pumpkin puree, not pumpkin pie filling.
Step-by-Step Instructions

Step 1: Prep the Kitchen
Preheat your oven to 350°F (175°C). Grab a large baking sheet and line it with a sheet of parchment paper. This ensures the cookies pop right off without sticking (and saves you from scrubbing the pan later).
Step 2: The Wet Mixture
In a medium-sized mixing bowl, crack your two eggs. Add the pumpkin puree and the creamy peanut butter.
Use a whisk or a fork to beat these three ingredients together until they are smooth and uniform. You want to make sure the peanut butter is fully incorporated and not sitting in clumps.
Step 3: Form the Dough
Pour in the 2 ½ cups of whole wheat flour. Switch to a sturdy spoon or rubber spatula and stir. As the flour absorbs the pumpkin mixture, it will become hard to stir. At this point, I like to use my hands to knead the dough right in the bowl.
The Goal Texture: You are looking for a consistency like Play-Doh. It should be soft and pliable but shouldn’t stick to your fingers.
- Too Sticky? Sprinkle in a little more flour, one tablespoon at a time.
- Too Dry? Add a teaspoon of water or a dab more pumpkin.
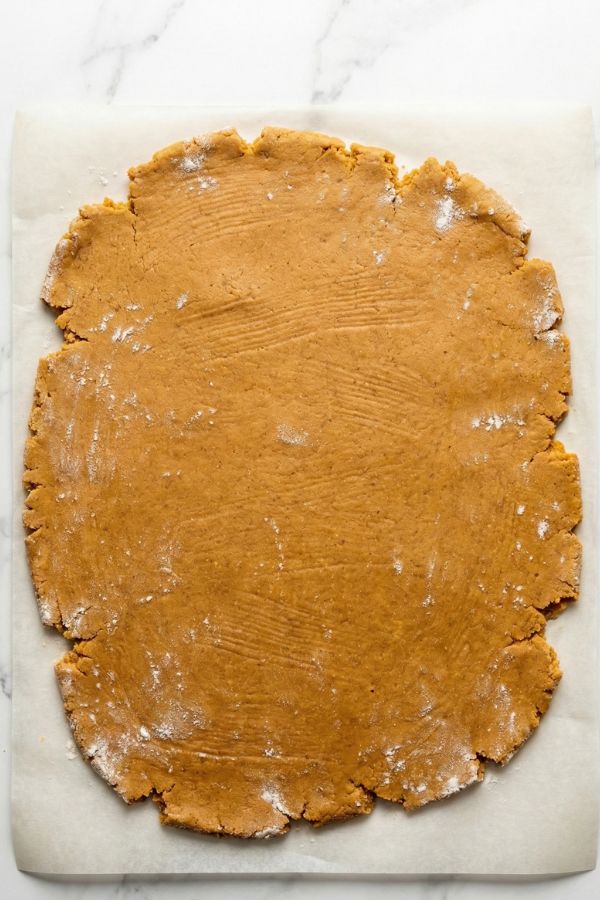
Step 4: Roll and Cut
Dust your clean countertop with a little extra flour. Take your dough ball (or half of it, to make it manageable) and flatten it out. Using a rolling pin, roll the dough until it is about ½ inch thick.
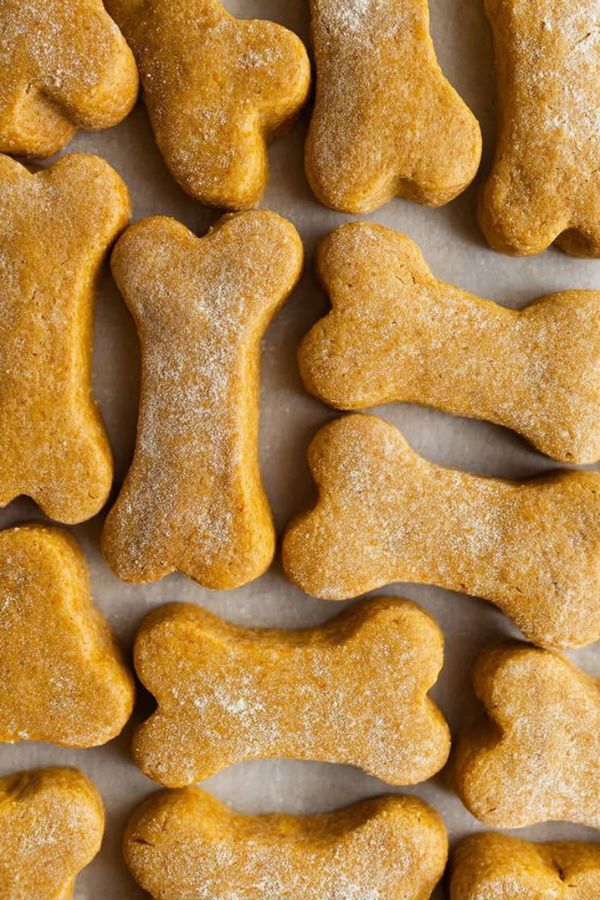
Use your favorite cookie cutters—bones, pumpkins, or hearts—to punch out your shapes. If you don’t have cutters, you can just use a regular pizza cutter to slice the dough into a grid of simple squares.
Step 5: Bake
Place your cutouts onto the prepared baking sheet. Since these don’t rise or spread like human cookies, you can pack them fairly close together.
Pop them in the oven for 20 minutes.
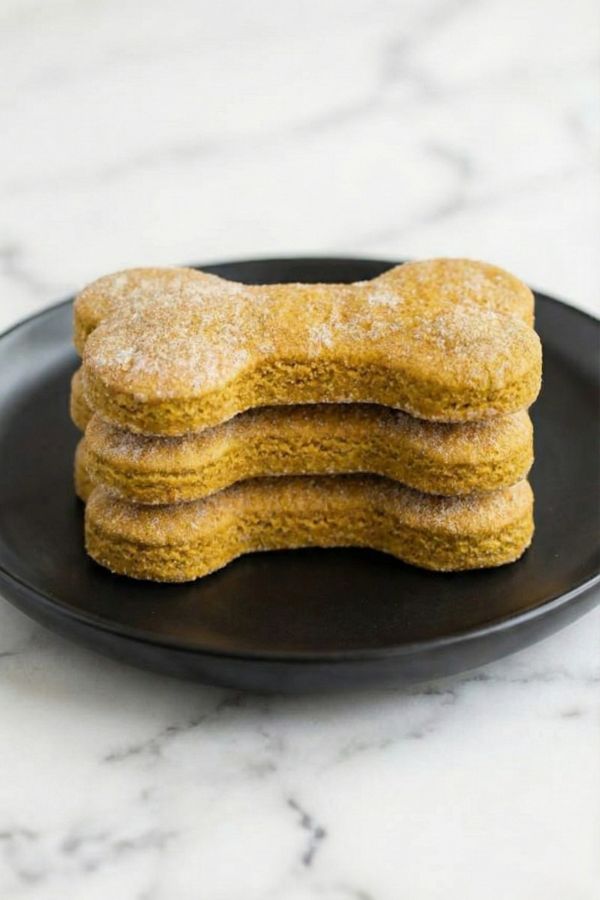
The Texture Choice:
- For Soft Chews: Remove them at the 20-minute mark. They will be firm but cake-like inside.
- For Crunchy Biscuits: After 20 minutes, turn the biscuits over and bake for an additional 10-15 minutes. Then, turn the oven off and let them cool inside to dry out completely.
Storage Tips
Because of the moisture in the pumpkin, proper storage is key to preventing mold.
Refrigerator (Best for Freshness)
If you baked them soft/chewy, they definitely need to live in the fridge. Store in an airtight container or Ziploc bag.
- Shelf Life: Up to 1 week.
Freezer (The Bulk Method)
If you made a huge batch, toss them in the freezer.
- Shelf Life: Up to 3 months.
- To Serve: You can give them straight from the freezer for a cold treat, or let them thaw on the counter for 10 minutes.
Feeding Suggestions
Pumpkin is rich in fiber. While this is healthy, too much fiber all at once can actually have the opposite effect and cause loose stools.
- Small Dogs: 1 biscuit per day.
- Medium/Large Dogs: 2-3 biscuits per day.
Calorie Balance
Remember the 10% Rule: Treats should not make up more than 10% of your dog’s daily calories. If they enjoyed a few biscuits today, maybe go a little lighter on their dinner bowl.
FAQs
Can I use “Pumpkin Pie Filling” instead of Puree?
No. This is the most important rule. Pumpkin Pie Filling is loaded with sugar, spices (like nutmeg, which can be toxic in large amounts), and additives. Always double-check the can to ensure the only ingredient listed is “Pumpkin.”
Can I substitute the Whole Wheat Flour?
Yes! If your dog is sensitive to wheat or gluten, you can use Oat Flour or Brown Rice Flour. You may need to adjust the amount slightly (oat flour absorbs liquid differently), so just add it slowly until you reach that “Play-Doh” texture.
Can I add spices?
Yes, but be careful. A sprinkle of Cinnamon (Ceylon is best) or Turmeric is safe and healthy for dogs. Avoid nutmeg, cloves, or generic “pumpkin spice” blends.
Can I use fresh pumpkin instead of canned?
Absolutely. If you have a sugar pumpkin (not the giant carving kind), roast it, peel it, and puree the flesh. Fresh pumpkin has more water content than canned, so you might need to add a bit more flour to get the dough right.
Final Words
There is a reason this recipe is a classic among dog owners. It is reliable, healthy, and dogs simply adore the flavor profile. Whether it’s a crisp autumn day or the middle of July, these pumpkin biscuits are a wonderful way to say “I love you” to your pup.