You know that feeling when you’re too lazy to even think about cooking – for yourself, your family, let alone your dog? Yeah, that was me the other night. I was this close to just tossing Snickers a handful of kibble and calling it a day.
But here’s the thing, I love that little guy too much to half-try, even on my laziest days. So I went digging online and found this simple 4-ingredient dog food recipe that promised to be quick, healthy, and foolproof.
It worked like a charm. In less time than it takes to scroll through takeout options, I had a pot of warm, hearty food simmering away.
Snickers cleaned his bowl like it was a five-star meal, and I felt like I’d just won the “Dog Parent of the Year” award, without even breaking a sweat.
Why This Recipe Works for Busy Dog Parents
- Minimal Ingredients, Maximum Nutrition
Four main ingredients plus optional turmeric means less shopping, less measuring, and less stress. You probably have most of this in your kitchen already.
- Large Batch Convenience
This recipe makes enough food for several days to a week depending on your dog’s size.
- Gentle on Tummy
The bland, easily digestible ingredients make this ideal for dogs with upset stomachs, food sensitivities, or those transitioning to homemade food.
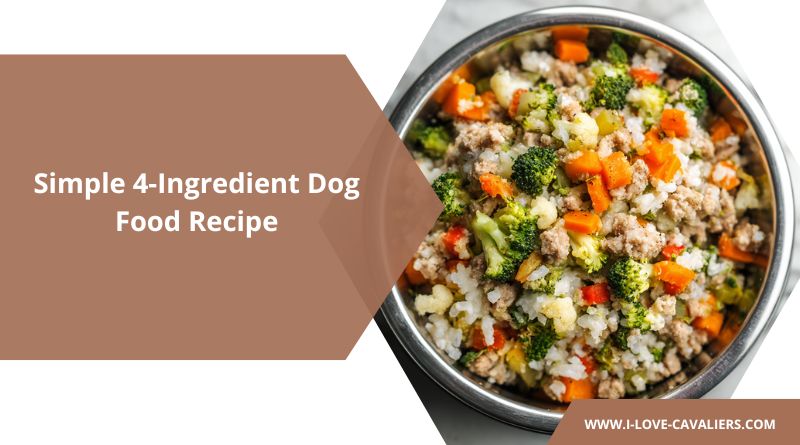
Simple 4-Ingredient Dog Food Recipe
Ingredients
| Ingredient | Amount |
|---|---|
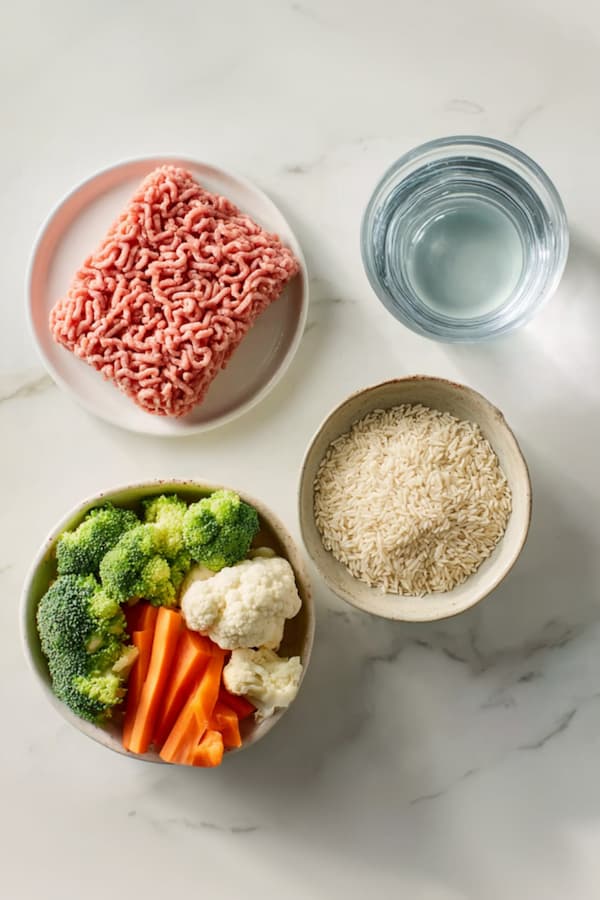
| Ground turkey | 1 lb |
| White rice (uncooked) | 2 cups |
| Frozen mixed vegetables (broccoli, carrots, cauliflower) | ½ of 16 oz package (about 2 cups) |
| Water | 6 cups |
| Turmeric (optional) | 1 teaspoon |
About the Vegetables: A frozen broccoli, carrot, and cauliflower blend works perfectly, but you can use any dog-safe frozen vegetable mix. Just avoid anything containing onions, garlic, or excessive sodium.
Step-by-Step Cooking Instructions


Step 1: Assemble Your Ingredients and Equipment
Pull out a large Dutch oven or heavy-bottomed pot with a lid, you’ll need something with at least a 6-quart capacity to accommodate all the ingredients comfortably. Gather your ground turkey, uncooked rice, water, and frozen vegetables.
Step 2: Combine the Base Ingredients
Place your pound of ground turkey directly into the Dutch oven while it’s still cold, no need to preheat the pan. Add the 2 cups of uncooked white rice on top of the turkey. Pour all 6 cups of water into the pot, distributing it evenly. If you’re using turmeric for its anti-inflammatory properties, sprinkle it in now as well.
Step 3: Break Up and Mix the Turkey
Using your wooden spoon or spatula, start breaking up the ground turkey into smaller pieces while stirring everything together. Work the spoon through the mixture thoroughly, separating the turkey into crumbles and distributing it evenly throughout the rice and water. You don’t want large clumps of turkey, aim for relatively small, uniform pieces.
Step 4: Bring to a Boil
Place the pot on your stovetop over high heat, leaving it uncovered. Stir occasionally to prevent anything from sticking to the bottom. Watch carefully as the mixture heats up, you’ll see small bubbles forming around the edges first, then larger bubbles breaking the surface. Once you achieve a full rolling boil with bubbles vigorously breaking across the entire surface, you’re ready for the next step.
Step 5: Reduce Heat and Simmer
Immediately turn the heat down to low, you want just enough heat to maintain a gentle simmer with small bubbles occasionally breaking the surface. Cover the pot with its lid, leaving it slightly ajar to allow steam to escape. Set a timer for 20 minutes and let everything cook undisturbed, though you can give it a quick stir halfway through if you’d like.
Step 6: Add the Frozen Vegetables
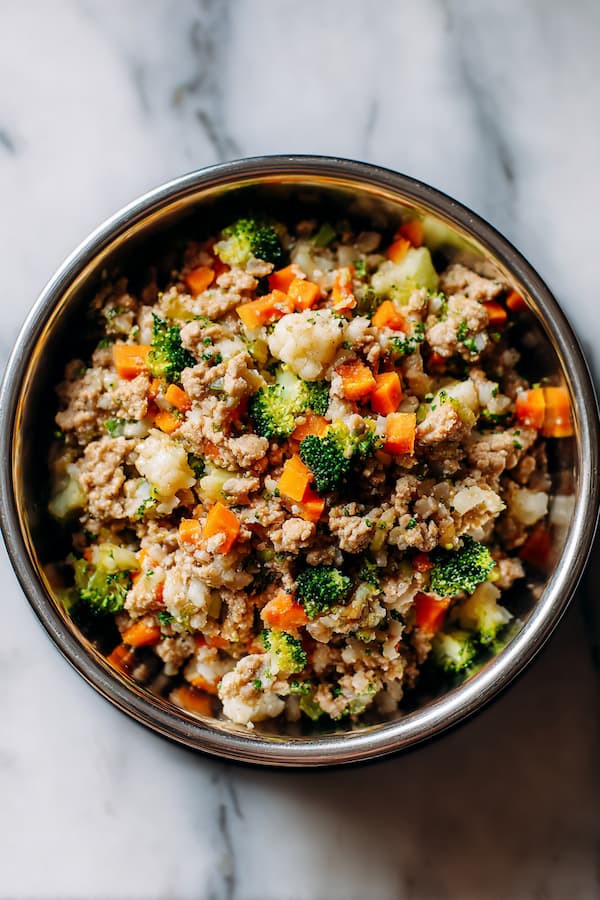
After 20 minutes of simmering, remove the lid and add your frozen vegetable mix directly to the pot—no need to thaw them first. Stir everything together to distribute the vegetables evenly throughout the mixture. Replace the lid (still slightly ajar) and continue cooking on low heat for an additional 5 minutes.
Step 7: Cool Completely Before Serving
Turn off the heat and remove the pot from the burner. Take off the lid completely and let the mixture cool at room temperature, stirring occasionally to help it cool faster and more evenly. This will take 45 minutes to an hour.
Step 8: Portion and Store
Once fully cooled, you can either serve immediately or transfer to storage containers for the week ahead. The mixture will be thick and somewhat sticky, that’s normal. Divide it into daily portions based on your dog’s size and nutritional needs, or store it in one large container and scoop out portions as needed.
Storage Guidelines
Refrigerator Storage (5-7 Days): Store the cooled dog food in airtight containers in the refrigerator for up to a week. Glass containers or BPA-free plastic work well. Label with the date you cooked it so you know when to use it by.
Freezer Storage (Up to 3 Months): For longer storage, divide the food into individual meal portions and freeze in separate containers or freezer bags. Flatten the bags for easier stacking and quicker thawing. Thaw overnight in the refrigerator before serving.
Serving Temperature: Serve at room temperature or slightly warmed. If serving from the fridge, let it sit out for 10-15 minutes, or microwave for 20-30 seconds, stirring well to eliminate hot spots. Always test the temperature before serving to prevent burns.
Feeding Guidelines
| Dog Weight | Daily Amount | Meals Per Day |
|---|---|---|
| 5-15 lbs | 1-1.5 cups | 2 meals |
| 16-30 lbs | 1.5-2.5 cups | 2 meals |
| 31-50 lbs | 2.5-3.5 cups | 2 meals |
| 51-70 lbs | 3.5-4.5 cups | 2 meals |
| 71+ lbs | 4.5-6 cups | 2-3 meals |
Transition Gradually: If switching from commercial kibble to homemade food, do it slowly over 7-10 days. Start with 25% homemade and 75% kibble, gradually increasing the homemade portion while decreasing kibble to avoid digestive upset.
Activity Level Matters: Highly active dogs may need more food, while less active or senior dogs may need less. Monitor your dog’s weight and body condition, adjusting portions up or down as needed.
Not a Complete Diet: While nutritious, this simple recipe lacks some vitamins and minerals dogs need long-term. It works wonderfully as a temporary diet, rotational feeding option, or supplement to commercial food. For extended feeding (more than a few weeks), consult a veterinary nutritionist about adding a canine multivitamin or other supplements to ensure complete nutrition.
These are general guidelines only. Every dog has unique nutritional needs based on age, breed, health status, activity level, and metabolism. This information is not veterinary advice.
Always consult your veterinarian before making significant changes to your dog’s diet, especially if they have health conditions, allergies, or special needs.
Nutritional Benefits of the Recipe
- Lean Protein from Turkey
Ground turkey provides high-quality protein with less fat than beef, supporting muscle maintenance, immune function, and healthy weight management.
- Easily Digestible Carbohydrates
White rice is gentle on the digestive system and provides readily available energy. It’s particularly helpful for dogs with sensitive stomachs or those recovering from digestive upset.
- Vitamins and Minerals from Vegetables
Broccoli offers vitamins C and K plus fiber, carrots provide beta-carotene for eye health, and cauliflower adds vitamins and antioxidants—all supporting overall wellness.
- Anti-Inflammatory Turmeric
The optional turmeric contains curcumin, a compound with natural anti-inflammatory properties that may benefit joint health and reduce inflammation throughout the body.
Frequently Asked Questions
Can I feed this to my puppy?
Puppies can eat this food, but they have different nutritional requirements for growth. Use this as part of their diet alongside puppy-formulated food, and consult your vet about appropriate portions and whether calcium or other supplements are needed.
My dog has allergies—is this safe?
This recipe uses common proteins and ingredients. If your dog is allergic to turkey, substitute another protein. For dogs with grain allergies, replace rice with quinoa or sweet potato.
Can I add supplements to this recipe?
Yes, and for long-term feeding, you probably should. A canine multivitamin, calcium supplement, and fish oil are good starting points. Consult your veterinarian or a veterinary nutritionist for specific supplement recommendations.
In Conclusion
By the time I scraped the last bit of food from the pot, Snickers was already hovering by his bowl, tail wagging like a fan on high speed. Moments like that remind me why I bother, even when I’m tired or lazy, it’s worth it.
Watching him eat something I made with real ingredients, knowing exactly what’s in it, just hits different. Sometimes the best meals aren’t fancy—they’re the simple ones made with love, a little effort, and a lot of tail wags waiting at the end.