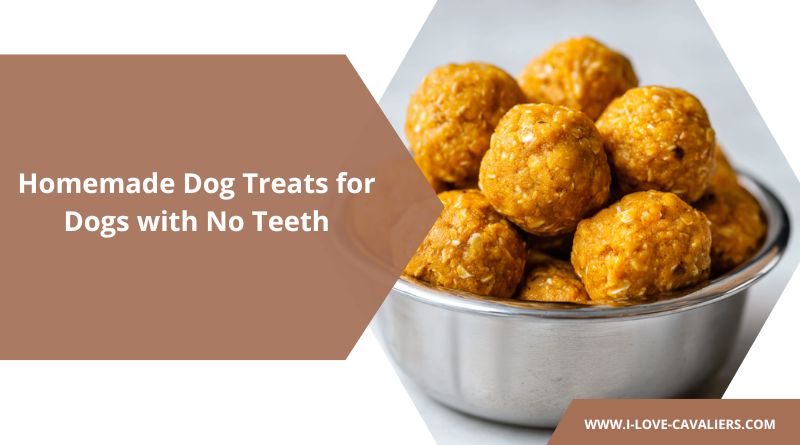
When my friend’s senior lab Buddy lost most of his teeth, she was heartbroken watching him struggle with his favorite crunchy treats. He’d try to gnaw on them with his gums, only to give up in frustration.
That’s when I realized just how many dogs face this challenge, whether they’re seniors dealing with dental disease, recovering from tooth extractions, or simply born with dental issues.
The store-bought “soft” treats? Half of them aren’t actually that soft once you get them home. And honestly, when you’re already dealing with the stress of a dog who can’t eat normally, the last thing you want is to waste money on treats that don’t work.
That’s why I started experimenting with truly soft, homemade alternatives. These recipes use ingredients that are naturally gentle while still being packed with flavor and nutrition.
Why Homemade Soft Treats Are the Way to Go
- Complete Control Over Texture
Commercial treats labeled as “soft” can still be too firm for toothless dogs. When you make them at home, you can adjust the consistency to be as smooth as needed.
- No Hidden Hard Bits
Store-bought treats often have chunks, seeds, or harder pieces mixed in that can be painful for sensitive gums.
- Fresher Ingredients
You know exactly when these were made and what went into them—no mystery preservatives or questionable “meat by-products.”
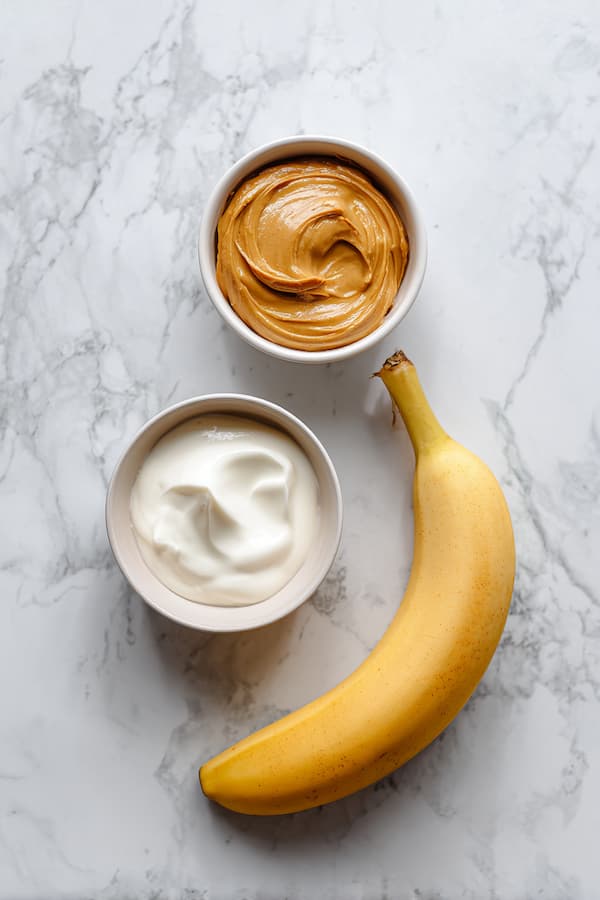
Recipe 1: Creamy Peanut Butter Puree Treats
Perfect for lick mats, puzzle toys, or serving in small portions
Ingredients
| Ingredient | Amount |
|---|---|
| Dog-safe peanut butter (like Buddy Butter) | ¾ cup |
| Plain Greek yogurt (unsweetened) | ¼ cup |
| Ripe banana | 1 medium |
| Coconut oil (melted) | 2 tablespoons |
Ingredient Notes
Peanut Butter: Always use peanut butter made specifically for dogs. Regular peanut butter can contain xylitol, which is toxic to dogs.
Greek Yogurt: Choose plain, unsweetened varieties
Step-by-Step Instructions
Step 1: Create the Base In a medium bowl, mash the banana with a fork until completely smooth with no lumps. If you’re worried about texture, push it through a fine mesh strainer to remove any remaining pieces.
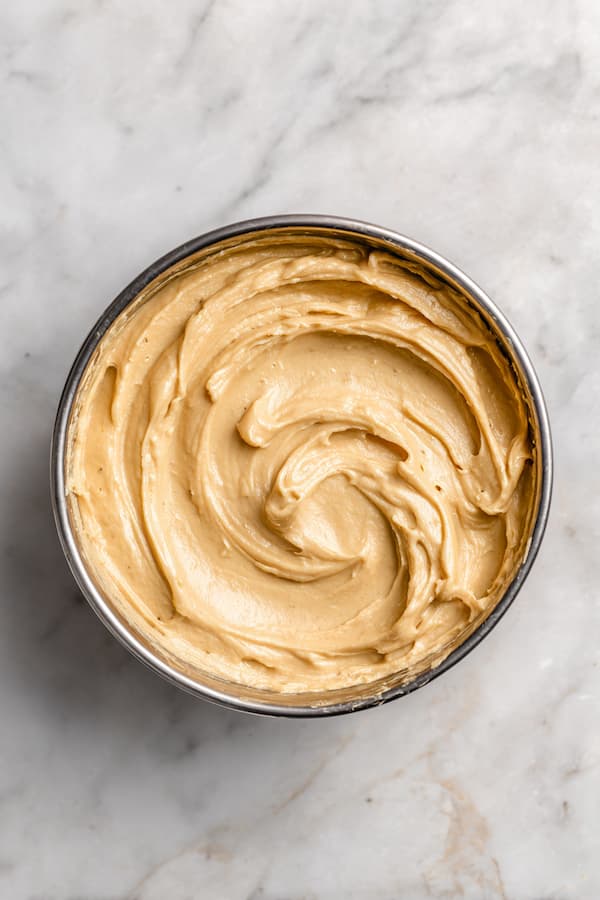
Step 2: Blend the Creamy Components Add peanut butter and Greek yogurt to the mashed banana. Mix thoroughly until the mixture is completely uniform and creamy.
Step 3: Add Moisture Slowly drizzle in the melted coconut oil while stirring constantly. This creates a smooth, spreadable consistency that’s perfect for licking.
Step 4: Test and Adjust The final mixture should be similar to thick frosting—spreadable but not runny. If it’s too thick, add a teaspoon of warm water at a time until you reach the right consistency.
Serving Suggestions
- Spread on lick mats for extended enjoyment
- Fill into squeeze tubes for portion control
- Freeze in ice cube trays for summer treats
- Serve at room temperature in small spoonfuls
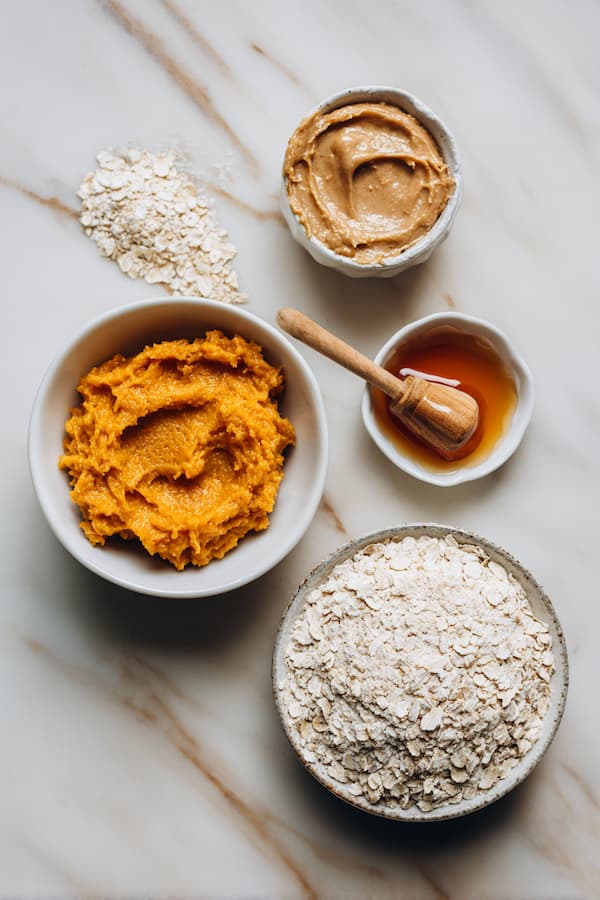
Recipe 2: No-Bake Pumpkin Oat Balls
Soft, chewy treats that are perfect for portion control
Ingredients
| Ingredient | Amount |
|---|---|
| Canned pumpkin (plain, not pie filling) | 1 cup |
| Dog-safe peanut butter | ½ cup |
| Rolled oats (ground to flour) | 1½ cups |
| Honey | 1 tablespoon |
| Coconut oil (softened) | 2 tablespoons |
Ingredient Notes
Pumpkin: Always use plain canned pumpkin, never pumpkin pie filling which contains harmful spices.
Oats: Grind rolled oats in a food processor until they reach a flour-like consistency.
Step-by-Step Instructions

Step 1: Create the Base In a large bowl, combine canned pumpkin and peanut butter. Mix until completely smooth and uniform.
Step 2: Add Sweetness and Fat Drizzle in honey and add softened coconut oil. Mix thoroughly until all wet ingredients are fully incorporated.
Step 3: Form the Structure Gradually add ground oat flour while mixing, starting with 1 cup and adding more as needed. The mixture should hold together when pressed but not be sticky.
Step 4: Shape the Treats Using your hands or a small cookie scoop, roll the mixture into balls about the size of a marble. Place on a parchment-lined tray.
Step 5: Set the Texture Refrigerate for at least 2 hours until firm but still soft to the touch. These should yield easily to gentle pressure.
Texture Tip
If the balls seem too firm after chilling, let them sit at room temperature for 10-15 minutes before serving. They should be soft enough to squish slightly between your fingers.
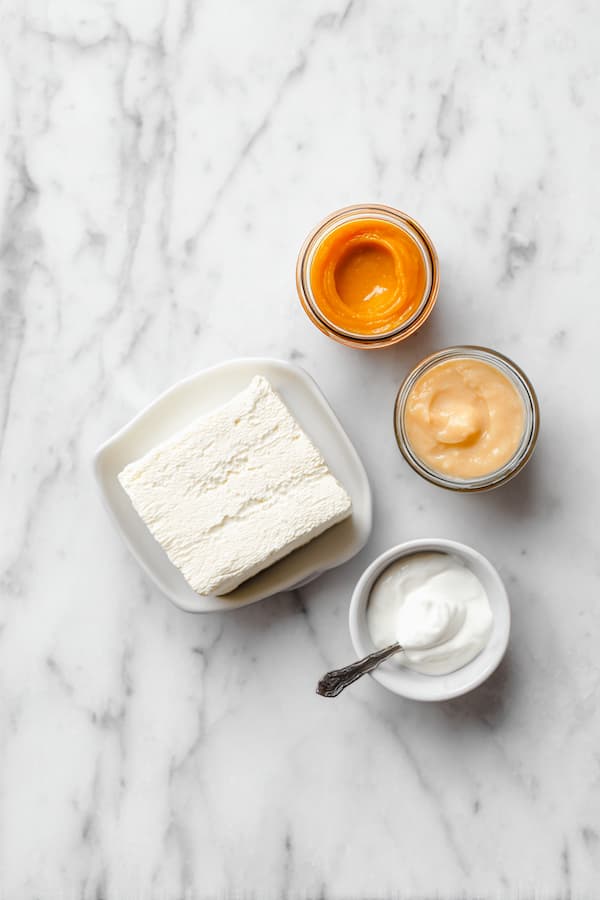
Recipe 3: Cream Cheese and Baby Food Lickable Treats
Ultra-smooth treats perfect for dogs who need the softest possible texture
Ingredients
| Ingredient | Amount |
|---|---|
| Plain cream cheese (room temperature) | 8 oz package |
| Dog-safe baby food (chicken, turkey, or sweet potato) | 2 jars (2.5 oz each) |
| Plain Greek yogurt | ¼ cup |
| Freeze-dried chicken powder (optional) | 1 tablespoon |
Ingredient Notes
Baby Food: Choose single-ingredient baby foods like plain chicken, turkey, or sweet potato. Always check the label to ensure no harmful ingredients like onion or garlic powder.
Cream Cheese: Only use if your dog tolerates dairy well. For lactose-intolerant dogs, substitute with dairy-free cream cheese alternative.
Step-by-Step Instructions
Step 1: Soften the Base Let cream cheese sit at room temperature for 30 minutes until easily spreadable. This ensures no lumps in the final product.
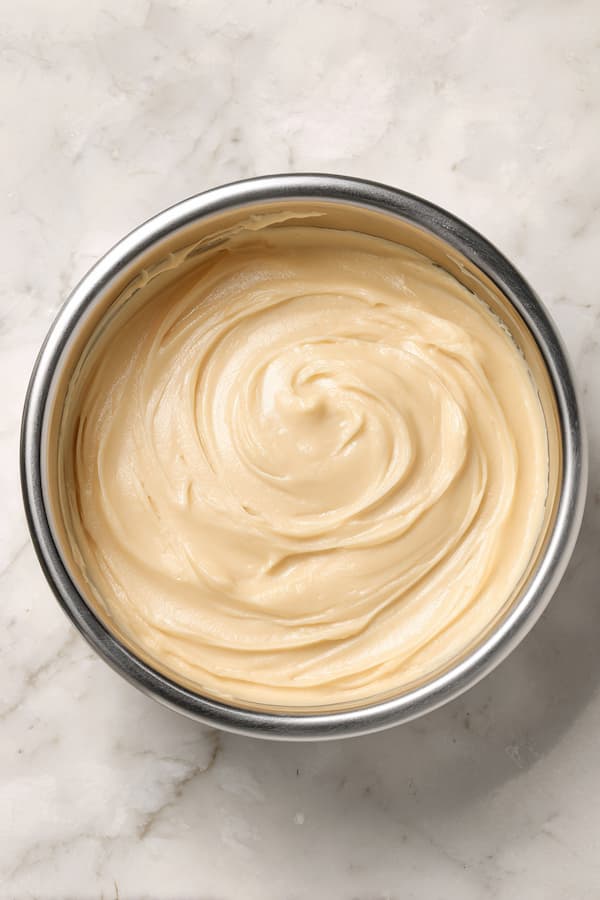
Step 2: Create the Flavor Profile In a medium bowl, blend cream cheese with baby food until completely smooth. Use a whisk or electric mixer for best results.
Step 3: Add Thinning Agent Gradually mix in Greek yogurt until you reach a consistency similar to thick pudding—spreadable but not runny.
Step 4: Enhance Flavor (Optional) If using freeze-dried chicken powder, sprinkle it in gradually while mixing to avoid clumps.
Step 5: Test Consistency The final mixture should be smooth enough to spread easily but thick enough to stay put on a lick mat. Adjust with more yogurt if too thick, or more cream cheese if too thin.
Serving Methods
- Spread on textured lick mats for extended enjoyment
- Fill into squeeze bottles for easy dispensing
- Pipe into small dollops using a pastry bag
- Freeze in ice cube trays for longer-lasting treats
Storage and Safety Guidelines
- Store peanut butter treats up to 5 days in airtight containers
- Pumpkin oat balls keep for 6 days refrigerated
- Cream cheese treats should be used within 4 days
- All recipes freeze well for up to 2 months
- Thaw slowly in refrigerator, never at room temperature for extended periods
Essential Guidelines for Toothless Dog Treats
Before we dive into recipes, here are the golden rules I’ve learned:
- Smooth is king: Avoid any lumps, chunks, or pieces that could cause discomfort
- Room temperature or slightly warm: Cold treats can be harder on sensitive gums
- Small portions: These treats are often rich, so a little goes a long way
- Test the texture: If you can’t easily squish it between your thumb and finger, it’s too firm
Final Thoughts
Making soft treats for toothless dogs isn’t just about finding something they can eat—it’s about preserving the joy and bonding that comes with treat time. These recipes have saved the day for so many dogs I know, from senior sweethearts to young pups recovering from dental procedures.
Once you start making these, you’ll realize how simple it really is. No complicated techniques, no expensive equipment—just wholesome ingredients transformed into something that makes tails wag.
So grab those ingredients and give one of these recipes a try this week. Your toothless pup will thank you, and you’ll love knowing exactly what’s in every bite you’re giving them.