Chaos. That’s the best word for evenings in my house. Kids at the table, homework everywhere, the dog pacing like he’s on kitchen patrol.
And me? I’m just trying to keep up.
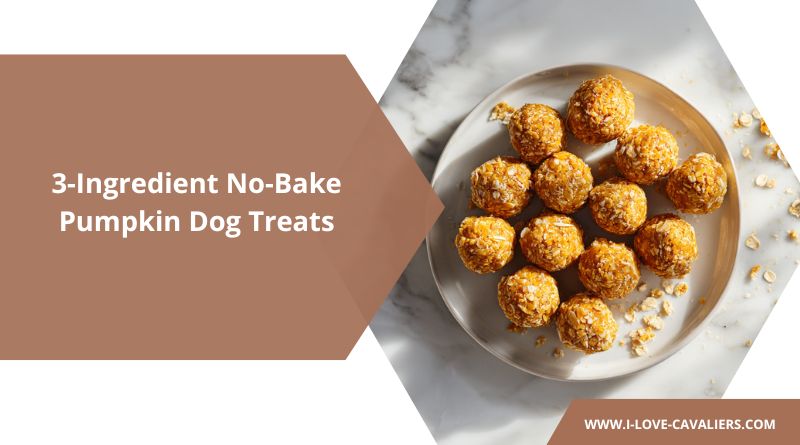
On nights like this, there’s no way I’m turning on the oven or dragging out five mixing bowls. That’s exactly why these no-bake pumpkin treats are magic.
Three ingredients. One bowl. Ten minutes.
The kids love rolling them into little balls, Snickers thinks they’re the greatest thing since sliced bread, and I get to look like I pulled off something amazing with almost zero effort.
Why These 3-Ingredient Treats Are Worth Making
- Foolproof Success Rate
Literally impossible to mess up. If you can stir and roll, you can make these treats perfectly every single time.
- Pantry-Friendly Ingredients
Everything you need is probably already in your kitchen. No special trips to specialty stores or hunting down obscure ingredients.
- Naturally Nutritious
Each ingredient serves a specific nutritional purpose while contributing to irresistible flavor and perfect texture.
The Ultimate 3-Ingredient No-Bake Pumpkin Dog Treats Recipe
Makes approximately 20-30 treats, depending on size
Ingredients
| Ingredient | Amount |
|---|---|
| Plain pumpkin puree | 1 cup |
| Old-fashioned oats | 2½ cups |
| Creamy peanut butter (xylitol-free) | ⅔ cup |
Essential Items:
- Large mixing bowl
- Wooden spoon or sturdy spatula
- Cookie sheet or large plate
- Parchment paper or wax paper
- Airtight storage containers
Step-by-Step Instructions for Perfect Treats

Preparation Phase
Step 1: Set Up Your Workspace Clear a large counter space and line your cookie sheet with parchment paper. Having everything ready before you start prevents the mixture from sitting too long and becoming difficult to work with.
Step 2: Bring Ingredients to Ideal Temperature Let peanut butter sit at room temperature for 10-15 minutes if it’s been refrigerated. This makes mixing significantly easier and creates better incorporation.
Mixing Phase
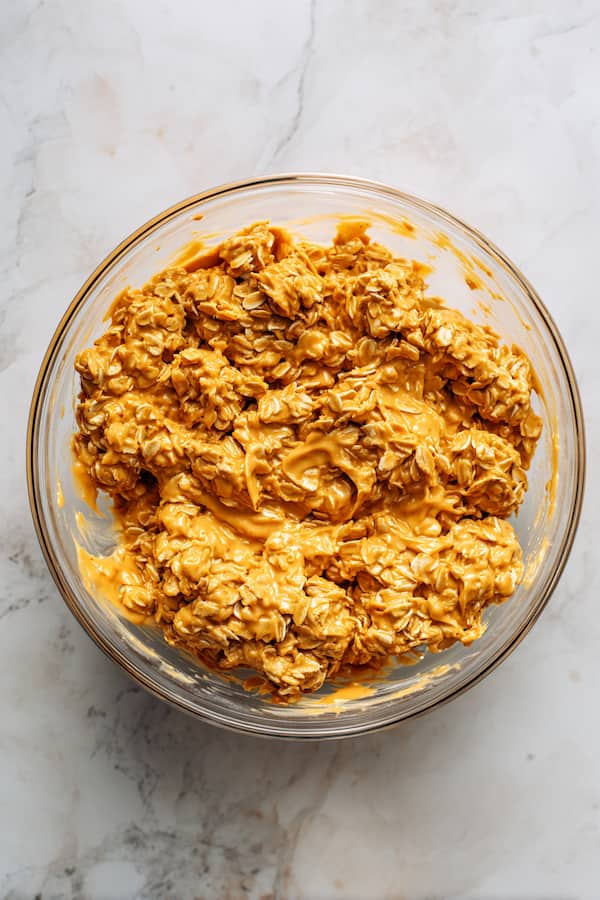
Step 3: Create the Base In your large mixing bowl, combine pumpkin puree and peanut butter. Stir vigorously until completely uniform—no streaks of orange or brown should remain. This usually takes 1-2 minutes of good mixing.
Step 4: Add the Structure Pour all the oats over the pumpkin-peanut butter mixture. Using a wooden spoon or sturdy spatula, fold the oats into the wet ingredients. Start gently, then mix more vigorously as the oats absorb moisture.
Step 5: Achieve Perfect Consistency Continue mixing until the mixture holds together when pressed but isn’t sticky. It should feel similar to cookie dough—moldable but not wet. If it seems too dry, add peanut butter one tablespoon at a time. Too wet? Add oats gradually.
Shaping Phase
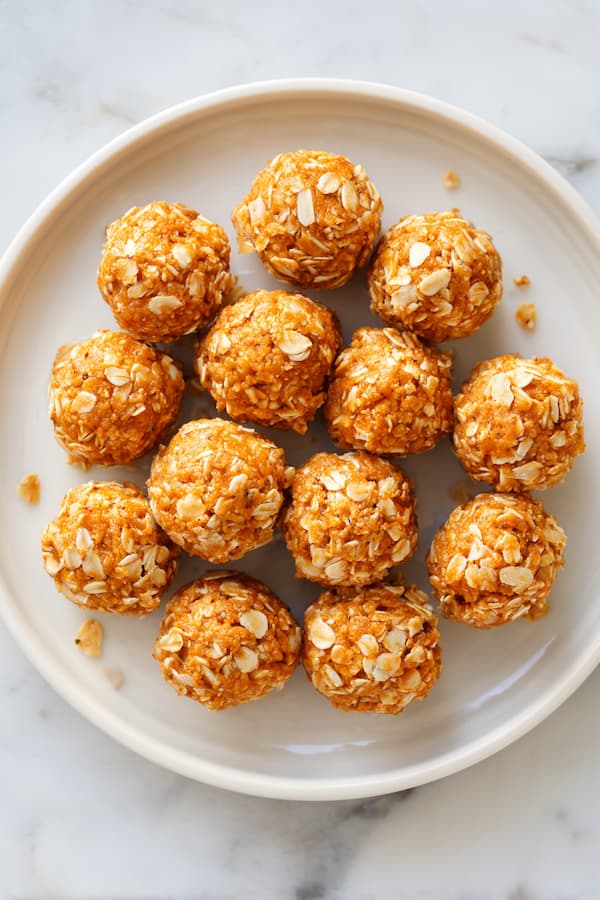
Step 6: Test Your Technique Take a small amount of mixture and roll it between your palms. It should form a cohesive ball that holds its shape without crumbling or being sticky. If it’s not quite right, adjust the mixture before proceeding.
Step 7: Size According to Your Dog
- Small dogs (under 25 lbs): Roll into balls about ½ inch diameter
- Medium dogs (25-60 lbs): Aim for ¾ inch diameter balls
- Large dogs (over 60 lbs): Make them 1 inch diameter or larger
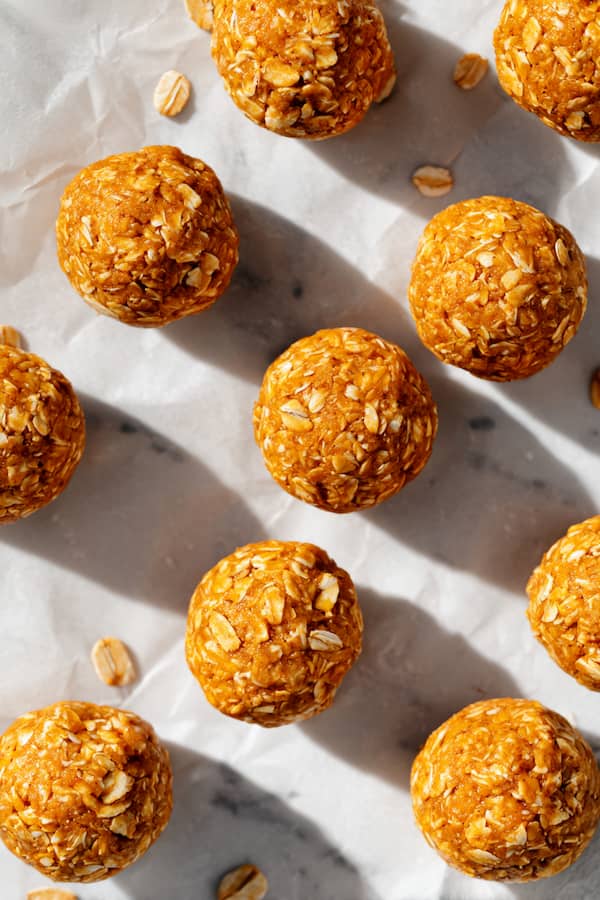
Step 8: Roll with Purpose Work systematically through the mixture, rolling each portion between clean palms to create smooth, round treats. Place each finished treat on your lined cookie sheet, leaving space between them.
Setting Phase
Step 9: The Chilling Process Refrigerate the entire cookie sheet for at least 1 hour. This firms up the treats and makes them easier to handle. For firmer treats, chill for 2-3 hours.
Step 10: Final Quality Check Properly chilled treats should feel firm but yield slightly to pressure. They shouldn’t leave residue on your fingers when handled.
Storage Tips for Maximum Freshness
Short-Term Storage
Refrigerator Method Store in airtight containers for up to 10 days. Layer treats between parchment paper to prevent sticking. Keep refrigerated since there are no preservatives.
Counter Storage In cool, dry conditions, these can sit at room temperature for 2-3 days maximum. Beyond that, refrigeration is essential for food safety.
Long-Term Storage
Individual Freezing Technique Place treats on a cookie sheet and freeze until solid (about 1 hour). Transfer to freezer bags, removing as much air as possible. This prevents them from freezing together in one big clump.
Portion Control Freezing Divide treats into weekly portions before freezing. This way, you only thaw what you need, maintaining freshness for the remaining treats.
Freezer Organization Label containers with contents and date. These maintain quality for up to 6 months frozen, though they’re safe indefinitely.
Recipe Variations
Grain-Free Alternative:
- Replace oats with 2 cups almond flour
- Add 2 tablespoons coconut flour for binding
- Reduce peanut butter slightly if mixture becomes too wet
Texture Notes: Denser treats with nuttier flavor. May require longer chilling time.
Protein-Boost Version:
- Mix in 2 tablespoons plain Greek yogurt
- Add 1 tablespoon ground flaxseed
- Include 1 tablespoon chia seeds for extra nutrition
Benefits: Higher protein content, omega-3 fatty acids, probiotics for gut health.
Allergy-Friendly Option:
- Replace peanut butter with sunflower seed butter
- Use certified gluten-free oats
- Add coconut oil (1 tablespoon) for healthy fats
Important: Always verify all substitutions are safe for your dog’s specific allergies.
Serving Guidelines and Portion Control
Daily Treat Recommendations
| Dog Weight | Treat Size | Daily Maximum |
|---|---|---|
| 5-15 lbs | ½ inch diameter | 2-3 treats |
| 16-30 lbs | ¾ inch diameter | 3-4 treats |
| 31-50 lbs | ¾ inch diameter | 4-5 treats |
| 51-70 lbs | 1 inch diameter | 5-6 treats |
| 71+ lbs | 1 inch diameter | 6-8 treats |
Disclaimer. I’m not a dog nutritionist, and this isn’t meant to replace professional advice. Think of these feeding amounts as a rule of thumb—a simple starting point based mostly on weight. But weight isn’t everything. Age matters. Activity matters. Breed, health conditions, and even individual metabolism all play a role too.
Treats should never be more than 10% of your dog’s daily calories. They’re extras, not the main meal. If you’re unsure about portions, or your dog has special needs, always check in with your vet. Better safe, always.
Frequently Asked Questions
Can I make these treats smaller for training?
Absolutely! For training purposes, roll them into balls about ¼ inch in diameter. You can also break larger treats into smaller pieces after they’re chilled.
My dog is on a diet. Can they still have these?
Yes, but adjust portions accordingly. Consider making the low-fat version and count these treats as part of their daily caloric intake. Consult your veterinarian for specific guidance.
Can puppies eat these treats?
Puppies over 12 weeks old can enjoy these treats in very small portions. Start with tiny amounts to ensure their digestive systems can handle the richness.
Can I add other ingredients?
Keep it simple for best results, but safe additions include: finely chopped parsley, a pinch of cinnamon, or chia seeds.
Final Thoughts
Simple. That’s the whole point. These treats aren’t about being fancy—they’re about making life easier and still giving your pup something healthy and delicious. No stress, no mess, no guilt. Just a quick recipe that fits into real family life. Make a batch once, and you’ll see how quickly it becomes your go-to whenever the day gets too busy but your dog still deserves a little love.