I’ll never forget the first time I baked these dog-friendly brownies for Snickers. The house filled with this amazing, rich aroma—minus any worry about chocolate (because carob, yes!). Snickers was pacing, eyes wide, basically begging me to hurry up.
It’s funny how something so simple—just a few wholesome ingredients—can create that same magic moment we get with our favorite desserts, but safe and delicious for our pups.
If you want to spoil your furry friend with something tasty and thoughtful, this recipe is your go-to. Follow along! 🙂
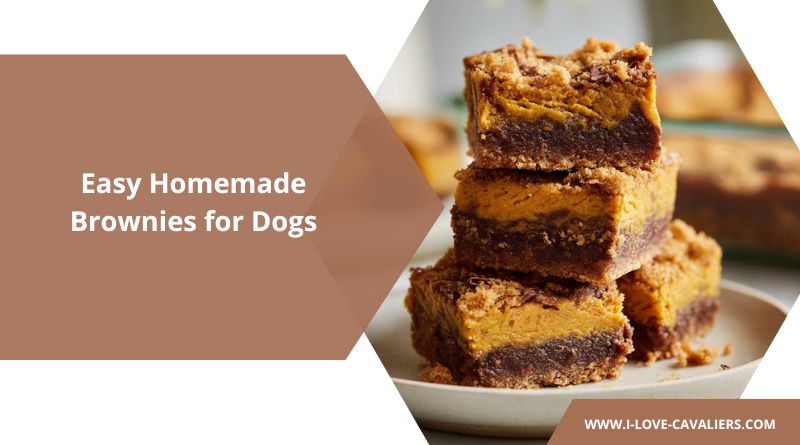
Homemade Brownies for Dogs
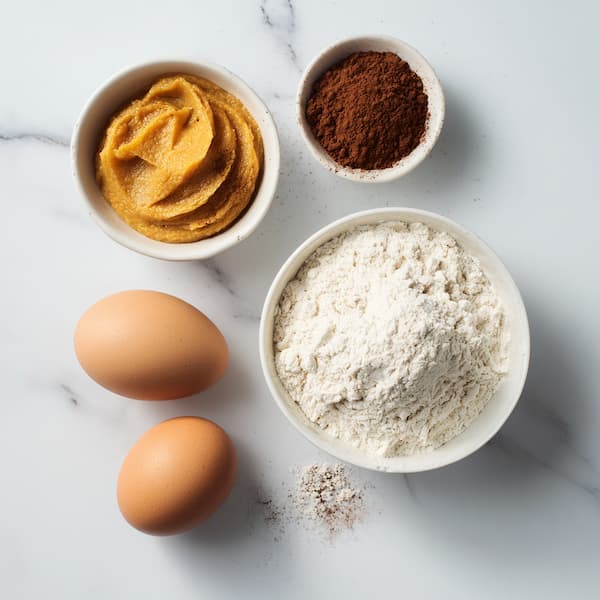
To make these delicious doggy desserts, you’ll need the following:
For the Brownies
| Ingredient | Amount | Benefit |
|---|---|---|
| Oat flour | 1 cup | Fiber and protein for sustained energy |
| Carob powder | 4 tablespoons | Antioxidants and safe chocolate alternative |
| Pumpkin puree | 1 cup | Digestive aid and immune support |
| Large eggs | 2 | Essential proteins and amino acids |
| Coconut oil, melted | ¼ cup | Healthy fats for skin and cognitive function |
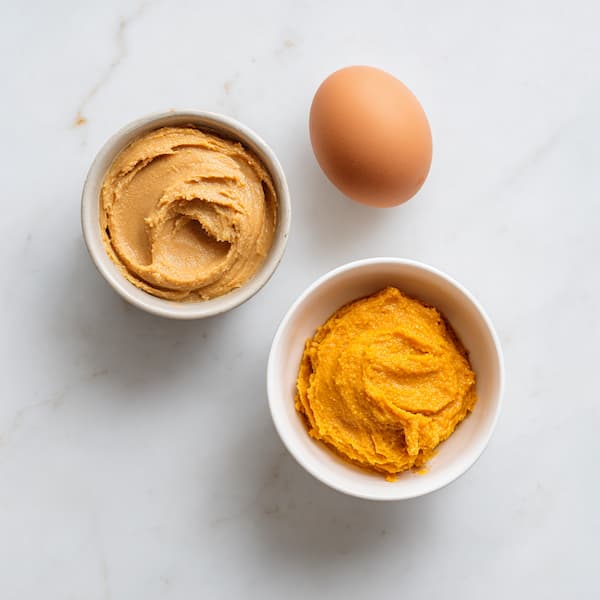
For the Peanut Butter Swirl
| Ingredient | Amount | Benefit |
|---|---|---|
| Pumpkin puree | ½ cup | Additional fiber and vitamins |
| Natural peanut butter | ½ cup (xylitol-free) | Protein, healthy fats, flavor |
| Medium egg | 1 | Additional protein and nutrients |
Required Equipment:
- 8-inch square baking dish (glass or ceramic preferred)
- Three mixing bowls (small, medium, large)
- Wire whisk for dry ingredients
- Wooden spoon or silicone spatula for mixing
- Measuring cups and spoons
- Wire cooling rack
- Sharp knife for cutting
- Toothpicks for doneness testing
Step-by-Step Instructions
Step 1: Preparation Setup
Preheat your oven to 350°F (175°C). Lightly grease an 8-inch square baking dish or cake pan with a small amount of coconut oil or cooking spray safe for dogs. Line with parchment paper for easy removal, leaving overhang for lifting.
Tips:
- Position oven rack in center for even heat distribution
- Use room temperature ingredients for better mixing
- Measure all ingredients before starting for efficient workflow
Step 2: Create the Perfect Peanut Butter Swirl
In a small bowl, combine pumpkin puree, natural peanut butter, and one medium egg until completely smooth. The mixture should be creamy without lumps.
Ideal Consistency:
- If mixture is too thick, add 1 tablespoon warm water
- If too thin, add 1 tablespoon additional peanut butter
- Mix for 2-3 minutes to ensure complete incorporation
Step 3: Combine Dry Ingredients
In another bowl, whisk together the oat flour and carob powder until evenly mixed. This step prevents carob powder clumping and ensures even distribution throughout the brownies.
Step 4: Create the Foundation Brownie Batter
In a separate, larger mixing bowl, combine one cup of pumpkin puree, two large eggs, and melted coconut oil. Stir until completely smooth and well-incorporated. The mixture should have a uniform orange color and smooth texture.
Temperature Considerations:
- Ensure coconut oil is melted but not hot (it can cook the eggs)
- If oil solidifies upon contact with cool ingredients, warm mixture slightly
Gradually add the dry mixture (oat flour and carob powder) to the wet mixture, stirring until you have a smooth, uniform batter. Don’t overmix—stop when ingredients are just combined.
Step 5: Assembly and Swirling Technique
Pour the brownie batter into the prepared baking pan, spreading evenly with an offset spatula or the back of a spoon. The batter should reach all corners and have a level surface.
Use a large spoon or ice cream scoop to place dollops of the peanut butter mixture across the brownie batter in a grid pattern (about 6-8 dollops). Then, with a butter knife or toothpick, gently swirl the peanut butter mixture into the brownie batter to create a beautiful, marbled effect.
Step 6: Optimal Baking Process
Bake in the preheated oven for 30-35 minutes, or until a toothpick inserted into the center of the brownies comes out with just a few moist crumbs. The brownies should be firm around the edges but still slightly soft in the center.
Doneness Indicators:
- Edges pull slightly away from pan sides
- Top springs back lightly when touched
- Internal temperature reaches 160°F (71°C)
- Toothpick test shows moist crumbs, not wet batter
Step 7: Cooling and Serving Preparation
Allow the brownies to cool completely in the pan on a wire rack for at least 2 hours. This cooling period is crucial for proper texture development and easy cutting.

Storage Tips
Refrigerator: Store brownies in an airtight container for up to one week.
Freezer: Wrap individual brownies and store them in a freezer-safe bag or container for up to three months. Thaw at room temperature before serving.
Feeding Tips
These homemade dog brownies are meant to be a special treat, not a daily staple or meal replacement.
As with all dog snacks, it’s important to keep treats (including these brownies) to less than 10% of your dog’s total daily calories. This helps your pup enjoy the occasional indulgence while still getting balanced nutrition from their main meals.
The right serving size depends on your dog’s size, age, and activity level. Start with a small piece to see how your dog reacts.
If your dog has any food sensitivities or special dietary needs, check with your vet before adding something new.
Nutritional Benefits of Ingredients
- Oat Flour: High in fiber and protein, oats support healthy digestion and provide steady energy.
- Carob Powder: Offers a naturally sweet, chocolate-like flavor without toxicity, and it’s rich in fiber and antioxidants.
- Pumpkin Puree: Packed with fiber and vitamins A and C, pumpkin aids digestion and supports immune health.
- Eggs: Provide protein, healthy fats, and essential amino acids for a shiny coat and strong muscles.
- Coconut Oil: Contains healthy fats beneficial for your dog’s skin, coat, and cognitive health.
- Peanut Butter: Rich in protein and healthy fats, peanut butter provides a tasty boost of energy (ensure it’s xylitol-free).
Customization Ideas
Spring: Add finely minced fresh mint leaves (1 teaspoon) for a refreshing twist that also freshens breath naturally.
Summer: Fold in 1/4 cup of mashed fresh blueberries or strawberries for additional antioxidants and natural sweetness.
Autumn: Incorporate 2 tablespoons of finely grated sweet potato and a pinch of cinnamon for seasonal flavor and extra beta-carotene.
Winter: Add 1 tablespoon of plain Greek yogurt to the batter for extra protein and a slight tangy flavor that balances the sweetness.
Common Mistakes to Avoid
- Using Chocolate: Never substitute carob with chocolate, as chocolate is toxic to dogs.
- Incorrect Peanut Butter: Always confirm your peanut butter is free from xylitol, which is highly toxic to dogs.
- Overbaking: Avoid baking too long to keep the brownies moist and tasty for your pup.
FAQs
Is carob safe for dogs?
Absolutely. Carob is safe and nutritious for dogs, providing a chocolate-like taste without harmful substances.
How long do these brownies last at room temperature?
Only 2-3 hours safely. Always refrigerate or freeze for longer storage to prevent spoilage and bacterial growth.
Can I use regular flour instead of oat flour?
Avoid wheat flour as many dogs are sensitive to gluten. Rice flour or coconut flour work as alternatives, but adjust liquid ratios accordingly.
Can I add honey for extra sweetness?
Use sparingly – no more than 1 teaspoon for the entire batch. Dogs don’t need added sugars, and too much can cause digestive upset.
Final Thoughts
At the end of the day, these homemade dog brownies aren’t just snacks, they’re a way to show your pup some extra love, baked right into every bite. Made with thoughtful ingredients that nourish and delight, they strike the perfect balance between tasty and healthy.
Bake a batch. Watch the tail wags. Feel that joy that only dogs bring. Because honestly, when it comes to treats for the ones who give us their all, a little homemade goodness goes a long way. Here’s to many more moments of shared joy and brownie-fueled tail wags.