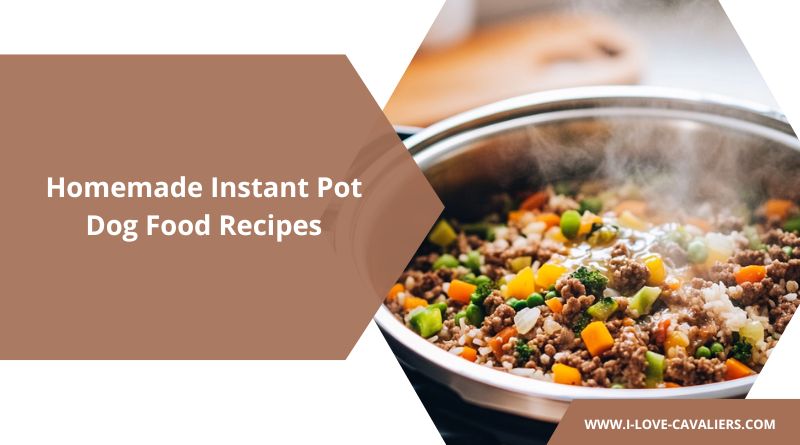
These days, more pet parents are stepping up their game when it comes to their dog’s health, and homemade meals are becoming a go-to option.
With the rise of modern kitchen tools like the instant pot creating nutritious, homemade dog food has never been so easy—or practical.
It’s all about convenience without compromising on quality, giving you control over what your four-legged family member is eating while keeping things simple for your busy life.
So, in this article, I’ll share 3 simple and delicious instant pot dog food recipes that your pup is going to love!
The Instant Pot Revolution in Pet Food Preparation
The instant pot stands out as an ideal tool for preparing dog food. Its sealed environment preserves nutrients while breaking down proteins into digestible forms.
The pressure cooking method not only saves time but also enhances flavors and maintains moisture content – crucial factors for appealing to your dog’s palate.
What might take hours on a stovetop transforms into a quick, efficient process.
Wholesome Instant Pot Recipes for Your Dog
Alright, let’s get to it! Here are my top 3 instant pot dog food recipes that are not just easy but also packed with goodness for your pup.
Each recipe is a balanced mix of protein, healthy carbs, and veggies, with added benefits from bone broth and coconut oil for those extra nutrients. You can even swap out the protein to match your dog’s taste and dietary needs.
Let’s get cooking!
1. Classic Beef and Vegetable Mix
Ingredients:
| Ingredient | Amount |
|---|---|
| Ground Beef | 2 pounds |
| Frozen Mixed Vegetables | 24 ounces |
| Cooked Rice | 2 cups |
| Bone Broth | 2 cups |
| Coconut Oil | 2 tablespoons |
Preparation Method:
- Begin by heating your Instant Pot using the sauté function. Once hot, add the ground beef and break it apart with a wooden spoon. Cook thoroughly until all pink color disappears, stirring occasionally to ensure even browning and prevent sticking.
- Once the beef is fully cooked, carefully drain the excess fat. You can use a colander or carefully tilt the pot while holding back the meat with the lid. This step is important for creating a healthier meal for your dog.
- Return the drained meat to the pot and add the pre-cooked rice. Stir gently to combine, allowing the rice to begin absorbing the remaining meat flavors.
- Pour in the bone broth and add the coconut oil. Use your wooden spoon to scrape the bottom of the pot thoroughly – those browned bits contain valuable flavor and nutrients. This step also prevents the “burn” warning during pressure cooking.
- Add the frozen vegetables to the mixture. Stir everything together until well combined, ensuring even distribution of all ingredients.
- Carefully secure the Instant Pot lid, ensuring the sealing ring is properly placed and the valve is set to “sealing” position.
- Select the pressure cook (or manual) setting and set for 7 minutes at high pressure. The pot will take several minutes to come to pressure before the cooking countdown begins.
- Once cooking is complete, allow the pressure to release naturally. This usually takes 10-15 minutes and helps the ingredients settle and flavors meld together.
- After the pressure pin drops, remove the lid carefully, tilting it away from you to avoid steam burns.
- Let the mixture cool completely before serving or storing. Stir occasionally during cooling to help release heat evenly.
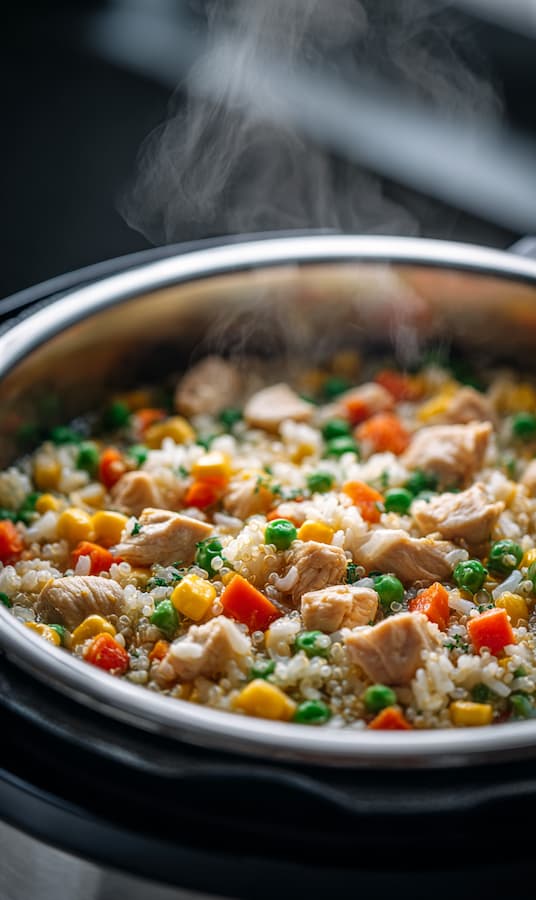
2. Lean Chicken and Rice Bowl
Ingredients:
| Ingredient | Amount |
|---|---|
| Chicken Breast (cubed) | 2 pounds |
| Frozen Mixed Vegetables | 24 ounces |
| Cooked Rice | 2 cups |
| Quinoa | 1/2 cup |
| Bone Broth | 2 cups |
| Coconut Oil | 2 tablespoons |

Preparation Method:
- Set your Instant Pot to sauté mode and allow it to heat up fully. Add the cubed chicken breast, spreading it in an even layer to ensure proper browning.
- Cook the chicken pieces, stirring occasionally, until they’re fully opaque and lightly golden on all sides. This typically takes 5-7 minutes.
- Once cooked, drain any accumulated liquid from the pot. This helps prevent the final dish from becoming too watery.
- Return the chicken to the pot and add both the cooked rice and quinoa. The combination of these grains provides excellent nutritional variety for your dog.
- Pour in the bone broth and add coconut oil. Use this liquid addition as an opportunity to scrape the bottom of the pot thoroughly, releasing any caramelized bits.
- Add the frozen vegetables and stir until all ingredients are evenly distributed throughout the pot.
- Secure the Instant Pot lid, ensuring it’s properly sealed and the valve is in the correct position.
- Set to pressure cook on high for 7 minutes. Remember that it will take additional time to reach pressure.
- Allow for a complete natural pressure release, which ensures all ingredients are perfectly tender.
- Once pressure is released, remove the lid and stir gently to fluff up the mixture.
- Allow to cool completely before serving or storing.
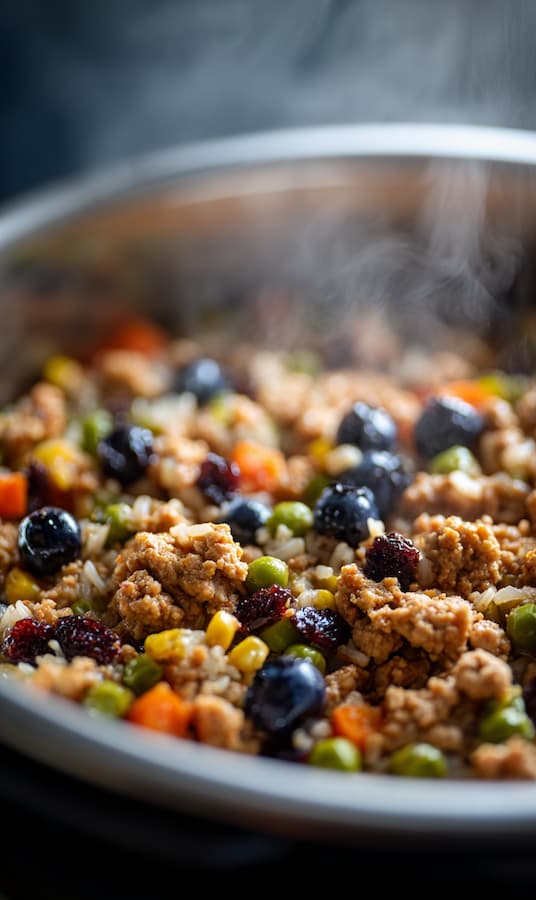
3. Turkey and Garden Vegetable Blend with Blueberries
Ingredients:
| Ingredient | Amount |
|---|---|
| Ground Turkey | 2 pounds |
| Frozen Mixed Vegetables | 24 ounces |
| Cooked Rice | 2 cups |
| Bone Broth | 2 cups |
| Coconut Oil | 2-3 tablespoons |
| Blueberries (fresh or frozen) | 1 cup |
Preparation Method:
- Begin with the Instant Pot on sauté mode. Add the ground turkey and break it into small, even pieces using a wooden spoon or spatula.
- Cook the turkey thoroughly until no pink remains, stirring frequently to ensure even cooking and prevent sticking to the bottom.
- Carefully drain any excess liquid that has accumulated during cooking. This helps achieve the right consistency in the final dish.
- Return the cooked turkey to the pot and incorporate the pre-cooked rice, stirring gently to combine.
- Add the bone broth and coconut oil to the mixture. Take time to scrape the bottom of the pot thoroughly, as this prevents sticking during pressure cooking and incorporates all the flavorful browned bits.
- Mix in the frozen vegetables, ensuring they’re evenly distributed throughout the meat and rice mixture.
- Close the Instant Pot lid securely, checking that the sealing ring is properly placed and the pressure valve is set to “sealing.”
- Pressure cook on high for 7 minutes, allowing the pot to come to pressure naturally.
- Once cooking is complete, allow for a natural pressure release. This typically takes 10-15 minutes.
- After the pressure pin drops, carefully remove the lid and gently stir in the cup of blueberries.
- Allow the entire mixture to cool before serving or storing.
Storage and Serving Guidelines
Proper storage ensures your homemade dog food remains fresh and safe:
- Refrigerate portions in airtight containers for up to 5 days
- Freeze extra portions for up to 3 months in freezer-safe containers
- Thaw frozen portions overnight in the refrigerator
- Warm refrigerated portions slightly if desired, ensuring food is not hot
- Portion according to your dog’s size and nutritional needs
Transitioning to Homemade Dog Food
The key to successfully switching your dog to homemade meals lies in a gradual transition.
This careful approach helps prevent digestive upset and allows your pet’s system to adapt comfortably to the new diet.
Follow this comprehensive timeline to ensure a smooth transition over a 7-10 day period:
| Phase | Days | Current Food | New Homemade Food |
|---|---|---|---|
| Initial Phase | 1-3 | 75% | 25% |
| Middle Phase | 4-6 | 50% | 50% |
| Advanced Phase | 7-8 | 25% | 75% |
| Final Transition | 9-10 | 0% | 100% |
Initial Phase (Days 1-3): Begin by introducing a small portion of the new homemade food, mixing it thoroughly with their current diet. Your dog’s bowl should contain 75% of their regular food and 25% of the new homemade recipe. Watch for any signs of digestive changes during this period.
Middle Phase (Days 4-6): Once your dog has adjusted to the initial change, increase the proportion of homemade food to 50%. Their meals should now be an equal blend of their current food and the new homemade recipe. This balanced mix helps them gradually become accustomed to the new ingredients.
Advanced Phase (Days 7-8): If your pet is responding well, shift the ratio to favor the homemade food. Serve meals containing 75% of the new homemade recipe and just 25% of their previous food. Many dogs show increased enthusiasm for their meals at this stage.
Final Transition (Days 9-10): Complete the transition by serving 100% homemade food. By this point, your dog’s digestive system should be well-adjusted to the new diet. Continue monitoring their response and energy levels.
Remember to observe your dog closely throughout this process. If you notice any digestive upset or reluctance to eat, slow down the transition by staying at the current phase for an extra day or two.
Every dog adapts differently, and it’s perfectly acceptable to extend this timeline if needed. Some dogs may require up to two weeks for a complete transition, particularly if they have sensitive stomachs or have been on the same commercial diet for many years.
Signs to watch for during transition:
- Changes in energy levels
- Stool consistency
- Appetite fluctuations
- Digestive comfort
- Overall enthusiasm for meals
If you observe any concerning changes, consult with your veterinarian for personalized guidance on adjusting the transition timeline to better suit your dog’s needs.
Health and Safety Notes
While these recipes provide excellent nutrition basics, remember:
- Consult your veterinarian before changing your dog’s diet
- Consider your dog’s specific nutritional needs and health conditions
- Ask about necessary supplements to ensure complete nutrition
- Monitor your dog’s weight and energy levels during the transition
- Adjust portions based on your dog’s size, age, and activity level
Final Thoughts
These instant pot recipes offer a practical way to provide your dog with nutritious, homemade meals. The combination of fresh ingredients and efficient preparation makes it easier than ever to take control of your pet’s nutrition while showing them love through carefully prepared food.
Remember that each dog is unique, and what works for one may need adjustment for another. Pay attention to your pet’s response to their new diet and make modifications as needed in consultation with your veterinarian.