Let’s be real—if there’s one thing most dogs go crazy for, it’s peanut butter. Those four-legged friends can smell it from across the room, their ears perking up, tails starting to wag with pure anticipation. Now imagine taking that favorite flavor and turning it into something special: a cupcake designed just for dogs.
This isn’t about creating an Instagram-worthy pet dessert or going over the top. It’s about giving your dog a moment of pure happiness, a treat that says “I see you” in the language they understand best—delicious food. These cupcakes are more than just a snack; they’re a small celebration of the bond between you and your furry companion.
I’m going to show you how to make a treat that’s not just tasty, but actually good for your dog. No artificial ingredients, no complicated techniques—just simple, wholesome ingredients that will make your pup’s day a little brighter.
Why Your Dog Will Love These Cupcakes
- Wholesome Ingredients: Made with dog-safe, natural components.
- Perfect Texture: Soft and easy to eat for dogs of all ages.
- Customizable: Add toppings or mix-ins to suit your pup’s preferences.
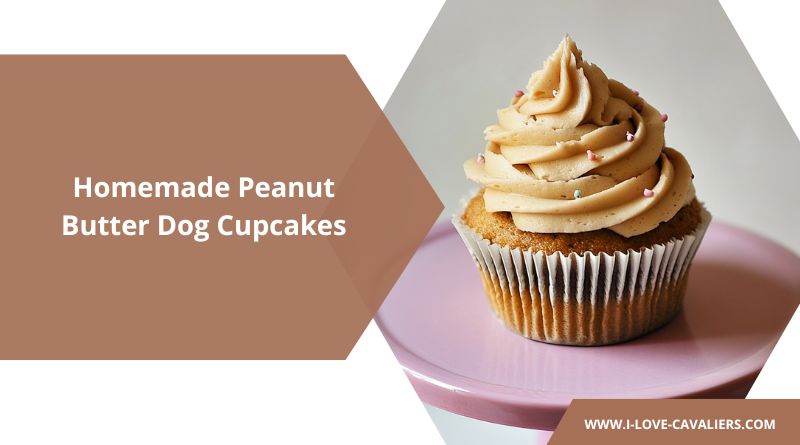
Homemade Peanut Butter Dog Cupcakes
To make this delicious pupcakes, you’ll need the following ingredients:
Ingredients

For the Cupcakes
- ¼ cup peanut butter: Use all-natural peanut butter free of xylitol.
- 1 medium banana, mashed: Adds natural sweetness and moisture.
- ½ cup whole wheat flour: A healthy base that’s gentle on digestion.
- 1 egg: Helps bind the ingredients and adds protein.
- 2 tbsp water: Adjusts the batter consistency.
- ½ tsp baking powder: Helps the cupcakes rise.
- ½ tbsp honey: A touch of sweetness that’s safe for dogs in moderation.
For the Frosting
- ¼ cup peanut butter: Adds flavor and creaminess.
- ½ cup Greek yogurt: A tangy, creamy topper packed with probiotics.
Optional Add-Ins or Toppings
- Crushed Biscuits
- Dog-safe sprinkles
- Blueberries
Kitchen Equipment Needed
- Mixing bowls
- Whisk or hand mixer
- Measuring cups and spoons
- Muffin tin
- Cupcake liners (optional)
- Piping bag or spatula for frosting
Step-by-Step Instructions
Step 1: Preheat the Oven
- Preheat your oven to 350°F (175°C).
- Line a muffin tin with cupcake liners or lightly grease the tin to prevent sticking.
Step 2: Prepare the Cupcake Batter
- Mash the Banana: In a mixing bowl, mash the banana until smooth.
- Combine Wet Ingredients: Add the peanut butter, egg, water, and honey to the mashed banana. Mix until well combined.
- Add Dry Ingredients: Gradually stir in the whole wheat flour and baking powder, mixing until you get a smooth batter.
Step 3: Fill the Muffin Tin
- Divide the batter evenly between the prepared muffin cups, filling each about two-thirds full. This ensures the cupcakes rise without overflowing.
Step 4: Bake the Cupcakes
- Place the muffin tin in the preheated oven and bake for 8-12 minutes, or until a toothpick inserted into the center comes out clean.
- Allow the cupcakes to cool in the tin for 5 minutes, then transfer them to a wire rack to cool completely.
Step 5: Make the Frosting
- In a small bowl, combine the Greek yogurt and peanut butter. Mix until smooth and creamy.
- Chill the frosting in the refrigerator while the cupcakes cool to make it easier to spread or pipe.
Step 6: Frost and Decorate
- Once the cupcakes are completely cool, use a piping bag or spatula to frost them with the peanut butter and yogurt mixture.
- Garnish with optional toppings like crushed busciuts, a dollop of peanut butter, or a single blueberry for a cute touch.
Tips for Success
- Choose the Right Peanut Butter: Ensure your peanut butter is unsweetened and free from xylitol, which is toxic to dogs.
- Adjust the Frosting Consistency: If the frosting is too thick, add a teaspoon of water or yogurt.
- Don’t Overbake: Keep an eye on the cupcakes to prevent them from drying out.
Storage
- Refrigerator: Store the cupcakes in an airtight container in the fridge for up to 5 days.
- Freezing: Freeze unfrosted cupcakes for up to 3 months. Thaw in the refrigerator before adding frosting.