Looking for a wholesome homemade treat that’ll have your pup doing tricks before you can even say “sit”? Get ready to be your dog’s favorite baker with these ridiculously easy pumpkin oat treats!
Packed with fiber-rich pumpkin and hearty oats, these treats aren’t just delicious—they’re actually good for your four-legged friend. Plus, they’re so simple to make, you’ll wonder why you ever bothered with store-bought biscuits (the ones that cost more than your own snacks).
Whether you’ve got a picky Cavalier or a Labrador who thinks the entire world is edible, these treats are sure to be a hit. With just a few ingredients you probably already have in your pantry, you can whip up a batch faster than your dog can destroy their favorite toy.
So, grab your mixing bowl, and let’s get baking!
Homemade Pumpkin Oat Dog Treats

Ingredients
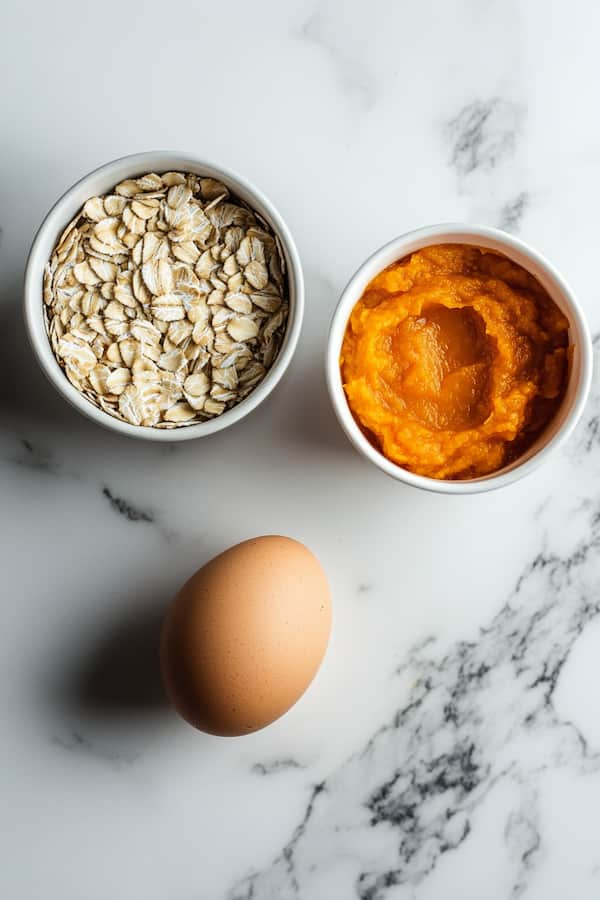
To make these tasty treats, you will need the following ingredients:
- 1 cup pumpkin puree (not pumpkin pie filling)
- 1 egg
- 3 cups old-fashioned oats
- ¼ cup water (or more if needed to adjust dough consistency)
Bonus/Optional Ingredients
- 2 tbsp natural peanut butter (make sure it’s free of xylitol)
- 2-3 strips cooked, chopped bacon for extra flavor
- ¼ tsp ground cinnamon for a little extra taste
#1 Oven Method Instructions
Step 1: Preheat the Oven
Kick things off by setting your oven to 350°F (175°C). While it’s heating, grab a baking sheet and line it with parchment paper or a silicone baking mat to prevent sticking. This also makes cleanup a breeze. Place the baking sheet on your counter, ready for action.
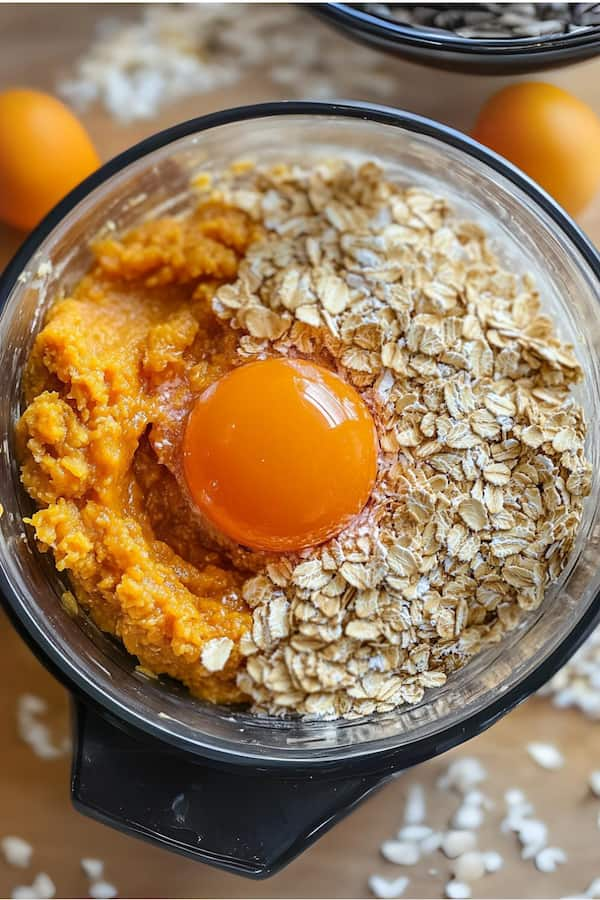
Step 2: Blend the Wet Ingredients
In a food processor, add 1 cup pumpkin puree, 1 large egg, and 2 tbsp peanut butter (if using). Pulse for 20–30 seconds until the mix is smooth and creamy, like a thick smoothie. Scrape down the sides with a spatula to ensure everything’s blended. If you’re skipping peanut butter, it’ll still be nice and silky.
Step 3: Add Oats in Batches
Add 2 cups of old-fashioned oats to the food processor. Pulse again for 30–45 seconds until the oats break down slightly and form a thick, dough-like consistency. The mix should be tacky but not runny. Transfer this to a mixing bowl, then stir in the remaining 1 cup of oats by hand with a spoon. This adds a chunkier texture dogs love. If using ¼ tsp cinnamon or 2–3 strips of finely chopped bacon, fold them in now for even distribution.
Step 4: Adjust Dough Consistency
Check the dough’s texture—it should hold together when pinched but not be too sticky. If it’s crumbly, add ¼ cup water, 1 tbsp at a time, mixing after each addition until it’s workable. If it’s too wet, sprinkle in an extra tbsp of oats. Knead lightly in the bowl to make sure it’s uniform. The dough should feel like soft playdough.
Step 5: Shape the Treats
Scoop out small portions (about 1 tbsp each) using a spoon or cookie scoop and roll them into balls for rustic cookies. Place them on the baking sheet, spacing them about 1 inch apart. For fancier treats, lightly flour a clean surface, roll the dough to ¼-inch thickness with a rolling pin, and use cookie cutters to make bone, heart, or star shapes. Gather scraps, re-roll, and cut until all dough is used. Aim for 20–30 treats, depending on size.
Step 6: Bake to Perfection
Pop the baking sheet into the oven on the middle rack. Bake for 20–25 minutes, until the treats are golden brown around the edges and firm to the touch. For crunchier treats, check at 20 minutes and add 2–3 more minutes if needed. The bacon (if used) will make them smell irresistible—don’t be surprised if your pup starts circling!
Step 7: Cool and Store
Remove the baking sheet from the oven and let the treats sit for 5 minutes to set. Transfer them to a wire rack to cool completely, about 30 minutes. Don’t feed them warm, as hot treats can upset pup stomachs. Store in an airtight container in the fridge for up to 10 days or freeze for up to 3 months. Thaw frozen treats in the fridge overnight before serving.
#2 Air Fryer Method Instructions
Step 1: Preheat the Air Fryer
Set your air fryer to 320°F (160°C) and let it preheat for 3–5 minutes. This ensures even cooking. While it’s warming up, check that your air fryer basket is clean and ready.
Step 2: Prepare the Dough
Follow steps 2–4 from the oven method to make your dough: blend pumpkin puree, egg, and peanut butter (if using), add 2 cups oats in the food processor, then stir in the remaining 1 cup oats, bacon, cinnamon, and water as needed. The dough should be thick, slightly tacky, and easy to shape.
Step 3: Shape the Treats
Scoop 1-tbsp portions of dough and roll into balls or flatten slightly into small discs (about ½-inch thick) for even air fryer cooking. If you want shapes, roll the dough to ¼-inch thickness and use small cookie cutters, but keep them compact to fit the basket. You’ll likely get 20–30 treats, depending on size.
Step 4: Arrange in the Air Fryer
Place the treats in a single layer in the air fryer basket, leaving a little space between each one to let hot air circulate. Don’t overcrowd—work in batches if needed (about 8–10 treats per batch, depending on your air fryer size). If your air fryer has a non-stick basket, you can skip liners; otherwise, use a small piece of parchment paper cut to fit.
Step 5: Cook and Flip
Cook the treats for 8–10 minutes, flipping them halfway through (around 4–5 minutes) with a spatula to ensure even browning. Check at 8 minutes—if they’re firm and lightly golden, they’re done. For extra crunch, add 1–2 more minutes, but don’t let them burn. Repeat for additional batches.
Step 6: Cool and Store
Carefully remove the treats from the air fryer and place them on a wire rack to cool completely, about 20–30 minutes.
Tips for Customizing
- Egg Substitute: If your dog has an egg allergy or you’re out of eggs, you can easily swap the egg for a mashed banana. It binds the ingredients together just as well and adds a natural sweetness.
- Texture: For a crunchier treat, extend the baking or air frying time by a few minutes.
- Peanut Butter Option: If your dog loves peanut butter, adding 2 tbsp can make these treats even more delicious!
Benefits of Pumpkin and Oats for Dogs
Pumpkin is a powerhouse ingredient for dogs. It’s rich in fiber, which helps support healthy digestion, and loaded with vitamins A and C, which are great for your dog’s skin, coat, and immune system. The natural sweetness of pumpkin also makes these treats extra tasty!
Oats are a fantastic source of energy and are easy to digest, especially for dogs with wheat sensitivities. They’re packed with nutrients like B vitamins, iron, and magnesium, which help keep your pup healthy and active. Plus, the fiber in oats helps regulate digestion.
Feeding Guidelines
As tasty as these treats are, moderation is key! You can give your dog 1-2 small treats a day, depending on their size.
Keep in mind that treats should make up no more than 10% of your dog’s daily caloric intake. Always monitor your dog when introducing new treats, especially if they have any food sensitivities.
Conclusion
There’s nothing like the satisfaction of giving your dog a homemade treat made with love—and these pumpkin oat dog treats definitely deliver.
With simple ingredients, tons of health benefits, and a taste your dog will go crazy for, they’re the perfect snack to add to your treat-making rotation. Plus, you can feel good knowing exactly what’s in them!
Whether you stick to the basics or toss in a few extra goodies like bacon or peanut butter, your pup will be one happy (and healthy) camper. Happy baking!
All 4 of my dogs loved these. I used sweet potatoes instead of pumpkin because that’s what I had on hand. Will be making these weekly from now on.