
If you’ve ever felt guilty enjoying an ice cream cone while your furry friend gives you their best “and what about me?” look, this recipe is about to make you the coolest pet parent on the block.
Listen, I’m not talking about some complicated frozen concoction here. This is a dead-simple, 3-ingredient dog ice cream that’s easier to make than explaining to your pup why they can’t chase the neighbor’s cat. You probably already have everything you need in your kitchen!
I started making these frozen treats during a heatwave when my dog was looking at me like I was personally responsible for the weather. Now she thinks the sound of the freezer opening is better than her squeaky toy – and that’s really saying something!
Ready to become a doggy dessert hero? Let’s get freezing!
Easy 3-Ingredient Dog Ice Cream Recipe
Ingredients
- 2 cups plain Greek yogurt (unsweetened, no additives)
- 1 ripe banana, mashed
- 5 tablespoons peanut butter (natural, xylitol-free)
Optional Add-Ons
- A handful of fresh or frozen blueberries
- A drizzle of honey (in moderation)
- Shredded carrots for added crunch
- Sliced strawberries for a fruity boost
- A sprinkle of chia seeds for extra fiber
Equipment
- Blender or food processor
- Mixing bowl
- Measuring cups and spoons
- Ice cube tray or silicone molds
- Freezer
Instructions

Step 1: Prep the Banana
Grab your ripe banana—it should be soft, sweet, and speckled with brown spots for max flavor. Peel it and place it in a mixing bowl. Use a fork or potato masher to mash it until it’s mostly smooth, with no big chunks left. This takes about 30 seconds of elbow grease. If you want it extra smooth, skip to the blender in the next step.
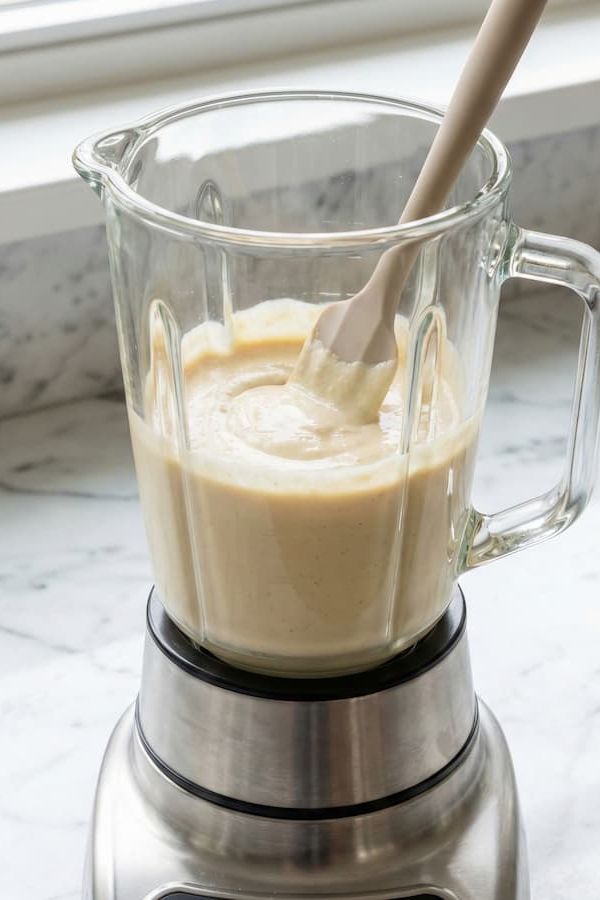
Step 2: Blend the Base
For a creamy texture, toss the mashed banana into a blender or food processor. Add 2 cups plain Greek yogurt and 5 tbsp peanut butter (triple-check it’s xylitol-free, as xylitol is toxic to dogs). Blend for 20–30 seconds until the mix is smooth and thick, like a milkshake. Scrape down the sides with a spatula to catch any stray peanut butter. If mixing by hand, transfer to a bowl and whisk vigorously for 1–2 minutes until fully combined.
Step 3: Check the Consistency
Give the mixture a quick stir and check its texture. It should be thick but pourable, like a smoothie. If it’s too runny, add 1 tbsp more peanut butter and blend again. If it’s too thick, drizzle in 1 tsp water and mix. This ensures it’ll freeze nicely without being icy or too dense.
Step 4: Add Optional Goodies
If you’re using optional add-ons, now’s the time to mix them in. Grab a handful of fresh or frozen blueberries (about ¼ cup), ¼ cup shredded carrots, or ¼ cup sliced strawberries (chop into tiny pieces for easy eating). Sprinkle in 1 tsp chia seeds or drizzle 1 tsp honey if you want. Use a spatula to fold them in gently, stirring for 15–20 seconds to spread them evenly without overmixing. Stick to one or two add-ons to keep the texture on point. If you’re keeping it simple, skip this step.
Step 5: Prep Your Molds
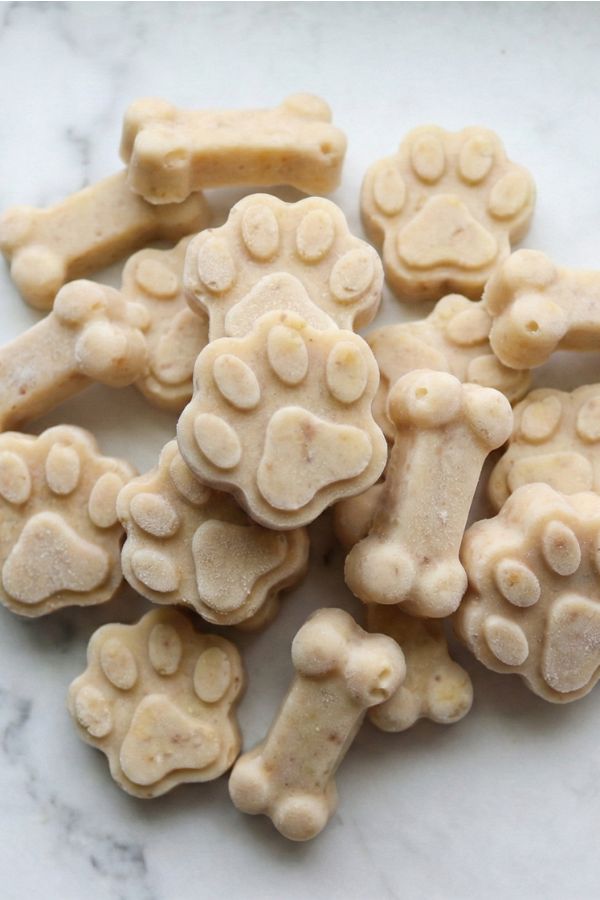
Get your ice cube tray or silicone molds ready—silicone molds with paw, bone, or heart shapes are straight-up adorable. If using ice cube trays, lightly spray with cooking spray and wipe off excess for easy release. No molds? Grab a mini muffin tin or a parchment-lined baking sheet for dollops. Place your molds on a flat surface to avoid spills.
Step 6: Fill the Molds
Using a spoon or small measuring cup, pour the mixture into each mold, filling them about ¾ full to allow for slight expansion during freezing. For muffin tins, fill halfway for smaller treats. If using a baking sheet, spoon 1-tbsp dollops, spacing them 1 inch apart. Tap the tray gently on the counter to settle the mix and pop any air bubbles. Smooth the tops with a spoon for a clean look, especially if add-ons like carrots are sticking out.
Step 7: Freeze It Solid
Carefully place the trays, molds, or baking sheet in the freezer on a flat shelf to keep everything level. Freeze for 3–4 hours minimum, or overnight for best results, until the treats are completely solid. Smaller molds might set in 2.5–3 hours, but check by pressing one—if it’s hard and doesn’t give, you’re good. Don’t rush it; soft treats can be messy and hard to serve.
Step 8: Pop Out the Treats
Once frozen, remove the treats from the molds. For silicone molds, gently twist or push from the bottom to pop them out. For ice cube trays, run the bottom under warm water for 5–10 seconds to loosen, then tap out. If using a baking sheet, peel dollops off the parchment paper. Place treats in a pile and get ready to make your pup’s day.
Step 9: Serve and Store
Serve one frozen treat to your pup as a cooling snack—perfect for hot days or post-playtime chill sessions. Watch them go wild! Store leftovers in an airtight container or freezer-safe bag in the freezer for up to 2 weeks. If stacking, layer with parchment paper to prevent sticking. Check for freezer burn (odd smells or frost) before serving, and toss anything suspect.
Feeding Guidelines
As with any treat, moderation is key. Dog ice cream should be given as an occasional snack and not a meal replacement.
Depending on your dog’s size, 1-2 small frozen treats are plenty per day. Also, make sure your dog doesn’t have any dairy sensitivities, as Greek yogurt is the base ingredient.
Pro Tips to Make These Treats a Total Win
- Yogurt Check: Use plain Greek yogurt with no sweeteners or artificial flavors. Full-fat is richer, but low-fat works for calorie-conscious pups. Check the label for “live cultures” for a digestion boost.
- Peanut Butter Safety: Xylitol is a no-go for dogs, so pick natural peanut butter with just peanuts or peanuts and salt. Stir well if oil has separated.
- Banana Ripeness: A super-ripe banana (brown and soft) is sweeter and easier to mash. Green bananas are harder to blend and less flavorful.
- Add-On Balance: Don’t overload with extras—stick to one or two add-ons (e.g., blueberries and chia seeds) to keep the texture right. Too many can make treats crumbly.
- Mold Hacks: Silicone molds are easiest to pop out. If using ice cube trays, spray lightly with cooking spray (wipe off excess) for easier release.
- Serving Size: Small dogs get half a treat (about 1 tbsp), larger dogs can handle 1–2. Serve 1–2 times a week to avoid overdoing the dairy or calories.
Benefits of the Ingredients
- Greek Yogurt: Packed with protein and probiotics, Greek yogurt supports your dog’s digestive health and helps build strong muscles. Just make sure you use plain, unsweetened yogurt with no added sugars or artificial ingredients.
- Banana: Bananas are full of vitamins and minerals like potassium, vitamin C, and fiber, which are great for your dog’s overall health. They also add natural sweetness to the ice cream.
- Peanut Butter: This favorite dog treat ingredient is rich in healthy fats and protein. Just ensure you use a natural peanut butter without xylitol, as it’s toxic to dogs.
Tips for Customizing:
- Adjust the Sweetness: If your dog loves a sweeter treat, consider adding a tiny drizzle of honey or more ripe banana. Just be careful not to overdo it on the sugar.
- Layered Ice Cream: For a fun visual and flavor experience, you can layer the mixture with different optional ingredients—like a banana-peanut butter base, followed by a blueberry layer on top.
- Spoonable Version: If your dog prefers a softer texture, let the frozen treats thaw slightly before serving for a spoonable, soft-serve-like consistency.
In Summary
Making homemade dog ice cream is a fun and easy way to spoil your dog with a cool treat. With just a few simple ingredients, you can create a delicious and nutritious snack that your dog will love.
Plus, with the flexibility to add extras like blueberries or carrots, you can customize the ice cream to suit your pup’s taste preferences. So why not give it a try and see how much your dog enjoys these tasty, chilled treats?