Sometimes I think pumpkin season was invented just for dogs. Everywhere I look, there’s pumpkin this, pumpkin that, and honestly, Snickers seems more excited about it than I am.
The first time I opened a can of pumpkin puree, he gave me that “don’t even think about eating that without me” look. And you know what? He was right.
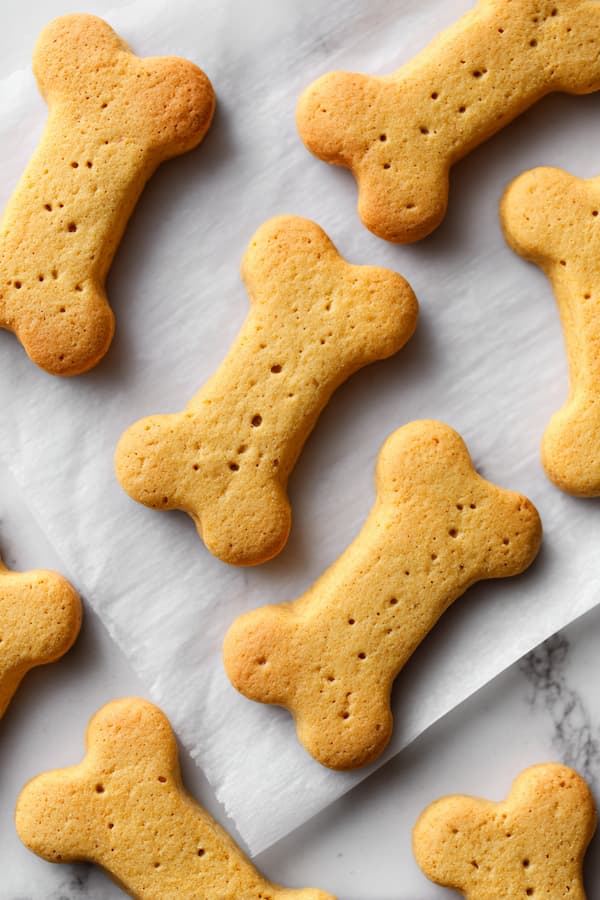
Turns out, with just a little peanut butter and flour, you can turn plain pumpkin into crunchy little bites of happiness. No mixers, no fancy gadgets, just a bowl, a spoon, and a dog waiting like it’s Christmas morning.
3-Ingredient Peanut Butter Pumpkin Dog Treats Recipe
| Ingredient | Amount |
|---|---|
| Whole wheat or all-purpose flour | 1 cup |
| Pumpkin puree (not pie filling) | ½ cup |
| Natural peanut butter (xylitol-free) | ⅓ cup |
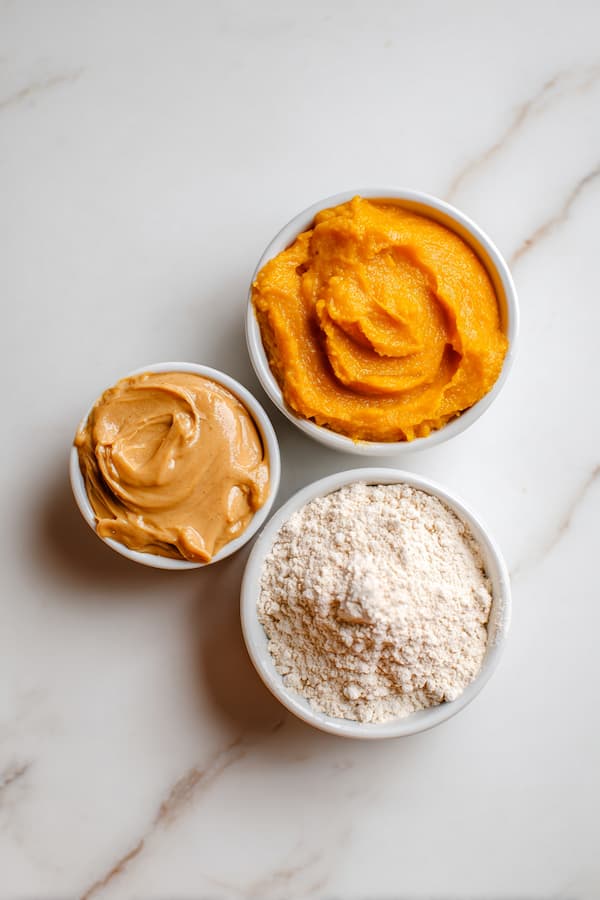
Ingredient Notes:
- Pumpkin: Always use 100% pure pumpkin puree, not pie filling (which has spices, sugar, and preservatives unsafe for dogs). Libby’s 100% Pure Pumpkin is a safe bet.
- Flour: Whole wheat adds fiber, but all-purpose works too. For grain-sensitive pups, swap in oat or rice flour with the same measurement.
- Peanut Butter: Pick natural, xylitol-free peanut butter, this sweetener is deadly for dogs. Stick with trusted brands like Jif Natural, Skippy Natural, or organic options.
Equipment Needed
- Large mixing bowl
- Measuring cups
- Rolling pin
- Dog treat cookie cutters (optional)
- Baking sheet
- Parchment paper or silicone baking mat
- Airtight storage containers
Step-by-Step Instructions
Set Up Your Baking Environment
Preheat your oven to 350°F (175°C) and position the rack in the center for optimal heat circulation. Line a large baking sheet with parchment paper or a silicone baking mat to prevent sticking and ensure easy removal.
Create the Foundation Mixture
In a large mixing bowl, combine 1 cup flour, ½ cup pumpkin puree, and ⅓ cup peanut butter. Begin mixing with a wooden spoon or spatula, stirring until the ingredients start to come together. The mixture will initially appear lumpy and uneven, this is completely normal. Continue stirring until you can see the ingredients beginning to bind into a cohesive mass.
Develop the Perfect Dough
Transfer your mixture to a clean work surface lightly dusted with flour, or work directly on a piece of floured parchment paper for easy cleanup. Using your hands, knead the dough gently 3-4 times, folding it over itself until it forms a smooth, unified dough. The dough should feel slightly sticky but manageable.
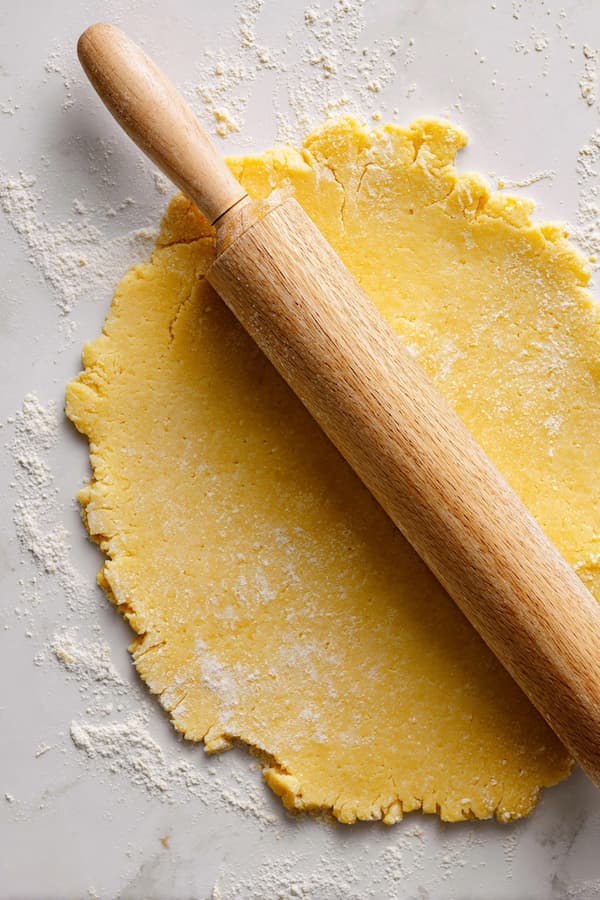
Roll to Optimal Thickness
Using a rolling pin, roll the dough evenly to ¼-inch thickness. Thinner treats may burn before cooking through, while thicker treats won’t achieve the desired crispiness. Roll from the center outward in all directions, turning the dough 90 degrees periodically to maintain even thickness throughout.
Cut Your Signature Shapes
Using dog bone cookie cutters or any fun shapes your dog might enjoy, press straight down through the dough without twisting. Twisting can seal the edges and prevent proper baking. Cut shapes as close together as possible to minimize waste and maximize your batch.
Arrange for Even Baking
Carefully transfer cut treats to your prepared baking sheet using a spatula if needed. Space treats approximately ½ inch apart to allow for even air circulation and prevent them from touching during baking. Gather any leftover dough scraps, gently press them together, and roll out again to cut additional treats.
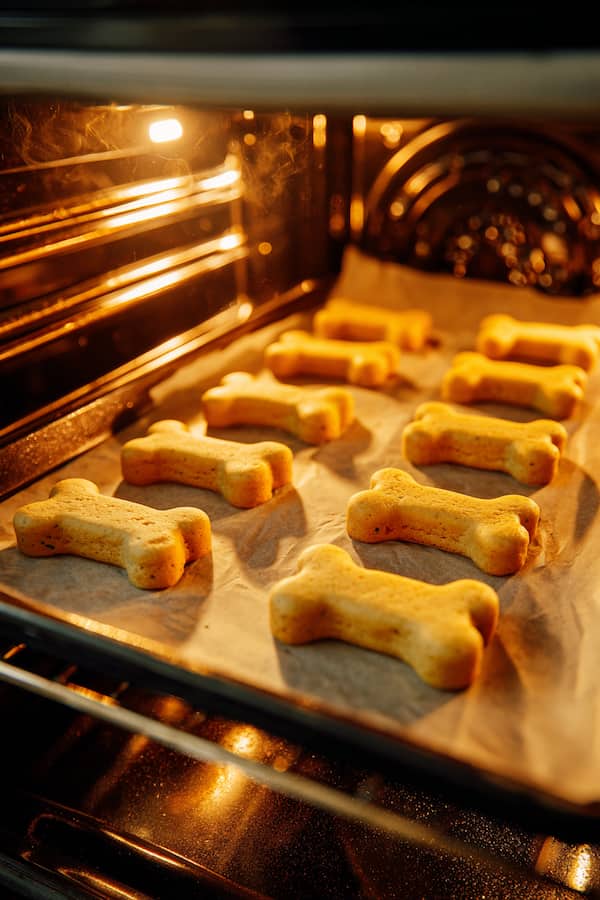
Bake to Golden Perfection
Place the baking sheet in your preheated oven and bake for 30-35 minutes, checking at the 25-minute mark to monitor browning. The treats are perfectly done when they’re golden brown on both top and bottom, and feel firm and crispy to the touch. They should not give under gentle pressure and should sound hollow when tapped lightly.
Cool for Optimal Texture
Remove treats from the oven and immediately transfer them to a wire cooling rack. Allow them to cool completely for 15-20 minutes before handling or storing.
Storage and Feeding Guidelines
Long-Term Storage Solutions:
- Refrigerator: Store in airtight containers for up to 3 weeks—the pumpkin content requires cold storage for maximum freshness
- Freezer: Individually wrap or store in freezer bags for up to 4 months without quality loss
- Room temperature: Not recommended due to pumpkin’s moisture content and potential for spoilage
Serving Size Recommendations:
- Small dogs (under 25 lbs): ½ to 1 treat per day
- Medium dogs (25-60 lbs): 1-2 treats per day
- Large dogs (over 60 lbs): 2-3 treats per day
Always count treats toward your dog’s daily caloric intake and adjust their regular meals accordingly. Treats should be given in moderation and, as a general rule, they should make up no more than 10% of your dog’s total daily calories. This helps prevent unwanted weight gain while still letting your pup enjoy those special snacks.
Recipe Adaptations and Variations
Grain-Free Version: Replace flour with 1 cup almond flour or ¾ cup coconut flour for dogs with grain sensitivities
Mini Training Treats: Roll dough thinner (⅛ inch) and cut into tiny shapes for high-value training rewards
Variations: Add ½ teaspoon of dog-safe cinnamon for extra fall flavor (ensure no nutmeg or other harmful spices)
Protein-Boosted Version: Add 2 tablespoons of plain Greek yogurt to the mixture for extra protein, perfect for active or working dogs. You may need to add an extra 1-2 tablespoons of flour to maintain proper dough consistency.
Health Benefits for Your Canine Companion
- Digestive System Support
Pumpkin provides soluble fiber that aids digestion and helps regulate bowel movements, making these treats especially beneficial for dogs with sensitive stomachs or irregular digestion.
- Immune System Enhancement
The beta-carotene in pumpkin converts to vitamin A, supporting immune function and helping your dog fight off illness while promoting healthy skin and coat.
- Protein and Healthy Fats
Natural peanut butter contributes essential amino acids and healthy fats that support muscle maintenance, energy production, and a lustrous coat that reflects good internal health.
- Eye Health Protection
The antioxidants in pumpkin, particularly beta-carotene, support eye health and may help prevent age-related vision issues in senior dogs.
Cost Comparison: Homemade vs Store-Bought
Homemade Batch Breakdown:
- Total cost per batch: $2.50-$3.00
- Treats per batch: 25-30 pieces
- Cost per treat: $0.08-$0.12
Premium Store-Bought Comparison:
- Average cost: $8.00-$12.00 for similar quantity
- Cost per treat: $0.30-$0.50
- Annual savings: $150-$300 for regular treat users
FAQs
Can I make these treats without cookie cutters?
Absolutely! Roll the dough into small balls and flatten with your palm, or use a knife to cut into squares or rectangles. The shape doesn’t affect the taste or nutrition.
What if my dog has a peanut allergy?
Replace peanut butter with sunflower seed butter (xylitol-free) or almond butter. Use the same amount and follow the same instructions.
Can I use fresh pumpkin instead of canned?
Yes! Steam or roast fresh pumpkin until soft, then puree until smooth. Make sure it’s completely cooled before using. Fresh pumpkin may have more water content, so you might need slightly more flour.